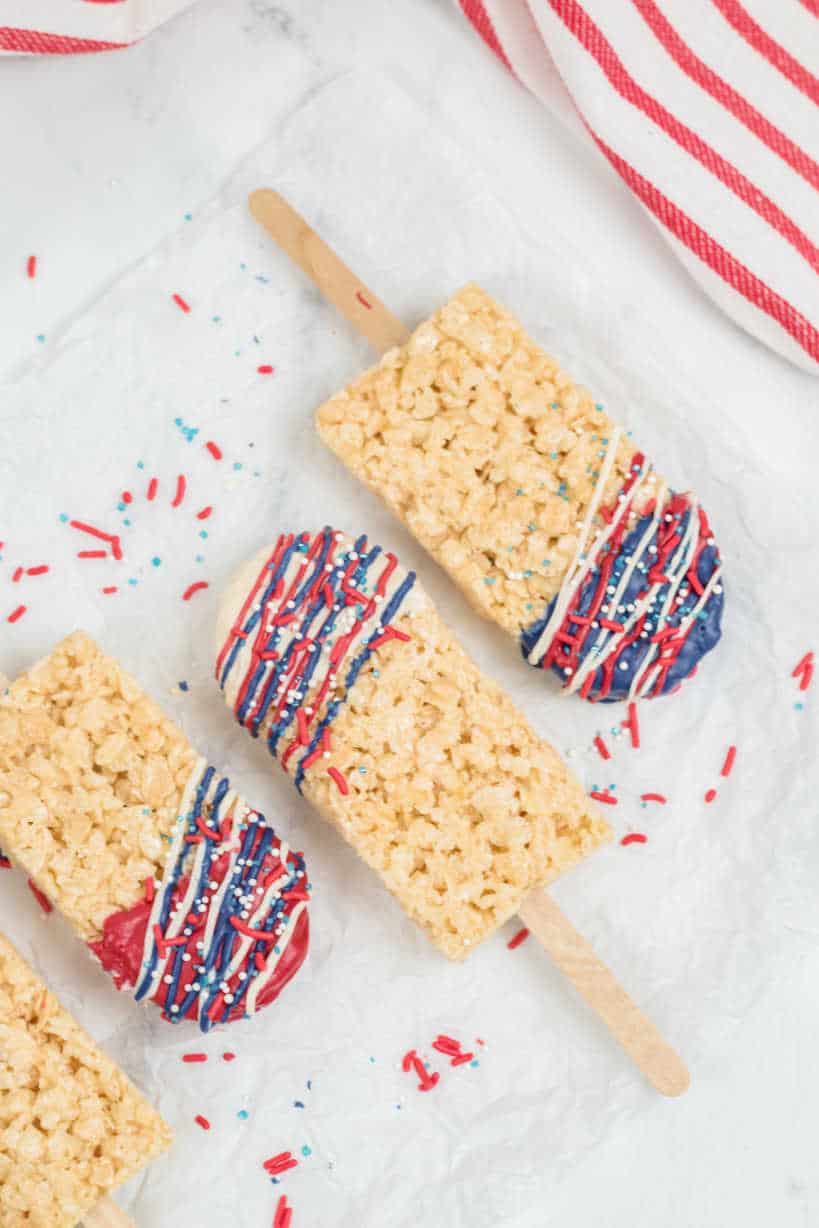
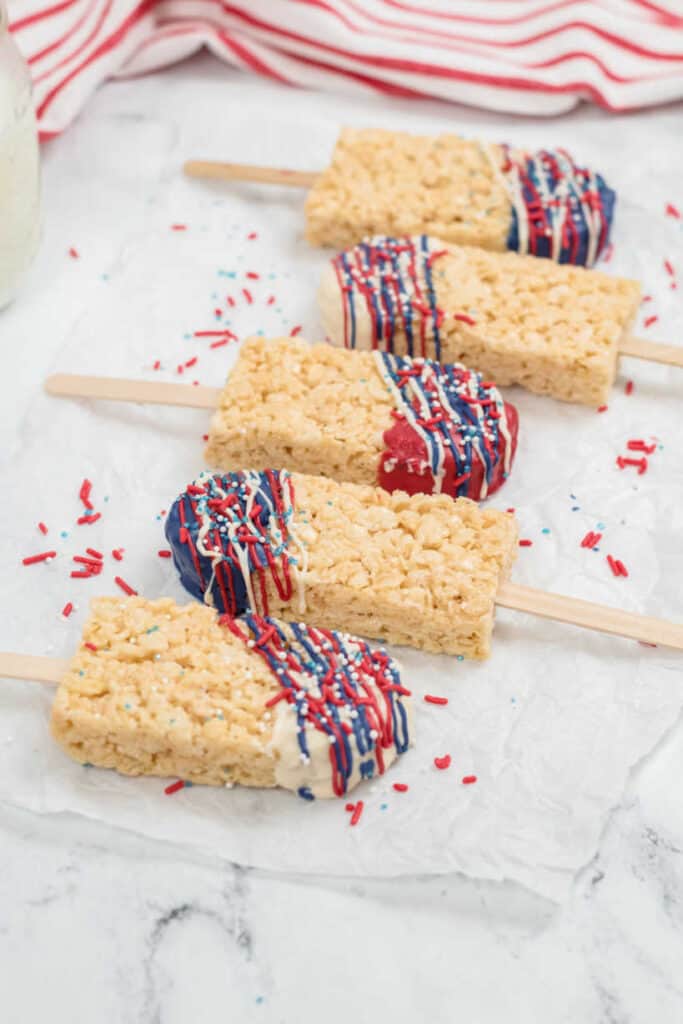
Rice Krispies treats are always delicious but these Rice Krispies Pops make them as fun as they are tasty! These easy no bake treats are topped with melted chocolate, and placed on a stick to make eating them easy and less mess! Perfect for kids, party treats and easy snacks!
We’ve used red white and blue chocolates and sprinkles to make these Rice Krispies Treats fun for the 4th of July, but they can be dressed up for any holiday, for a birthday party, even in your favorite team colors! You can even wrap them individually for a cute, inexpensive, and easy party favor! These are much easier than cake pops but just as fun to dress up a dessert table, add some fun to a lunch box, or have as a fun snack! They are a tasty treat for pretty much any time! With pastel colors these would be a great addition to an Easter basket!
These homemade rice krispie treats are a fun way to enjoy one of your favorite things! These are perfect for little hands to hold onto and not get so sticky! This fun recipe will be a new favorite for all of your parties and gatherings!
- Posts You Might Have Missed
- Fruit Salsa With Cinnamon Chips
- S’mores Cheeseball
- Loaded Potato Salad
Ingredients for these Cereal Treats-
Rice Krispies Cereal- You don’t have to buy the name brand, any crisp rice cereal will work just fine.
Mini Marshmallows- I like to use smaller marshmallows because they melt quickly but if you have large marshmallows you can use them! You’ll still want to use the whole bag no matter what size you use.
Butter- I use salted butter in mine but you can also swap it out for unsalted butter or margarine.
Candy Melts- I like to use candy melts instead of chocolate chips because they melt nice and smooth and come in a ton of colors.
Shortening- Adding this to the candy melts helps them to be smoother and more liquid so you can drizzle them easily.
Sprinkles- These are optional but always add more fun!
How to make these Rice Krispies Treats Pops
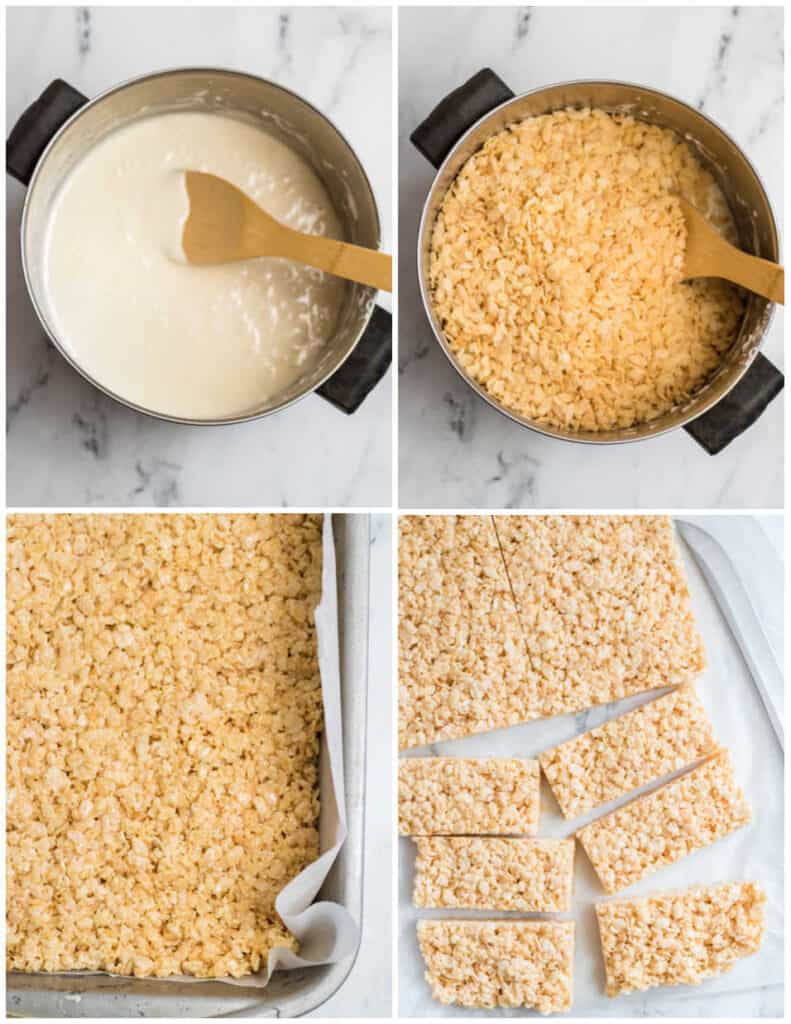
Line a 13×9 inch pan with parchment paper.
In a large saucepan over medium heat melt butter and marshmallows, stirring occasionally until completely melted.
Remove from heat and stir cereal into the marshmallow mixture. Stir until everything is evenly coated.
Firmly press the cereal mixture into your prepared baking pan. You can use your hands or a buttered spatula.
Allow to cool completely.
Once they are cooled remove from the cookie sheet and onto a surface that is safe for cutting.
Cut into 12 equal pieces. I like to cut down the center long ways then down the center the other way creating 4 equal pieces. Cut each of those into equal thirds to create 12 equal pieces.
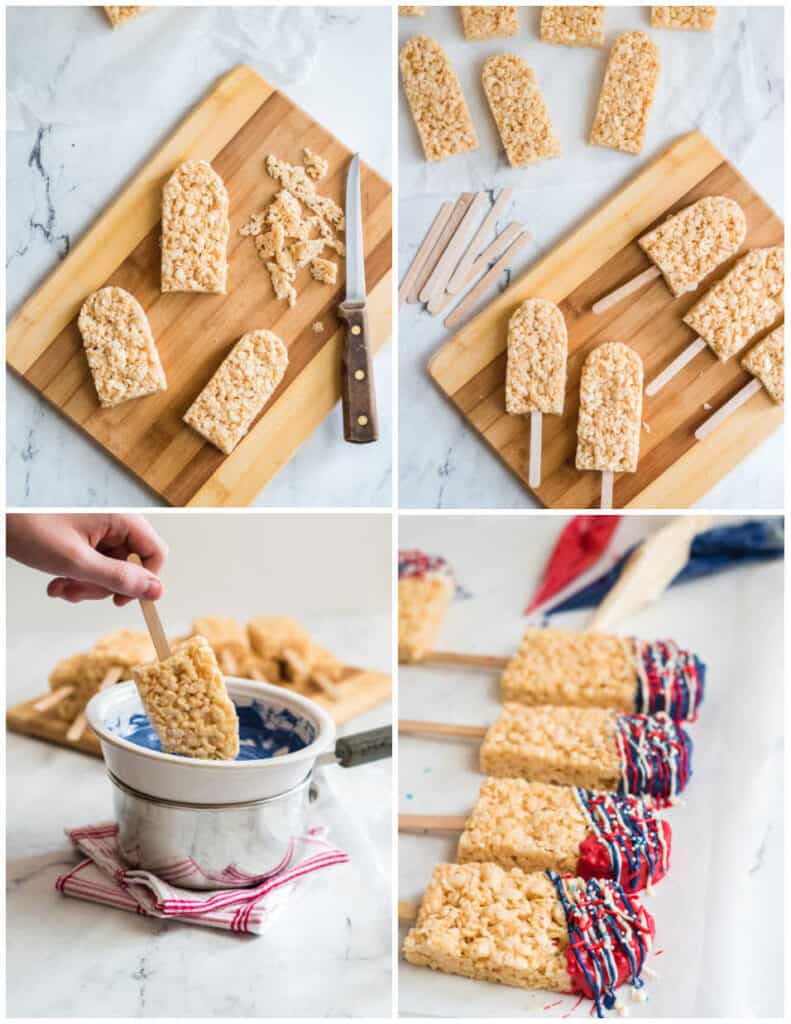
Trim off 2 of the corners of each rectangle creating a popsicle shape. (I think this is the best part because you can “sample” those pieces!)
Next press a popsicle stick in the bottom of the treat, repeat with remaining treats.
Depending on how you want to decorate your pops you can decide what chocolate you would like to dip them in and what you would like to use for drizzling. For these I did a mixture of red white and blue dipped and drizzled so I melted all three at once using heat safe bowls over a pan of water as a double boiler. Once you have decided how you want to decorate your pops you can melt your chocolate.
In a double boiler over low heat melt chocolate and shortening. Stir occasionally until the chocolate is nice and smooth.
Lay out a large piece of wax paper on your counter or table to lay the chocolate dipped treats on to cool.
Dip your popsicles into the melted chocolate. You can also spoon it over them or spread it with the back of a spoon to cover the desired area. Lay the dipped popsicle on the prepared surface.
If you are not drizzling chocolate then add sprinkles right after dipping while the chocolate is soft so that they will stick.
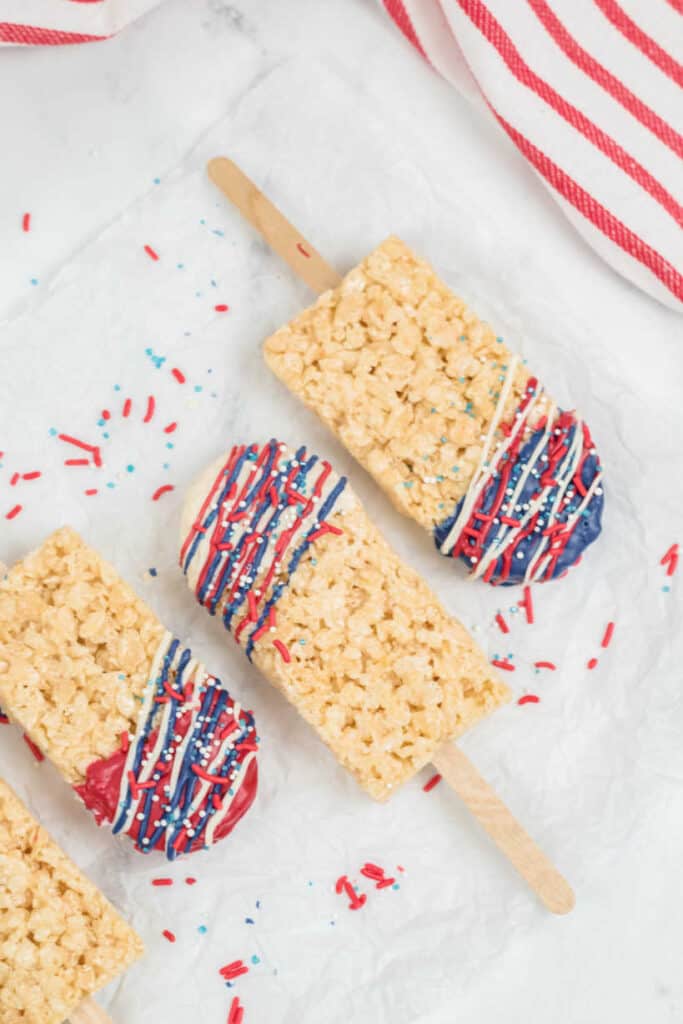
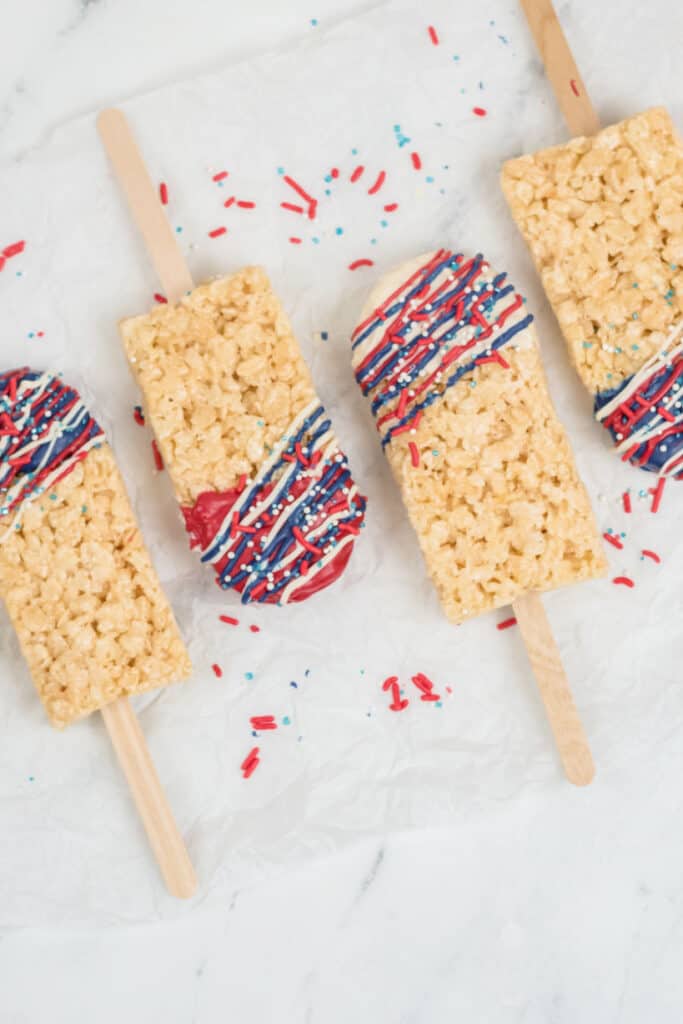
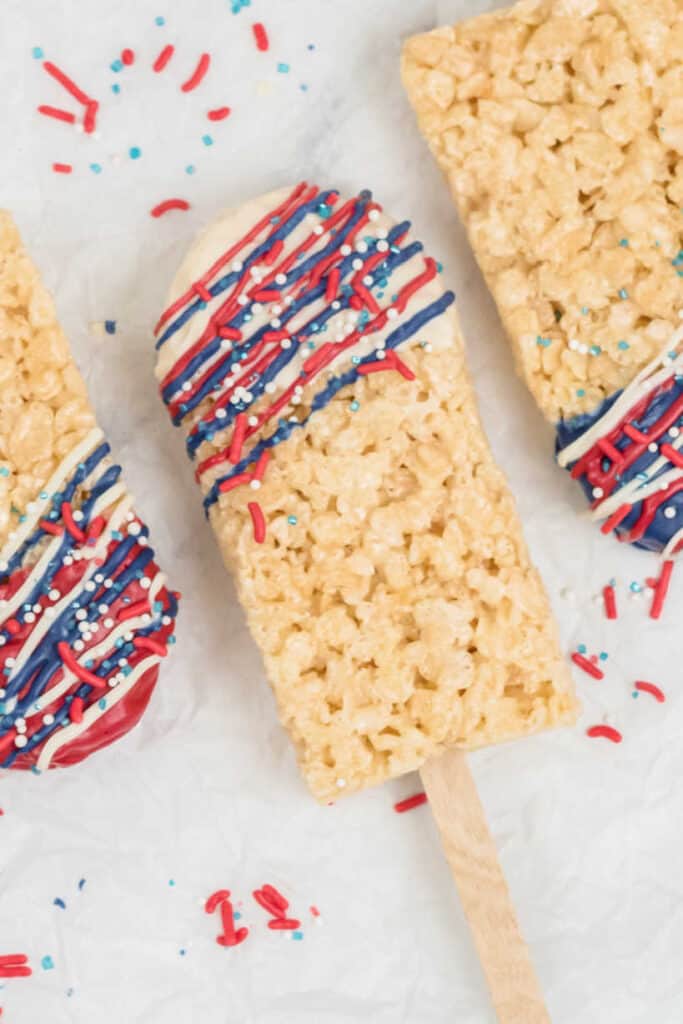
If you are drizzling place your melted chocolate in a piping bag and snip off the tip. Squeeze gently and move back and forth across the pops to drizzle them with chocolate. Add sprinkles while the drizzle is still soft. I used red white and blue sprinkles to go with my patriotic theme but you can use any color to create your fun treats!
Allow the chocolate to cool completely before serving or packaging.
Tips for Success
Line your baking sheet with parchment or wax paper– With a lot of crispy treat recipes you just butter the pan or spray it with non stick cooking spray but with this one parchment make a big difference. You can easily lift the cooled krispy treats out of the pan and that makes them easier to cut into shape.
Dip in the Chocolate Quickly– When it comes time to dip the treats you’ll want to do it quickly. Leaving the treats in the warm chocolate too long can cause them to melt. Keep the chocolate just warm enough to stay liquid not too hot.
Don’t be afraid to use your hands– I have always used my hands to press the mixture into the pan while I’m making cereal treats and it works really well for these! Use a little bit of butter on your palms to really press the mixture into the pan. After you cut them into their shape and are placing them on the popsicle sticks don’t be afraid to use your hands to mold them into shape and make sure they are secure!
How to store- Store these in an airtight container. You can wrap them individually or layer them in a container. It is a good idea to place a layer of wax paper in between the layers so that the sprinkles and chocolate don’t transfer to the other treats.
- Other Posts You’ll Love
- Take 5 Rice Krispies Treats
- Delicious Scotcheroos
- Peppermint & White Chocolate Rice Krispies Treats
Variations on these popsicles-
Use other recipes- Do you have a crispy cereal treat recipe you love? (Try my recipe with Nutella!) Whether it is chocolate, peanut butter, or any other variation that you love you can use it in these pops to make a variety of tasty treats! While the classic rice krispie treat recipe works really well others can add more flavor and pizzazz! The most important thing is that they aren’t too soft so that they will hold their shape.
Use different chocolate– As I mentioned before you can choose any colored candy melts that you’d like for these. If you want classic chocolate you can find candy melts in chocolate flavors, or you can use chocolate chips, but you may need more shortening to get the right consistency.
Use different sticks– These are made with classic popsicle sticks but you don’t have to! If you want to add more color use colorful paper straws! Want to make them smaller? Put them on a lollipop stick, cake pop sticks or small bamboo skewers.
Make them different shapes– Want a bite size pop? You can cut them smaller. Want to make them heart shaped or star shaped? Grab a cookie cutter and cut out the shapes you want! Shapes are great for Valentines Day, Easter, Christmas, or any other holiday!
Use store bought treats- While I love homemade treats best if you are in a time crunch and need to make these rice krispie pops in a hurry you can start with store bought treats!
Easy Rice Krispies Treat Pops
Ingredients
- 6 Cups Rice Krispies Cereal
- 1 Bag Mini Marshmallows
- ¼ Cup 1/2 a stick of Butter
- 1 Cup Each Red White & Blue Candy Melts
- 3 tsp- 3Tbsp Shortening
- Red White & Blue Sprinkles
- 12 Popsicle Sticks
- Disposable Icing/Piping Bags
Instructions
- Line a baking sheet with parchment or wax paper.
- In a medium size sauce pan over medium heat melt butter and marshmallows, stirring occasionally until completely melted and smooth.
- Remove from heat and fold in cereal, stir until completely coated.
- Spread the cereal mixture evenly onto the baking sheet and press gently using a buttered spatula or buttered hands.
- Allow to cool completely.
- Gently lift the cooled treats out of the baking sheet and sit on a cutting board.
- Cut the cereal treats in half down the middle and then down
the center lengthwise. Cut each quarter into thirds creating 12 rectangle pieces. - Trim the corners off of the rectangular pieces to create a
popsicle shape. - Press a popsicle stick into the flat end of your popsicle
shaped rice krispies treat. Repeat with all 12 pieces. - In a double boiler, or a heat safe bowl over a pot of
simmering water, melt your candy melts. You want the chocolate to be smooth. If it is too thick you can add shortening, add it in a ½ tsp at a time until the consistency is creamy and smooth. - Lay wax or parchment paper flat on your counter and table.
- Dip the top ¼ of each popsicle into your candy melts, you
can also use a spoon or spatula to spread it on the area you’d like to cover. - Lay the dipped popsicle on your prepared surface to cool.
- Repeat with each popsicle until they are all dipped. I
dipped mine in all three colors but you can dip in one color and drizzle with
the others, the choice is yours - Place the remaining melted chocolate in a piping bag and cut
off the tip, drizzle your popsicles with the chocolate. - Sprinkle with sprinkles while the chocolate is still soft.
- Allow to cool completely.
- Wrap individually with plastic wrap, or store in an airtight
container until ready to serve.
Princess says
Can I make this ahead? What is the shelf life? Thank you