
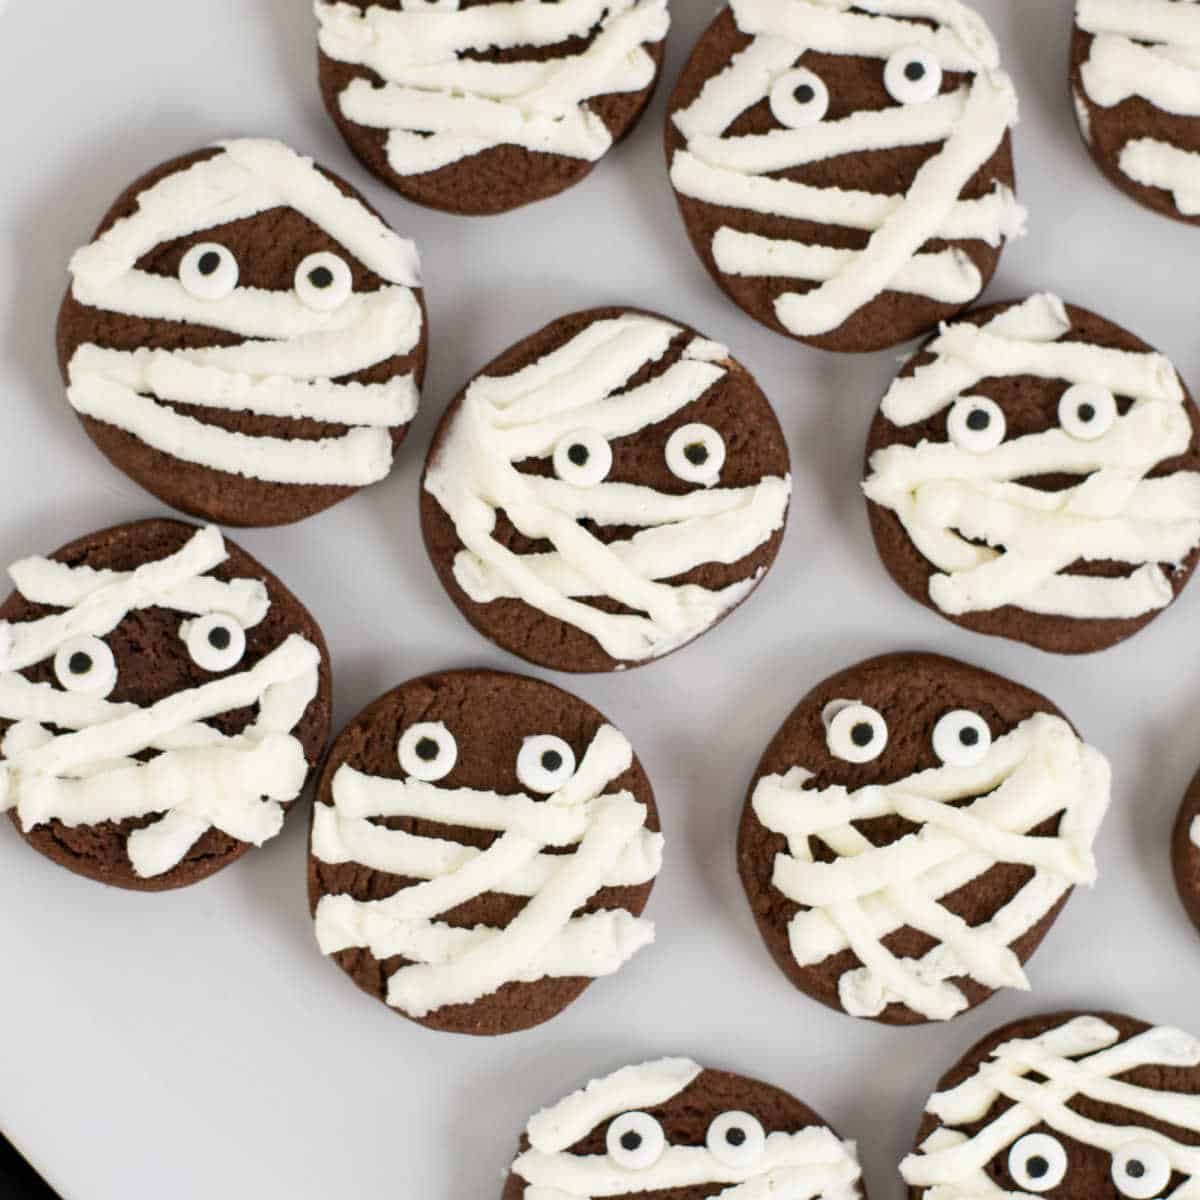
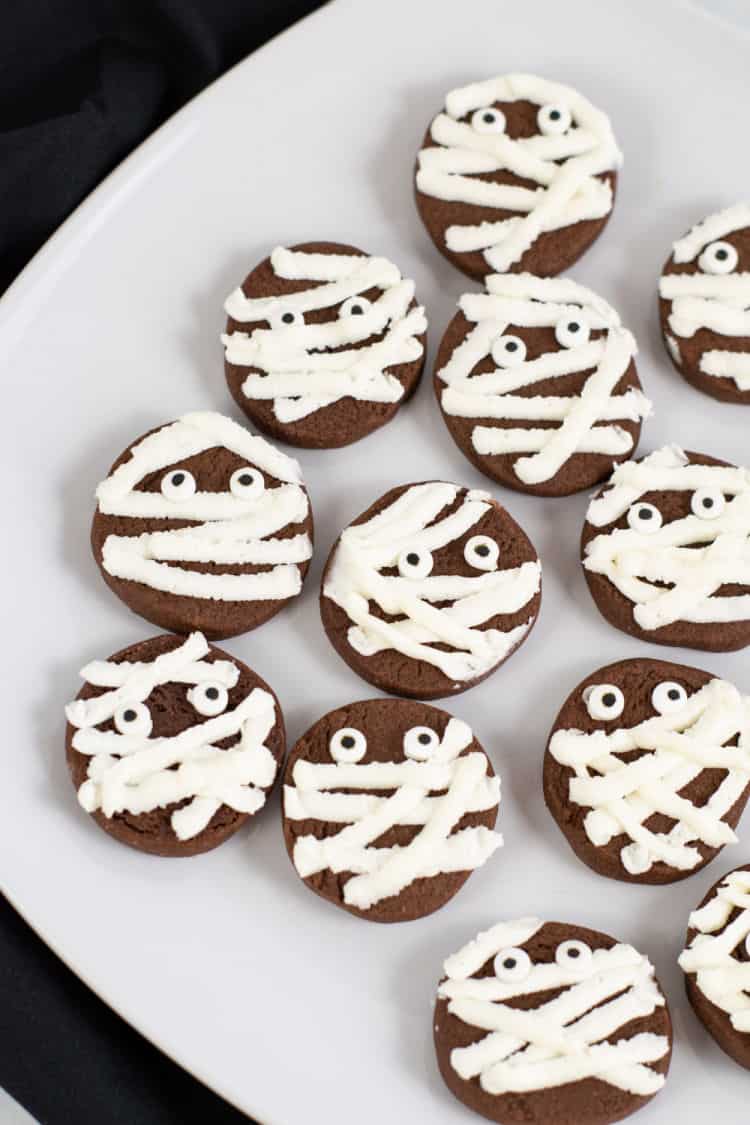
Halloween Mummy Cookies
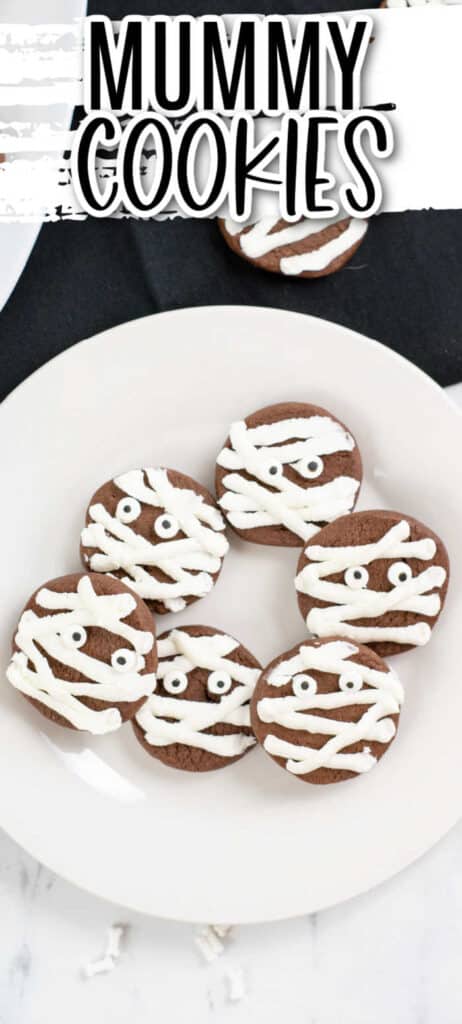
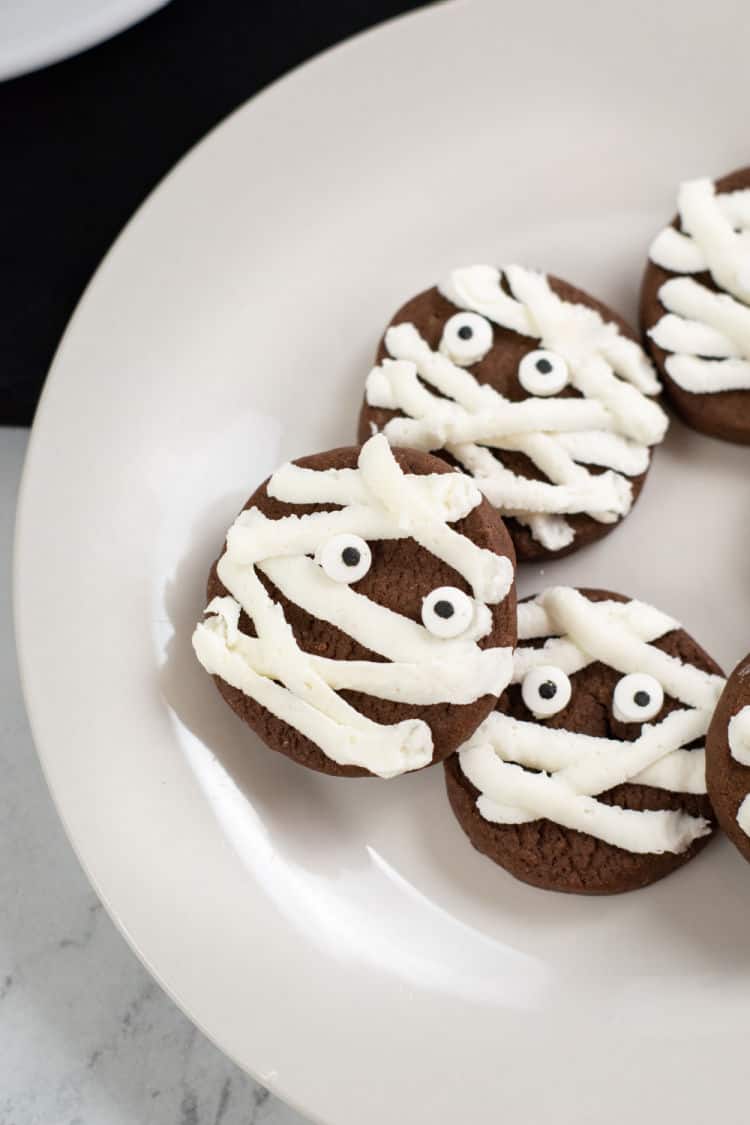
These fun and delicious mummy cookies are a spooktacular Halloween treat! Soft, buttery chocolate cookies topped with piped buttercream and candy eyes! They are easy, delicious and festive!
Last weekend we started talking with our friends about our plans for a Halloween party this year. Halloween is one of our favorite holidays, and we love sharing the festivities with friends!
I love making costumes and decorating, and of course I love making Halloween treats!
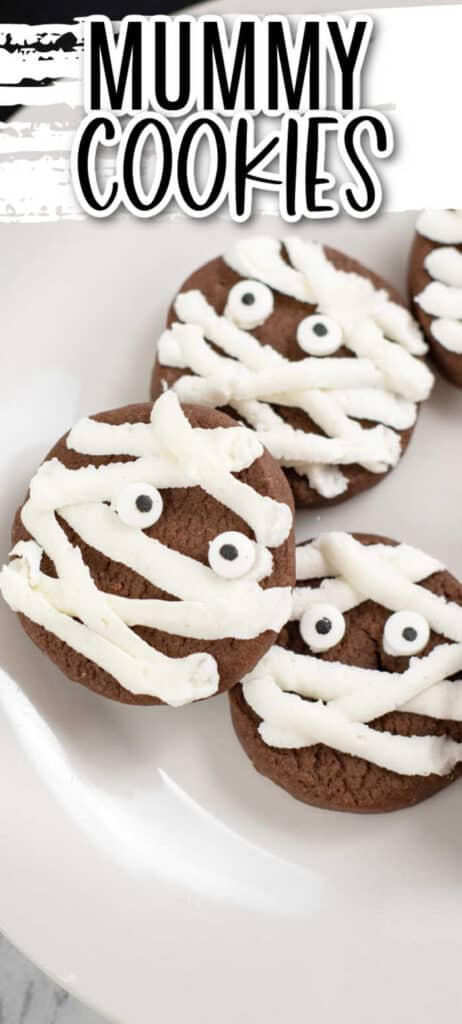
These mummy cookies are a great one not only because they are delicious but also because they are easy! They are a great cookie to make with kids. The piping is simple and attaching the candy eyes is fun and easy!
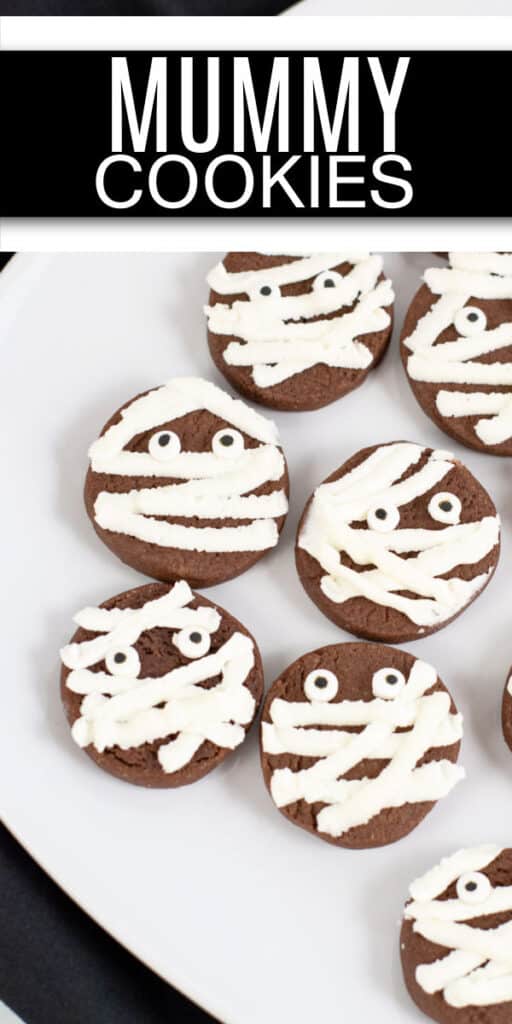
These cookies start with a base of a buttery soft and simple chocolate icebox cookie and are topped with a simple buttercream frosting.
Halloween Mummy Cookies

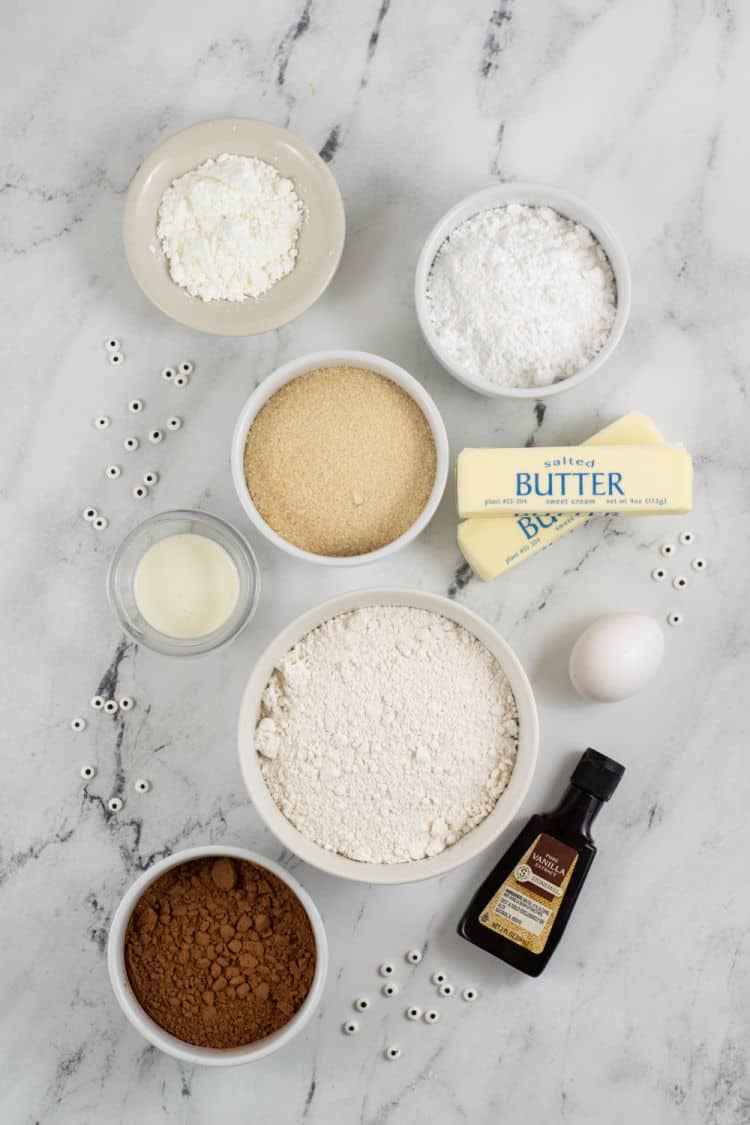
Ingredients
- For the Cookies
- 2 Cups Flour
- 2 Tbsp Corn Starch
- ½ tsp Salt
- ¾ Cup Cocoa Powder
- 1 Cup Sugar
- 1 Cup Butter softened
- 1 Egg
- 2 tsp Vanilla
- For the Frosting
- 8 Tbsp Butter softened
- 2 Cups Powdered Sugar
- 1 ½ Tbsp Heavy Cream
- ½ tsp Vanilla
- Eye Shaped Sprinkles
Instructions
- The first thing we’re going to do is make the cookie dough to create the simple, delicious chocolate ice box cookies that are the base for these mummies.
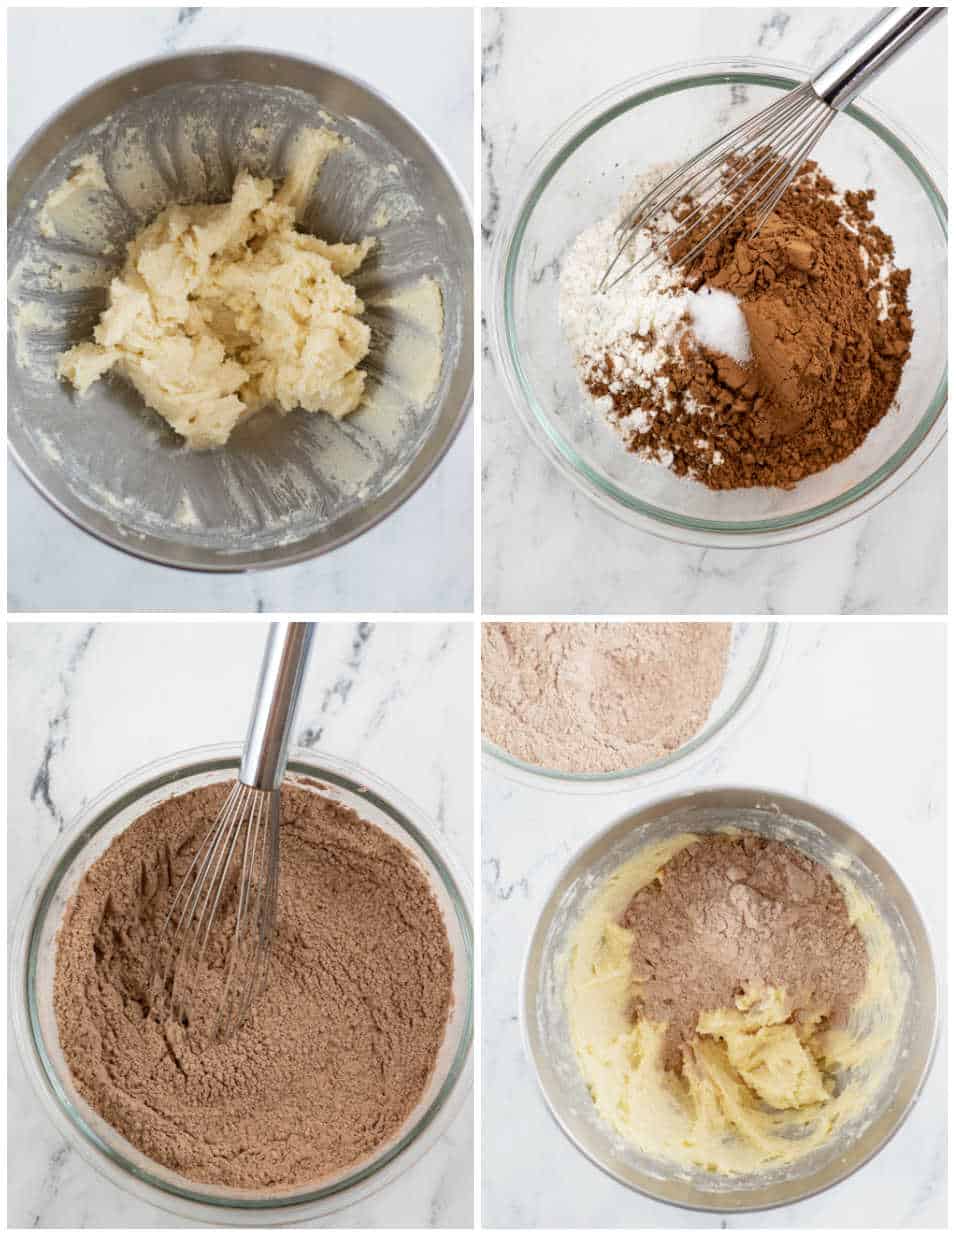
- The first step is to whisk together flour, corn starch, cocoa powder, and salt in a medium bowl.
- Gradually add in the flour mixture mixing well after each addition.
- Next in a large bowl, with an electric mixer cream together butter and sugar until light and fluffy. Add in the egg and vanilla and continue to mix until well blended.
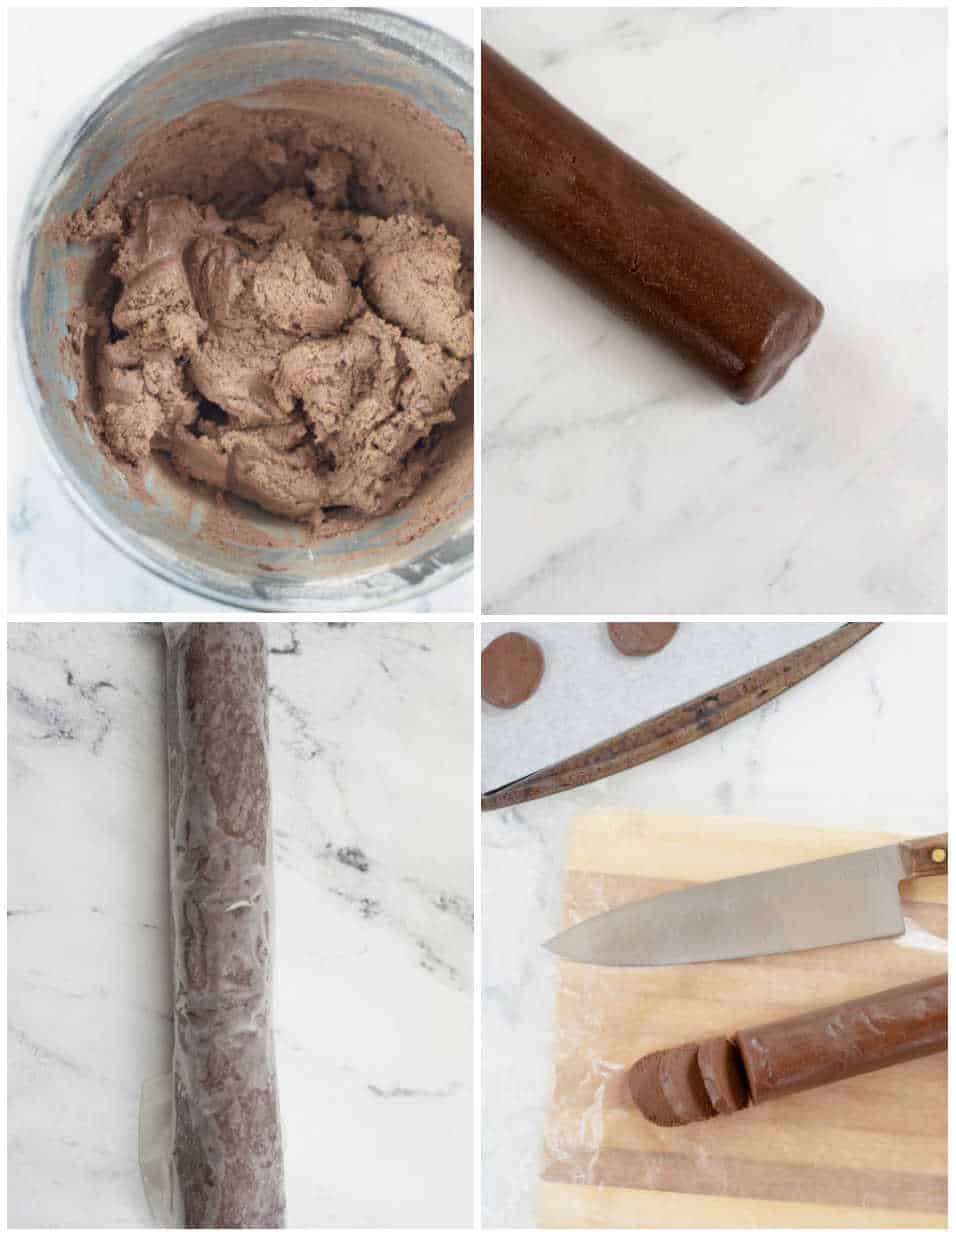
- Now remove the dough from the bowl and roll into a log with a diameter of about 1 ½ inches. I like to do this on parchment or wax paper to help keep it from sticking. Then wrap the dough log in parchment or wax paper and refrigerate for at least an hour.
- Once the dough has chilled it is time to bake the cookies.
- First preheat the oven to 350. I like to line my baking sheet with parchment paper, but it is ok if you don’t.
- Now using a sharp knife slice the dough into ¼- ½ inch slices and place on a baking sheet.
- Bake for 8-12 minutes or until set, They’ll look dry around the edges and a little shiny in the middle. You don’t want to overbake them!
- Remove from oven and allow to cool on the baking sheet for 2-3 minutes, remove to cooling rack to cool completely.
- You’ll want the cookies to be completely cooled before adding the frosting and Hershey’s kisses so make sure that you give them plenty of time to cool.
- When you are ready to decorate the cookies you’ll want to make the frosting.
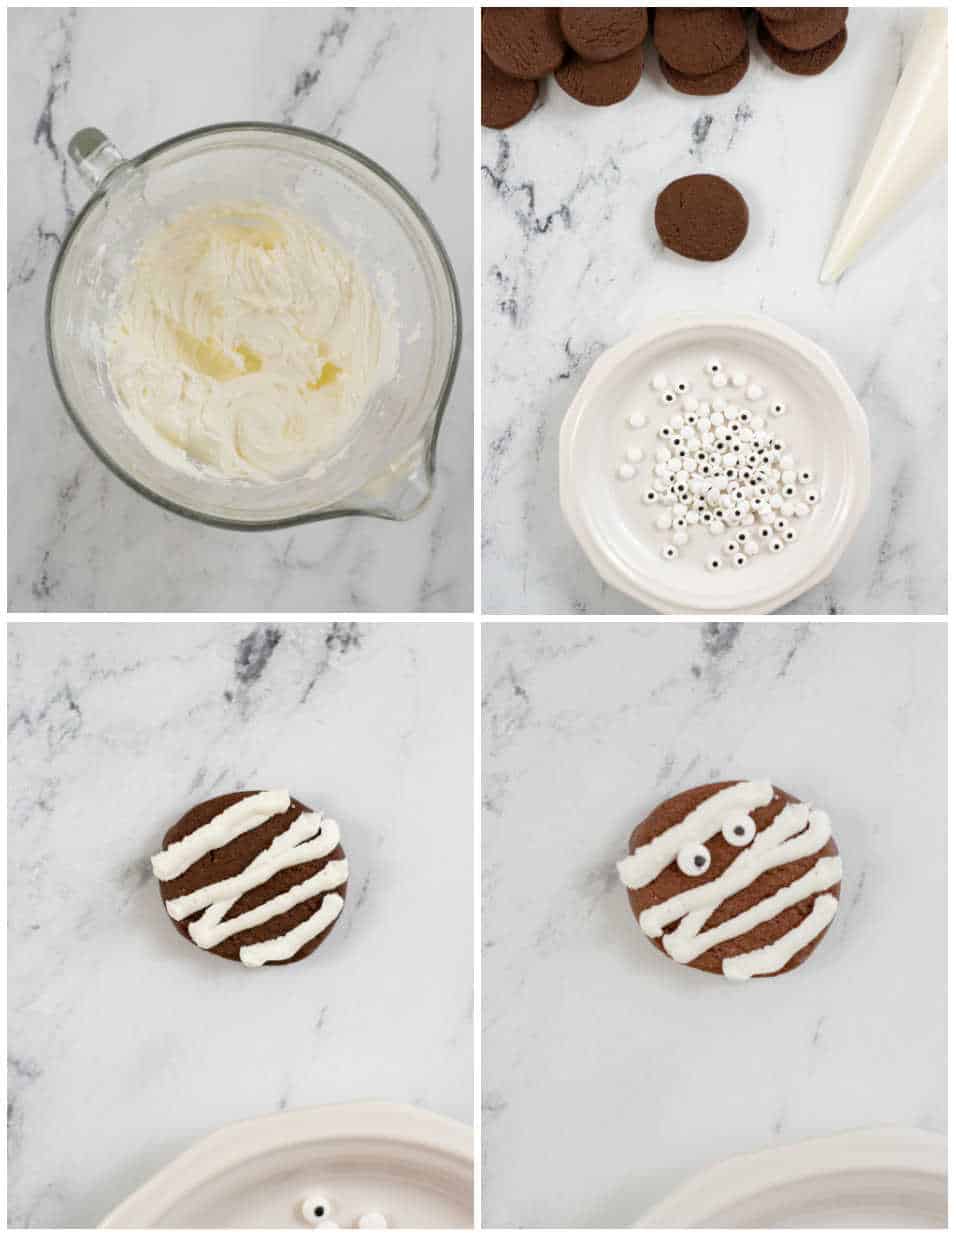
- In the bowl of an electric mixer mix butter until light and fluffy. Add in vanilla, powdered sugar, and heavy cream a little at a time mixing between each addition until it is all incorporated.
- Place the frosting in a piping bag and snip off the tip creating a hole that is about 1/4 inch in diameter.
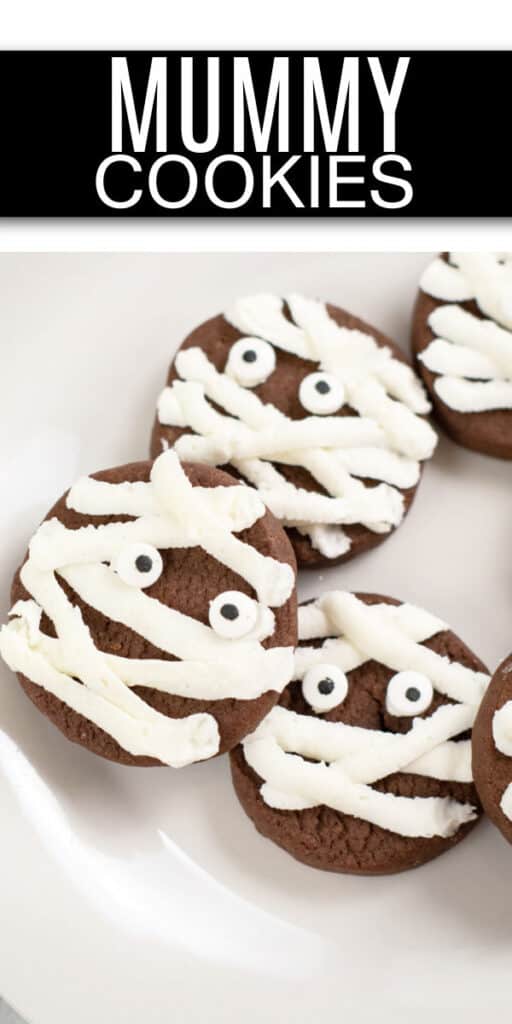
- Squeeze frosting across the top of the cookies to create “wrappings”.
- Gently place candy eyes on top of the frosting. If necessary to place them correctly place a spot of frosting on each eye.
- Let the frosting set until dry to the touch before placing in an airtight container for storing.
- Other Posts You’ll Love
- Halloween Witch Hat Cookies
- Graveyard Dirt Cups
- Jack O Lantern Mini Cheesecakes
Ingredient Checklist-
Find the exact measurement in the recipe card at the bottom of this post.
For the Cookies
Flour– I always use all purpose flour
Corn Starch– This helps the cookies have a nice soft texture.
Salt– I like to use sea salt, but regular table salt
Cocoa Powder– Make sure you have fresh cocoa powder for the best flavor.
Sugar– I like to use cane sugar, but regular white sugar works perfectly
Butter– I like to use unsalted butter for baking but salted is ok too. You’ll want it to be softened to room temperature before you get started.
Egg- I use large eggs
Vanilla- Make sure you have real vanilla it is way better than imitation!
For the Frosting
Butter – I like to use salted butter for frosting but unsalted works too. If you use unsalted you’ll probably want to add a pinch of salt. Make sure it is softened before you make your frosting.
Powdered Sugar– This makes the frosting nice and fluffy!
Heavy Cream – This helps make the frosting nice and creamy.
Vanilla– Real vanilla is a must!
Candy Eyes– These fun little eye shaped sprinkles are a fun addition to so many sweets!

Want to Save This Recipe?
Here’s How to Make These Mummy Cookies
The first thing we’re going to do is make the cookie dough to create the simple, delicious chocolate ice box cookies that are the base for these mummies.
The first step is to whisk together flour, corn starch, cocoa powder, and salt in a medium bowl.
Gradually add in the flour mixture mixing well after each addition.
Next in a large bowl, with an electric mixer cream together butter and sugar until light and fluffy. Add in the egg and vanilla and continue to mix until well blended.
Now remove the dough from the bowl and roll into a log with a diameter of about 1 ½ inches. I like to do this on parchment or wax paper to help keep it from sticking. Then wrap the dough log in parchment or wax paper and refrigerate for at least an hour.
Once the dough has chilled it is time to bake the cookies.
First preheat the oven to 350. I like to line my baking sheet with parchment paper, but it is ok if you don’t.
Now using a sharp knife slice the dough into ¼- ½ inch slices and place on a baking sheet.
Bake for 8-12 minutes or until set, They’ll look dry around the edges and a little shiny in the middle. You don’t want to overbake them!
Remove from oven and allow to cool on the baking sheet for 2-3 minutes, remove to cooling rack to cool completely.
You’ll want the cookies to be completely cooled before adding the frosting and Hershey’s kisses so make sure that you give them plenty of time to cool.
When you are ready to decorate the cookies you’ll want to make the frosting.
In the bowl of an electric mixer mix butter until light and fluffy. Add in vanilla, powdered sugar, and heavy cream a little at a time mixing between each addition until it is all incorporated. .
Place the frosting in a piping bag and snip off the tip creating a hole that is about 1/4 inch in diameter.
Squeeze frosting across the top of the cookies to create “wrappings”.
Gently place candy eyes on top of the frosting. If necessary to place them correctly place a spot of frosting on each eye.
Let the frosting set until dry to the touch before placing in an airtight container for storing.
FAQ & Tips for Success-
Can I make the dough ahead of time?- Yes! While this dough needs to refrigerate at least an hour it can also be left overnight. This is a great recipe to make the day before and then bake fresh cookies the day of. If you make it more than a day ahead you can wrap it airtight in plastic wrap to keep it fresh for a few days.
Make sure not to overbake the cookies– Because these cookies are a dark brown it can be hard to tell when they are done. It is a good idea to test bake a few to get the timing perfect before baking all of them.
Can I use store bought frosting? If you’re crunched for time and can’t whip up your own frosting you can grab a jar from the store. Just scoop it out into a piping bag and decorate your cookies!


One Comment