Kool Aid Dyed Easter Eggs
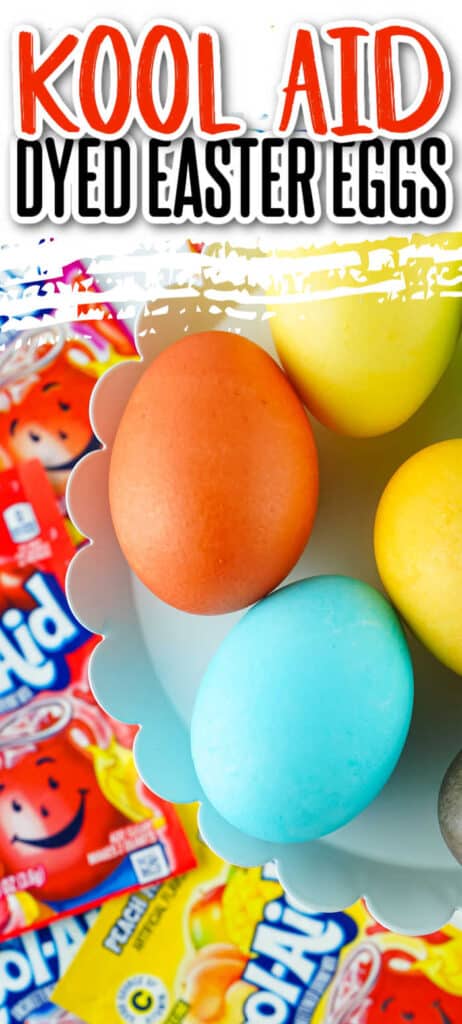
One of our favorite Easter traditions is dying eggs! One of the best ways to get vibrant Easter eggs is to dye them with kool-aid drink mix! Dying eggs with Kool Aid is super easy and results in beautiful fun eggs!
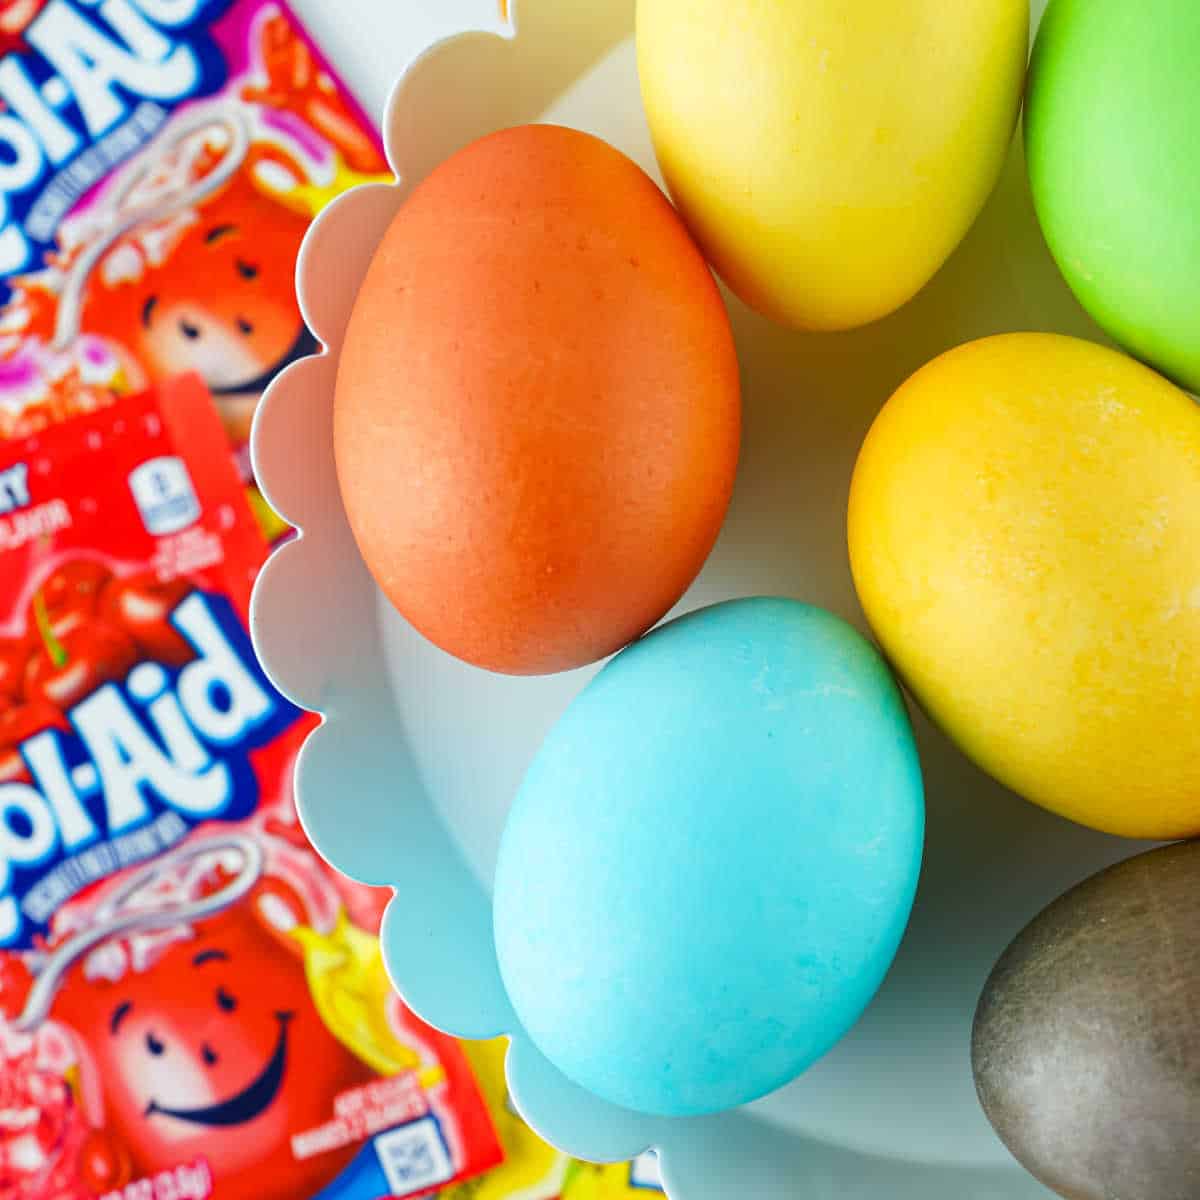
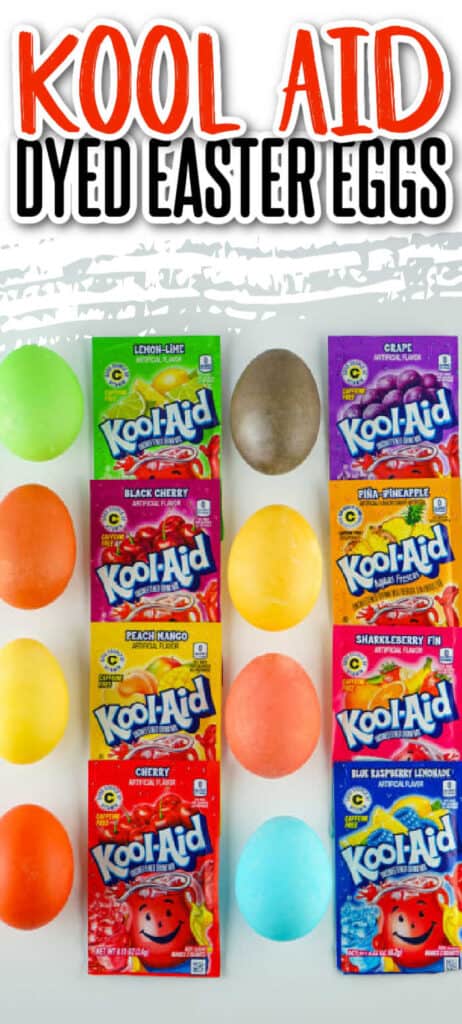
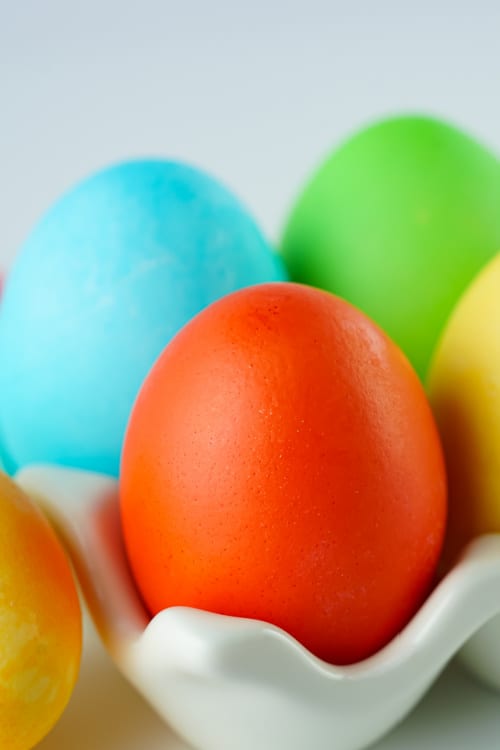
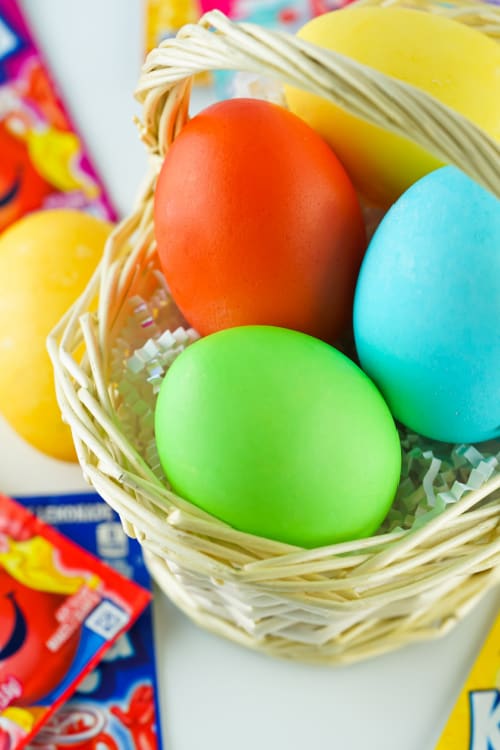
My whole life we colored eggs with the little kits that you get from the grocery store with the little tablets of color. While they are easy to use I’ve always wished for more vibrant colors! Well it turns out that a packet of kool aid is the secret to bright colors! Kool aid drink mix comes in tons of colors so it is an easy way to get a rainbow of eggs that will be the envy of the Easter egg hunt!
Kool Aid Dyed Easter Eggs

Ingredients
- ● Hard Boiled Eggs
- ● 1 Packet Kool-Aid
- ● ½ Cup Hot Water
- ● 1 Teaspoon White Vinegar
- ● Paper Towels
- ● Spoons
Instructions
- First prepare your surface and a place fo the eggs to dry. I like to place a wire cooling rack on paper towels so that the finished eggs can be placed on the rack to dry and the paper towels absorb the drips.
- Then for each color or packet of Kool-Aid, add ½ cup hot water, 1 teaspoon vinegar, and one full packet of Kool-Aid mix to a cup and stir until the Kool-Aid powder is dissolved.
- Gently place your eggs in the cup (one egg per cup) and let sit for 1-2 minutes or until the desired color is reached.
- Remove the egg with a spoon and gently lay it on your prepared surface to dry.
- Allow the eggs to dry completely before placing them back into the egg carton.
Tips and Questions for making Kool Aid dyed Easter eggs-
Can I use brown eggs?
Most people use white eggs for dying at Easter time but if you have brown eggs you can use them too! Using brown eggs will result in darker colors that are a little more muted. They are still beautiful and natural looking. If you have farm fresh eggs that vary in color it is fun to see how the different shades of brown turn out in all the colors!
Make sure your eggs are dry-
Before you are ready to dye your eggs take the hard-boiled eggs out of the refrigerator and let them come to room temperature. If your eggs have condensation on them or they are wet from cooking they won’t take the dye as well. Dry wet eggs with a paper towel or let them air dry before placing them in the dye mixture!
Do I need to use hot water?
When you’re making this kool aid dye hot water helps the kool aid powder dissolve quickly and completely. You can use cold water but it can take longer for the powder to dissolve. There is no need to heat the water, just hot tap water is warm enough to work well!
To get the desired color-
For lighter colors you can leave your eggs in the dye for less time, for more vibrant eggs place eggs in the kool-aid egg dye for a few minutes.
What flavors to use for different colors-
Only use unsweetened Kool-aid mix, sugar free has artificial sweeteners added and they won’t work as well.
Red- For red cherry, black cherry and sharkleberry and tropical punch all result in pretty red colors. They are slightly different so you can use a couple for different shades of red.
Yellow- The best flavor to use for a vibrant spring yellow is pina-pineapple. Lemonade is the only color I wouldn’t suggest, it is too light and doesn’t dye the eggs well.
Pink- Pink lemonade will result in a nice light pink color, to make it a bit darker add a little bit of cherry!
Blue – Berry blue is the best color for a pretty blue.
Orange – For a vibrant orange color you can use orange flavored kool-aid and for a light orange peach mango is a great choice.
Purple – Grape is a great flavor for a lovely purple color, or you can mix one of the red options and berry blue to customize your purple color.
Green- Lemon lime and green apple both come out a pretty shade of green.
Want to Save This Recipe?

You can use this method to dye just a few eggs or several dozen!
Here’s what you’ll need to make these kool aid dyed Easter eggs-
For each color you’ll need-
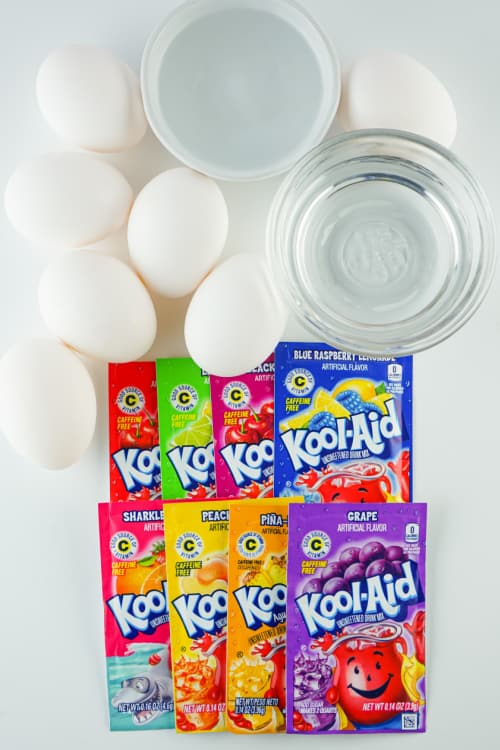
● Hard Boiled Eggs
● 1 Packet Kool-Aid
● ½ Cup Hot Water
● 1 Teaspoon White Vinegar
● Paper Towels
● Spoons
Here’s how to make Kool Aid dyed Easter Eggs
First prepare your surface and a place fo the eggs to dry. I like to place a wire cooling rack on paper towels so that the finished eggs can be placed on the rack to dry and the paper towels absorb the drips.
Then for each color or packet of Kool-Aid, add ½ cup hot water, 1 teaspoon vinegar, and one full packet of Kool-Aid mix to a cup and stir until the Kool-Aid powder is dissolved.
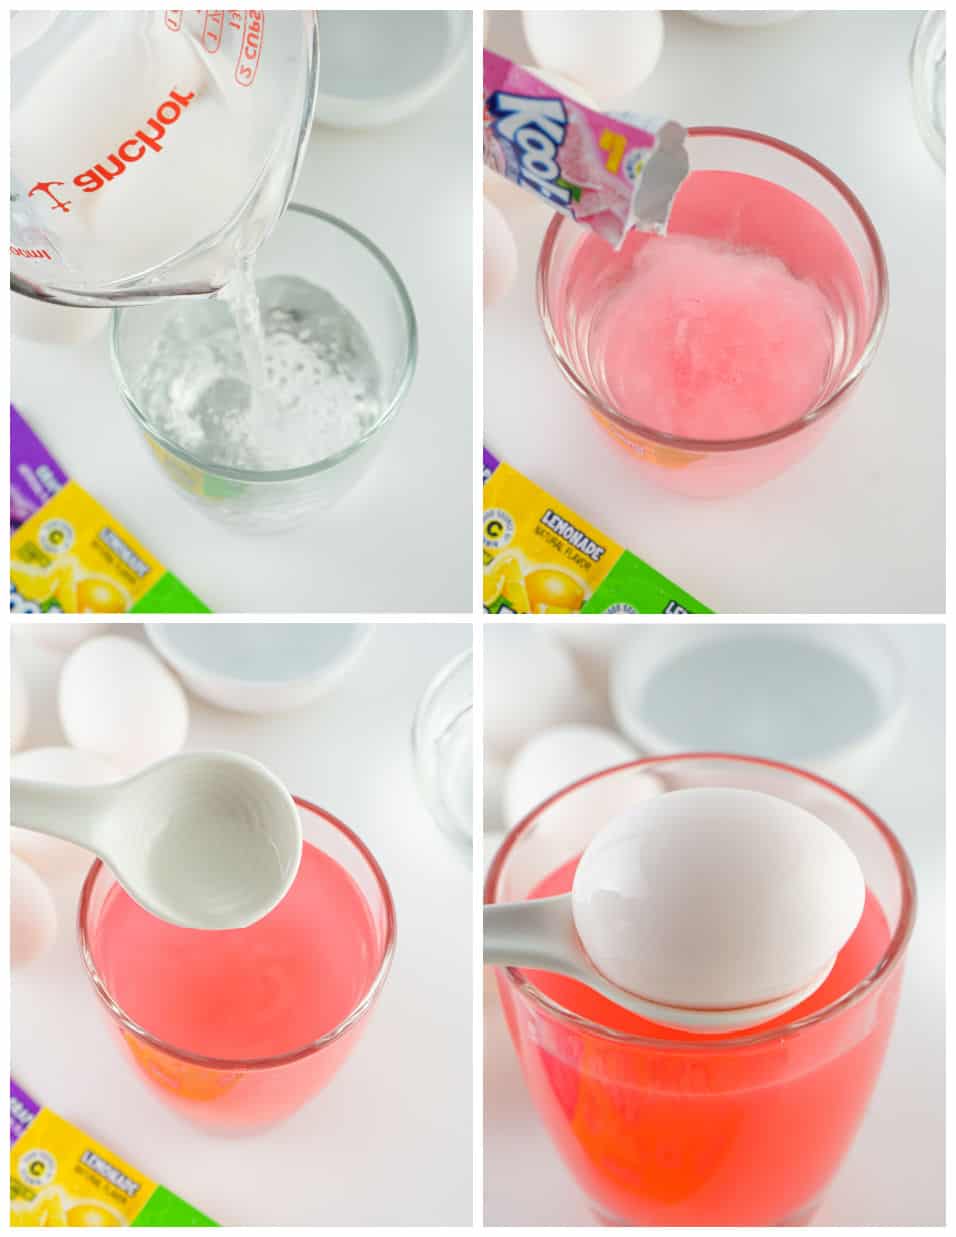
Gently place your eggs in the cup (one egg per cup) and let sit for 1-2 minutes or until the desired color is reached.
Remove the egg with a spoon and gently lay it on your prepared surface to dry.
Allow the eggs to dry completely before placing them back into the egg carton.