
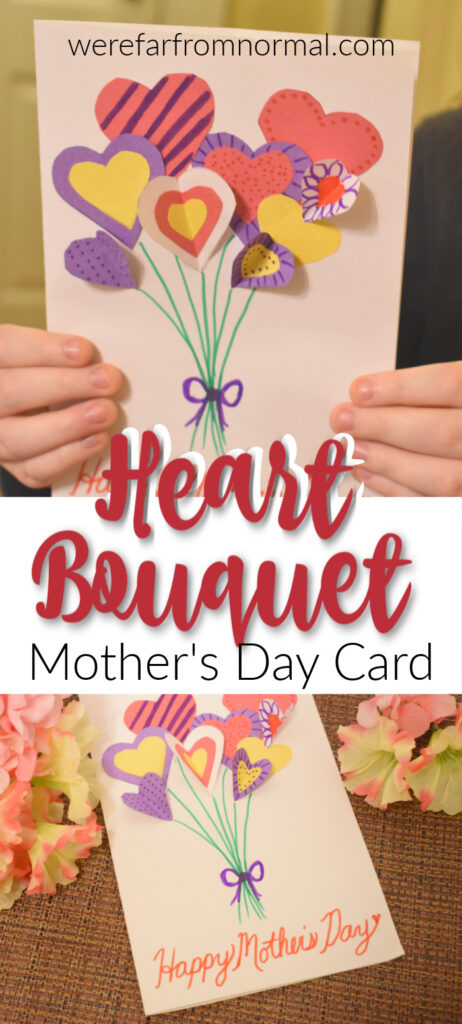
Heart Bouquet Homemade Mother’s Day Card

Mother’s Day is a wonderful time to celebrate the important moms in your life! What better way then with a homemade Mother’s Day Card? This one is so cute and so easy that the kids can help!

I am so lucky to live close to my mom. When my husband got out of the ARMY and we were deciding where in the world to go I knew that I wanted to be near my mom.
My boys were really young, and after 6 years of living really far away from her I knew that having her near to help with them and have them be able to get to know her well would be amazing.
I’ve realized over the years of living near her that you never really outgrow the need for your mom! Even when you are 40 with 3 kids of your own you still turn to her for advice.
One of my favorite things to do for her over the years has been to have my boys create cards or gifts to give her. There is something about gifts made by little hands that makes them so special.
My boys aren’t so little anymore but my youngest is always game for making something so he was super excited to help create these cards.
These are super simple and you probably have the supplies in your house right now!
Here’s what you’ll need for these homemade Mother’s Day cards
Construction Paper
Glue Stick
Scissors
Markers
Heart shaped stencils (I used these cookie cutters)
a pencil
The first thing you’ll want to do is choose what color you want your card to be. I recommend using a light color, white, yellow, pink, that way the hearts stand out.
Then pick out colors for your hearts. There are no rules here! Mix and match and see what you come up with!
Want to Save This Recipe?
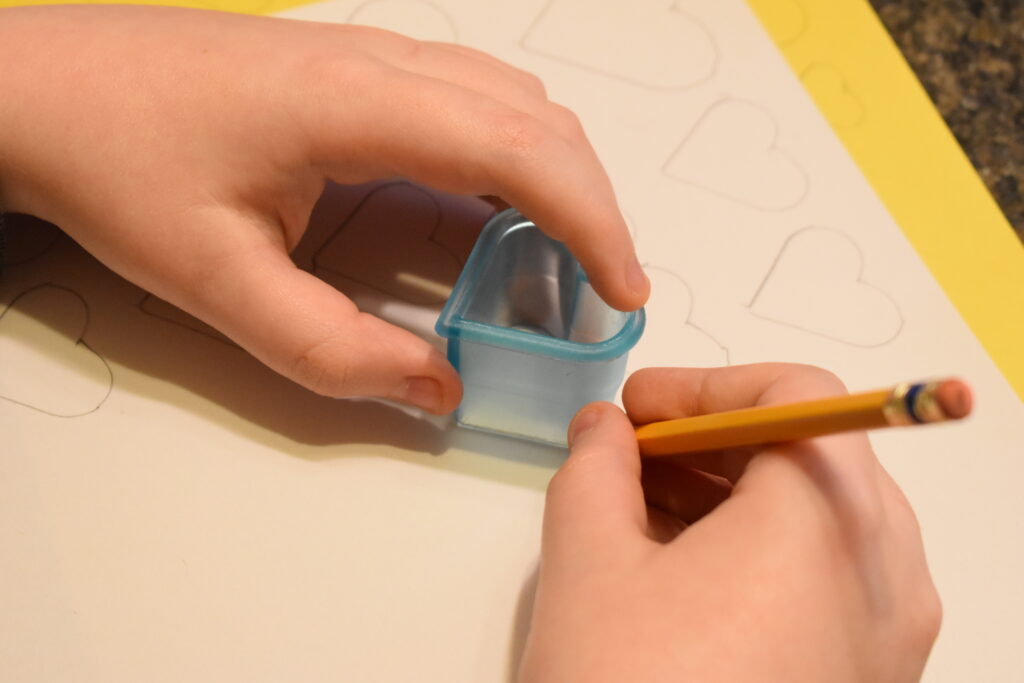
Once you’ve got your paper picked out use your heart stencils to trace hearts of various colors and sizes. You’ll need about 10 to make a nice full “bouquet.”
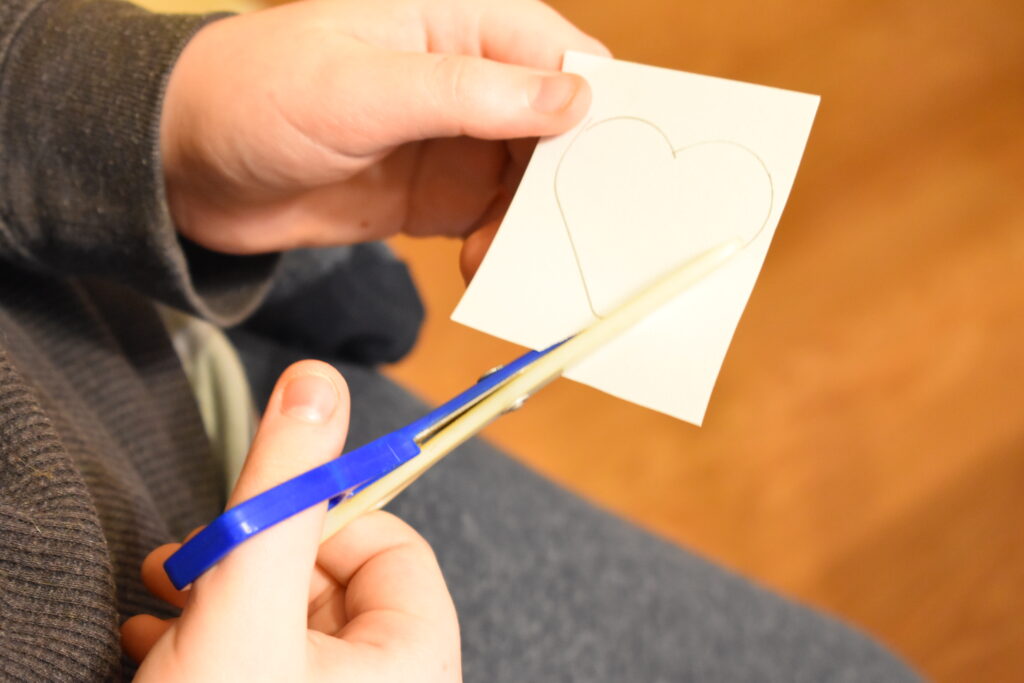
Once you’ve got your hearts traced it’s time to cut them out.
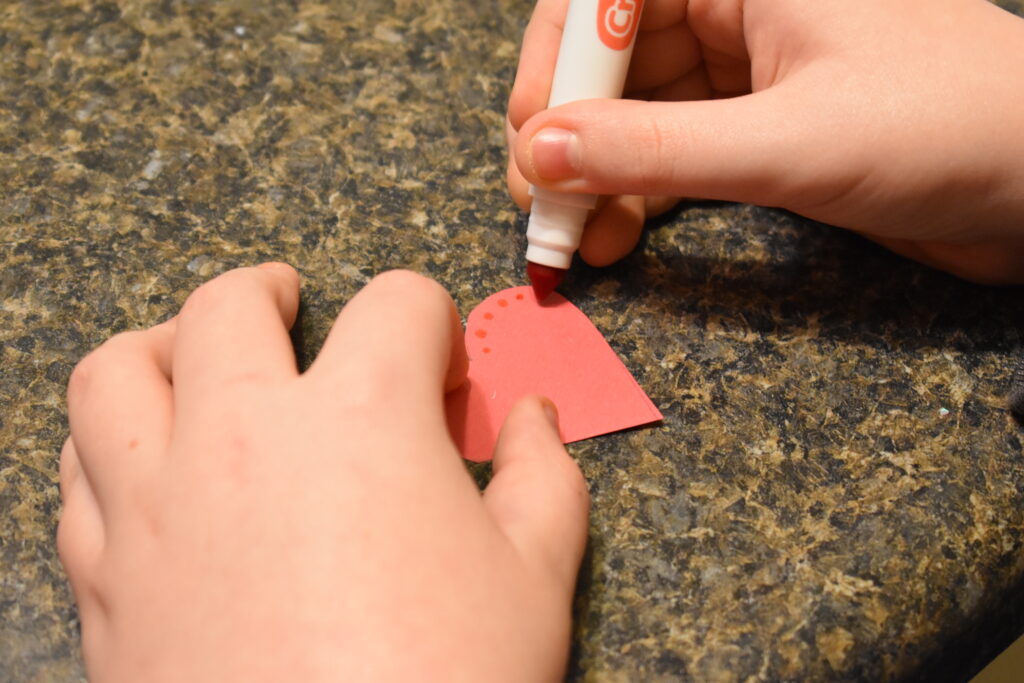
After they are all cut out you can use your markers to dress them up a little. Add polka dots, stripes, flower petals…. whatever you want to make them beautiful!
Now take a minute to decide how you want them arranged on your card. You can put some up high, over lap them, just get a sense of how the final product will look before you start gluing.
I folded a few of mine in half to add a 3D look to the card so if that is something you
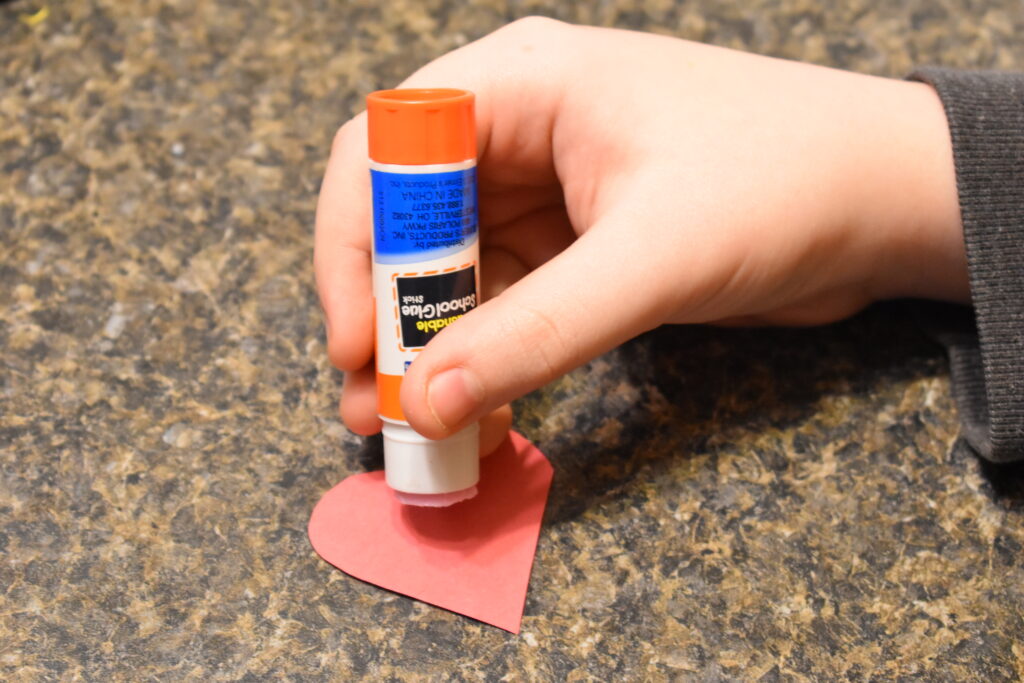
Now just add a little bit of glue from your glue stick to the back of your hearts and put them where you want them.
Once your hearts are all glued down it’s time to draw the flower stems. Use a pencil to sketch them lightly first to make sure you like the way they look and then trace with a green marker. Now add a little bow where the stems come together.
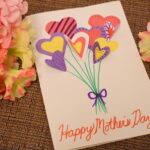
Add a little “Happy Mother’s Day” at the bottom. I recommend again writing it out with a pencil first.
Now you’re finished!

This homemade mother’s day card is so cute and so full of love for the special lady in your life who will receive it!
Heart Bouquet Mother’s Day Card
Equipment
- Scissors
Materials
- Construction Paper
- Glue Stick
- Markers
- Heart shaped stencils
- Pencil
Instructions
- Choose a piece of construction paper to be the base of your card and fold it in half.
- Using your stencils trace approx. 10 hearts of various shapes and sizes
- Cut out the hearts.
- If desired decorate hearts with markers.
- Arrange and glue hearts into place on card.
- Draw “stems” in pencil and then trace wth a green marker, add a bow to the stems if desired.
- Write Happy Mother’s Day in pencil and then trace with marker.


Very cute, going to do with my special needs first graders.
J.T.