Red Velvet Brownies with Cream Cheese Frosting
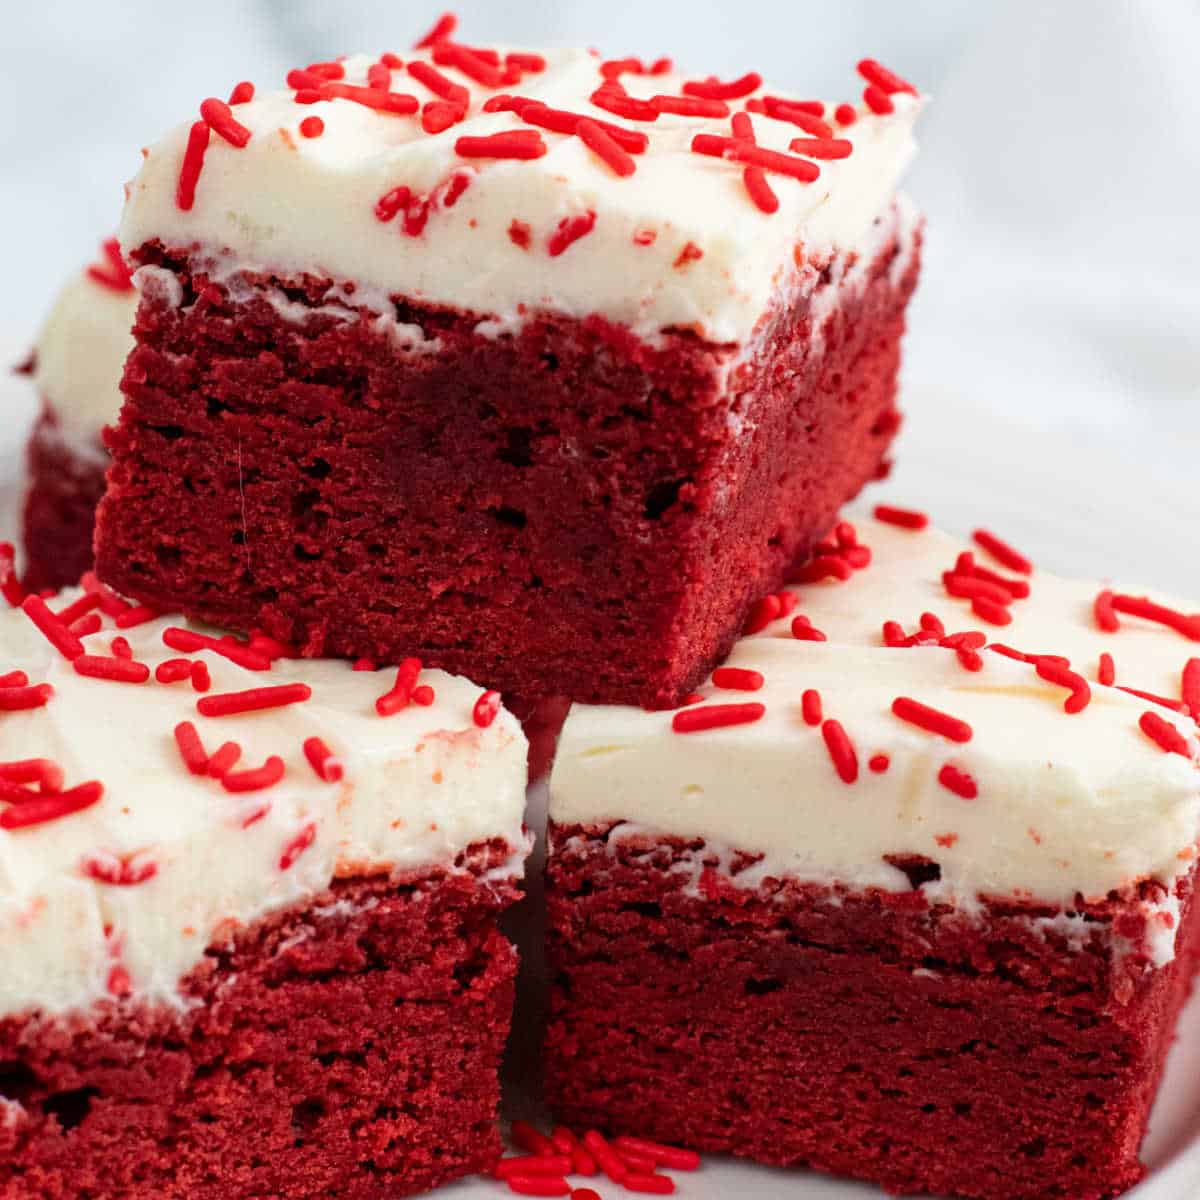
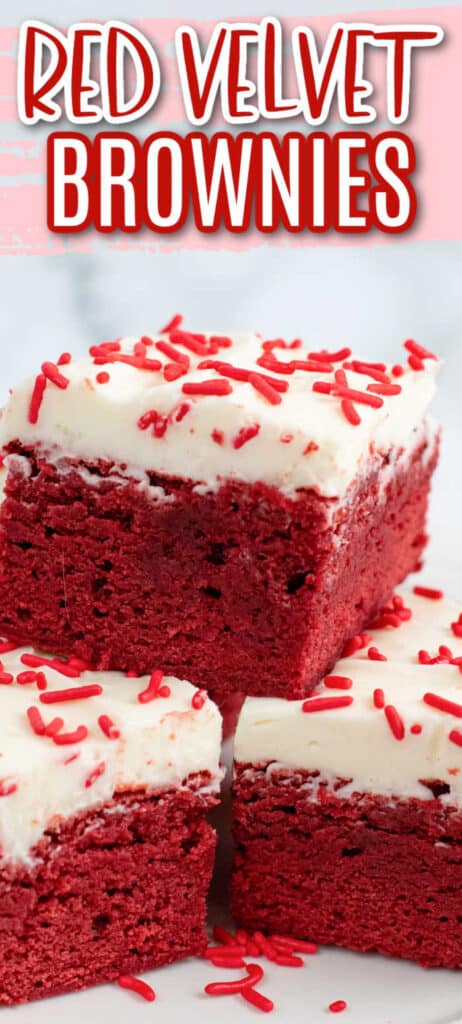
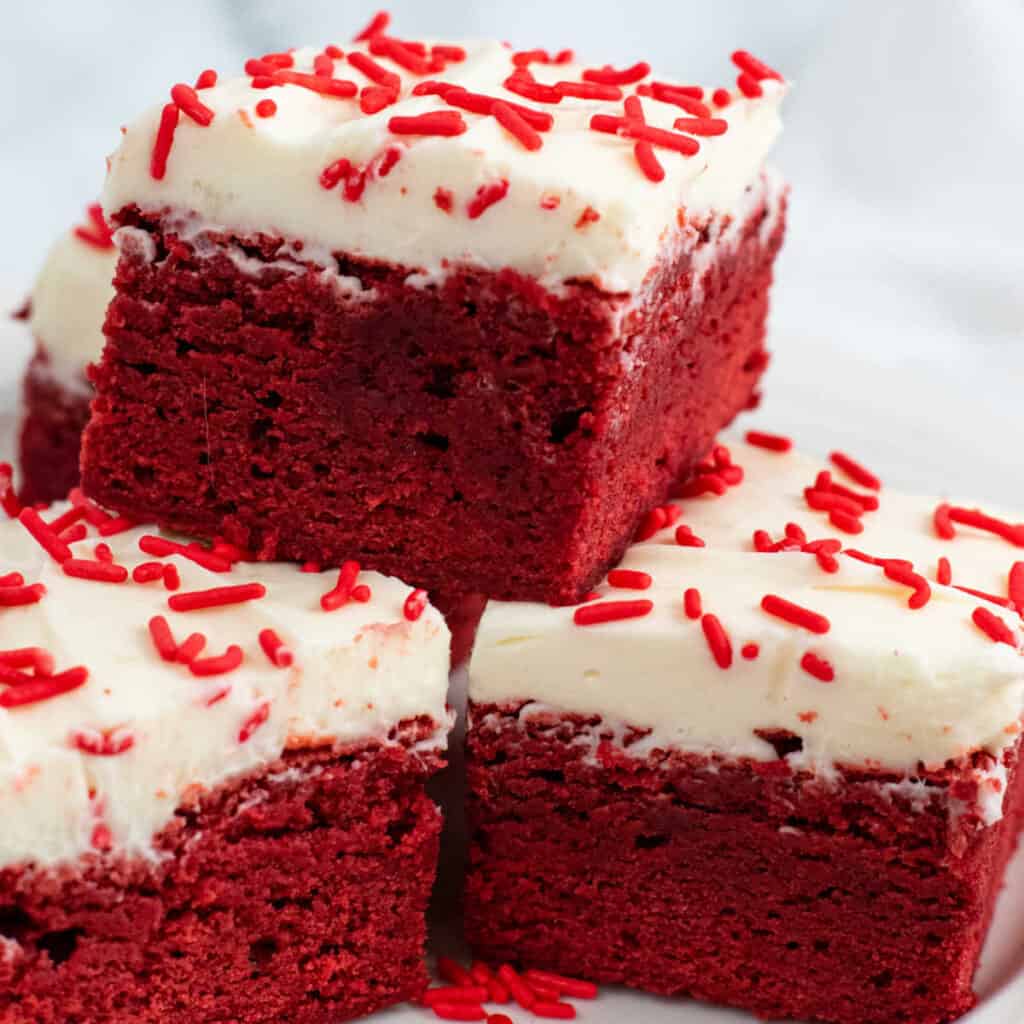
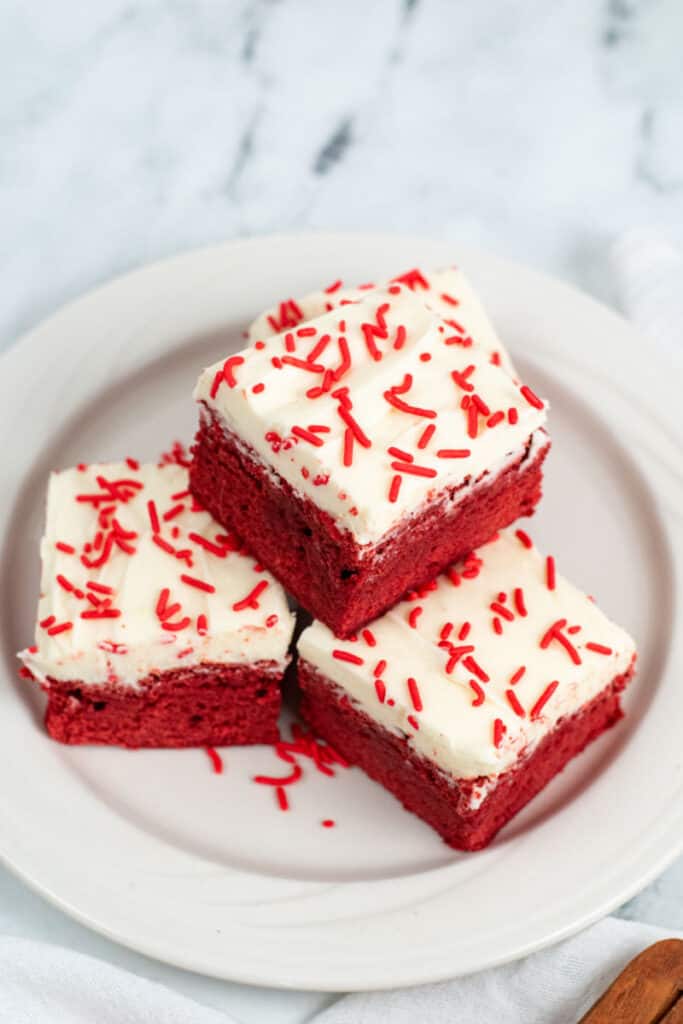
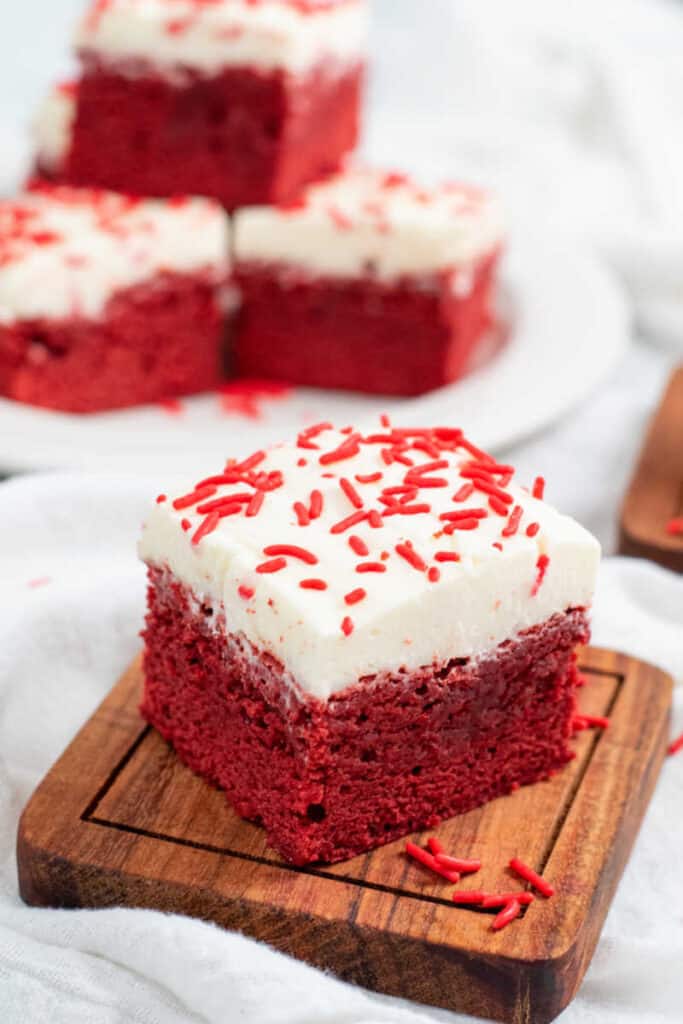
Soft, chewy, sweet and vibrant these red velvet brownies are amazing! They are topped with cream cheese frosting to add the perfect finishing touch! They are the perfect marriage of red velvet flavor and irresistible brownie texture.
I love brownies and blondies, there is something about that chewy texture that gets me every time! Another of my favorites? Cream cheese frosting! This red velvet brownie recipe combines both of those beautifully. These fudgy red velvet brownies are chewy and fudgy, a little chocolatey a little tart and the perfect texture topped with creamy frosting! They are a beautiful red color that is as pretty as they are delicious!
They are perfect for holidays, parties, or any day of the week that you’d enjoy a delicious treat! The rich red color makes them perfect for Valentine’s Day & Christmas, but the neutral white frosting is great for any time of year not just holiday season, just add your favorite sprinkles! These rich and fudgy red velvet brownies topped tangy cream cheese frosting are a great dessert for any occasion that everyone loves!
- Other Posts You’ll Love-
- Delicious Nutella Blondies These delicious Nutella blondies are the perfect blend of soft buttery blondies with a swirl of delicious chocolate hazelnut! They are the perfect dessert with a glass of milk, cup of coffee, or scoop of ice cream! Nutella
- Red Velvet Thumbprint Cookies- Red velvet thumbprint cookies are the perfect tender, buttery cookie with a hint of chocolate filled with a cheesecake filling. They are the perfect blend of red velvet flavors in a delicious cookie form
- Easy Red Velvet Fudge– This red velvet fudge has a thick fudgy layer topped with a cream cheese frosting fudge layer! It is the perfect treat for anyone who loves red velvet, fudge, or sweets! All the taste of red velvet cake in sweet creamy fudge!
Here’s some tips for making this delicious red velvet dessert-
Use No-Taste Red Food Coloring-
Red velvet cake gets its beautiful color from the chemical reaction between cocoa powder, buttermilk and vinegar. Many modern recipes add red food coloring to give it a boost and a more vibrant color. This recipe has vinegar to add that little bit of tang that we love for classic red velvet flavor but it does need a color boost to make the perfect red color. If you’ve ever had a dessert that is brightly colored you know that often food coloring adds a bitter flavor when too much is used. So I highly recommend using Wilton’s No-Taste Red Gel Food Coloring. They have created a beautiful food coloring that doesn’t have a yucky after taste.
What If I Have Regular Food Coloring-
If you don’t have no-taste food coloring and still want a pretty red color for your brownies you can use regular gel food coloring or liquid. I recommend using only a little, your brownies won’t come out quite as red but their taste won’t be altered. You can add a few drops of food coloring, mix it in and taste it to check. You won’t have such an deep red color but they will taste great!
Can I Make These Thinner?
I personally love a thick chewy brownie, but I know some people prefer a thinner brownie. You can make this recipe like I did in an 8×8 or 9×9 in square pan or you can make it in a 13×9 inch pan. You’ll want to make sure to spread the red velvet brownie batter evenly across your pan and will need to adjust the baking time, approximately 25-30 minutes should work well. You’ll also need to double the frosting recipe to make enough to cover your brownies.
For the Perfect Baking Time-
Brownies and blondies can be tricky to bet the baking just right. You don’t want to overbake them and end up with dry, hard brownies instead of nice chewy red velvet brownies. But if you underbake them you can end up with a way too mushy middle. Another factor is that ovens can vary greatly in their temperatures, and depending on if your pan is metal or glass the brownies will bake differently! Getting perfect brownies can have a learning curve! An 8×8 pan will have the longest baking time, because it is a thick layer of batter to cook through, 9×9 take less time, and 9×13 the shortest. I recommend that you start with 30 minutes and then check them every 5 minutes until a toothpick inserted near the center comes out with moist crumbs, not batter. After your first time baking these you’ll know what works for next time!
Variations-
Add chocolate chips– For extra flavor in these easy red velvet brownies you can add chocolate chips or add white chocolate chips, or even a mix of both!
Use store bought frosting– If you’re looking for a shortcut you can make these red velvet brownies with a container of store bought cream cheese icing instead of making it homemade.
Use a different flavor frosting- If you aren’t a fan of cream cheese frosting you can leave the frosting off of these brownies or you can use a different flavor. Try this red velvet brownie recipe with chocolate frosting, vanilla frosting, or white chocolate frosting!
Top them with ice cream– These fudgy and chewy brownies are delicious warmed and topped with a scoop of vanilla ice cream. You can make them without frosting to top with ice cream, but brownies with frosting are just as delicious with your favorite ice cream topping!
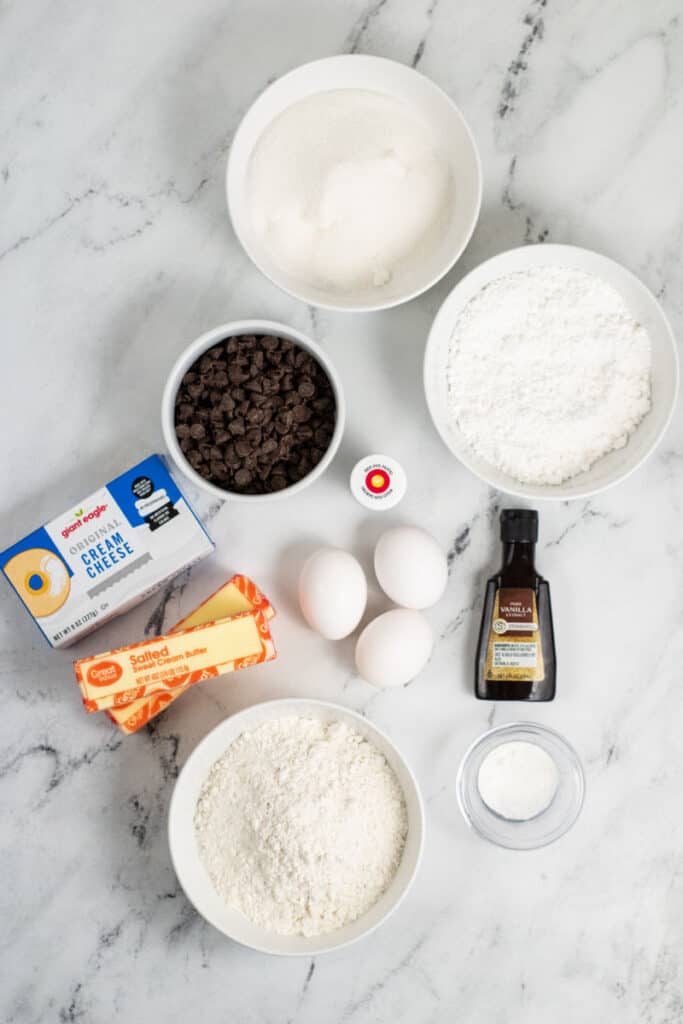
Here’s What You’ll Need to Make Red Velvet Brownies with Cream Cheese Frosting –
For the Brownies-
½ Cup Butter- You can use salted or unsalted, you’ll be melting it so it doesn’t need to be softened.
1/3 Cup Semi-Sweet Chocolate Chips – These add a rich chocolate flavor. Milk chocolate chips will make this too sweet. You need the bittersweet chocolate flavor from semi-sweet chocolate chips.
1 Cup Sugar- Regular white sugar or cane sugar work perfectly
3 Eggs- Use large, fresh eggs
1 tsp Vanilla – Use real vanilla extract
1 tsp Apple Cider Vinegar – Apple cider vinegar works best, but white vinegar works too if that is what you have.
¼ tsp Salt
½ tsp Baking Powder- Make sure your baking powder is fresh.
1 Cup Flour- All purpose flour is perfect for this recipe.
1-2 tsp No-Taste Red Gel Food Coloring
For the Cream Cheese Icing –
4 oz. Cream Cheese- Make sure it is softened to room temperature so it mixes well.
¼ Cup Butter- I like to use salted butter for this frosting but unsalted works too. Soften to room temperature before starting.
¼ tsp Vanilla
2 Cups Powdered Sugar – This makes the frosting light and fluffy.
Pinch Salt- If you use unsalted butter you’ll need a little more salt. Taste after adding and add more if desired.
Optional- Sprinkles
Here’s how to make this red velvet brownies recipe-
Preheat your oven to 325 line a square baking pan with parchment paper and butter the parchment, set aside.
Place the chocolate chips and butter in a medium pan over low heat and melt until smooth, stirring frequently.
Meanwhile in a medium bowl whisk together flour, salt, and baking powder until well mixed, set aside.
Remove the melted chocolate mixture from the heat and whisk in the sugar.
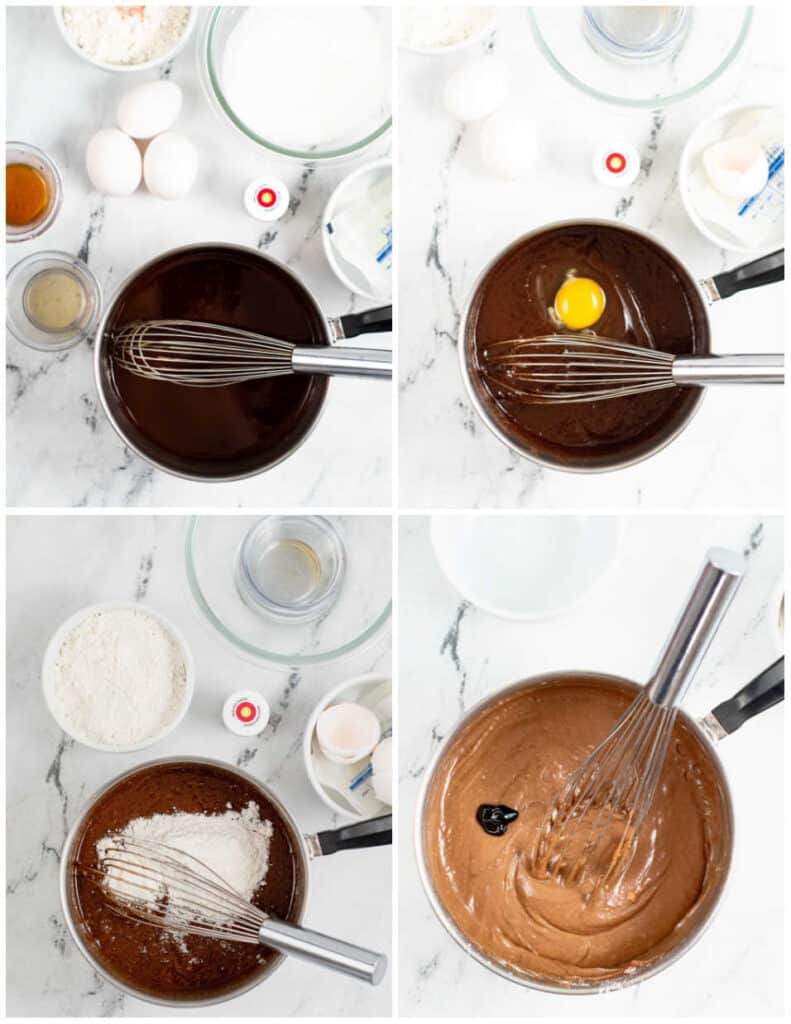
Add in eggs one at a time whisking until well incorporated after each addition until all 3 eggs are mixed in. You can whisk by hand or use an electric mixer
on low or medium speed. You don’t want to overbeat the batter.
Add in vanilla and apple cider vinegar and mix well.
Gradually add the flour mixture to the chocolate mixture gradually, mixing after each addition until all of the dry mixture is incorporated.
Add in food coloring. Start with 1/2 a tsp and mix it in, add more if you want a more vibrant color.
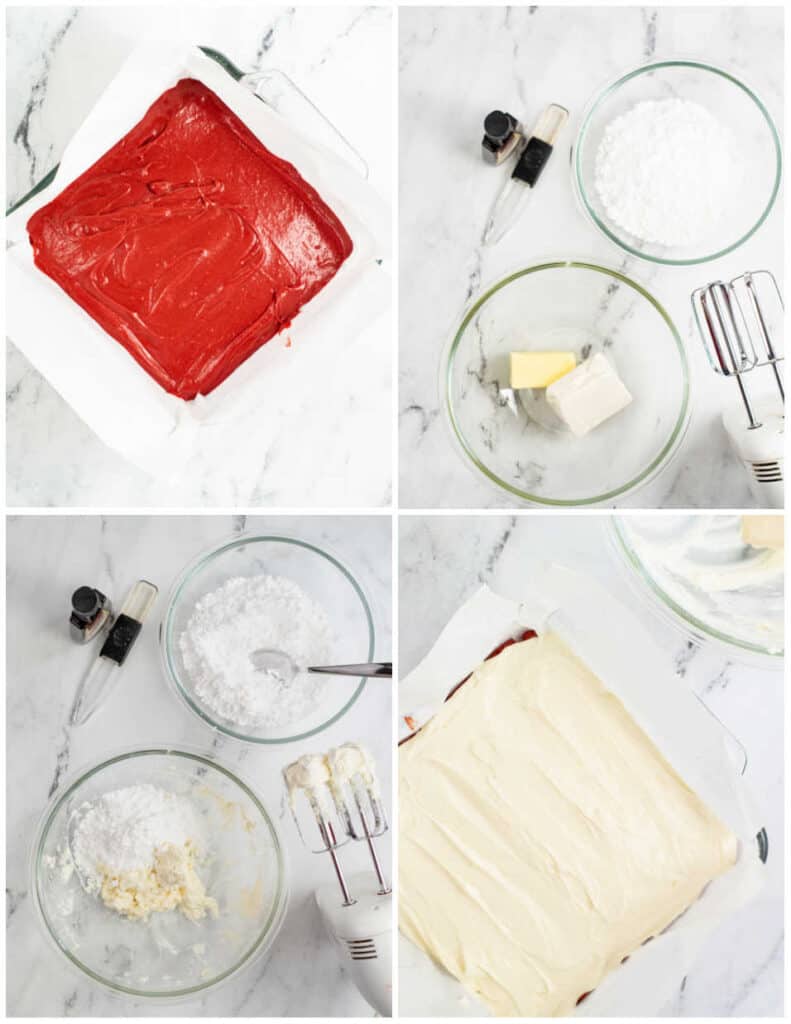
Once your desired color is achieved pour brownie batter into your prepared baking pan and spread it evenly.
Bake the brownies for 45-55 minutes. Check after 30 minutes, and keep an eye on them as to not overbake.
Once the brownies are baked move them to a wire cooling rack to allow the brownies to cool completely.
Once your brownies are completely cooled it is time to make the homemade cream cheese frosting
Place your cream cheese and butter in a mixing bowl, using a stand mixer or electric hand mixer beat together the cream cheese and butter.
Add in the vanilla, and about 1/4 or the powdered sugar, continue mixing until incorporated. Add the rest of the powdered sugar gradually, mixing between additions until it is all incorporated and the frosting is light and fluffy.
You can use the parchment paper to lift the brownies out of the pan or leave them in the pan to frost.
Spread the frosting evenly across the cooled brownies.
Cut into 9 squares to serve. Store in an airtight container.
Enjoy!
Red Velvet Brownies With Cream Cheese Frosting
Ingredients
- For the Brownies-
- ½ Cup Butter – softened
- 1/3 Cup Semi-Sweet Chocolate Chips
- 1 Cup Granulated Sugar
- 3 Eggs
- 1 tsp Vanilla
- 1 tsp Apple Cider Vinegar
- ¼ tsp Salt
- ½ tsp Baking Powder
- 1 Cup Flour
- 1-2 tsp No-Taste Red Gel Food Coloring
- For the Frosting-
- 4 oz. Cream Cheese- softened
- ¼ Cup Butter- softened
- ¼ tsp Vanilla
- 2 Cups Powdered Sugar
- Pinch Salt
- Optional- Sprinkles
Instructions
- Preheat your oven to 325 line a square pan with parchment paper and butter the parchment, set aside.
- Place the chocolate chips and butter in a medium pan over low heat and melt until smooth, stirring frequently.
- Meanwhile in a medium bowl whisk together flour, salt, and baking powder until well mixed, set aside.
- Remove the melted chocolate mixture from the heat and whisk in the sugar.
- Add in eggs one at a time whisking until well incorporated after each addition until all 3 eggs are mixed in. You can whisk by hand or use an electric mixer
- on low or medium speed. You don’t want to overbeat the batter.
- Add in vanilla and apple cider vinegar and mix well.
- Gradually add the flour mixture to the chocolate mixture gradually, mixing after each addition until all of the dry mixture is incorporated.
- Add in food coloring. Start with 1/2 a tsp and mix it in, add more if you want a more vibrant color.
- Once your desired color is achieved pour brownie batter into your prepared baking pan and spread it evenly.
- Bake for 45-55 minutes. Check after 30 minutes, and keep an eye on them as to not overbake.
- Once the brownies are baked move them to a wire cooling rack to cool completely.
- Once your brownies are cooled it is time to make the homemade cream cheese frosting
- Place your cream cheese and butter in a mixing bowl, using a stand mixer or electric hand mixer blend them together.
- Add in the vanilla, and about 1/4 or the powdered sugar, continue mixing until incorporated. Add the rest of the powdered sugar gradually, mixing between additions until it is all incorporated and the frosting is light and fluffy.
- Spread the frosting evenly across the cooled brownies.
- Cut into 9 squares to serve. Store in an airtight container.
Kathy G McVay says
Will definitely make these for the kids over the weekend.
Mary says
Thank you for this recipe im going to make them now I love red velvet cake now brownies
Lisa says
How long in advance can these be made and how should I store them?
Kathleen says
My daughter loves red cake ,the brownies look amazing. I will make them for her.