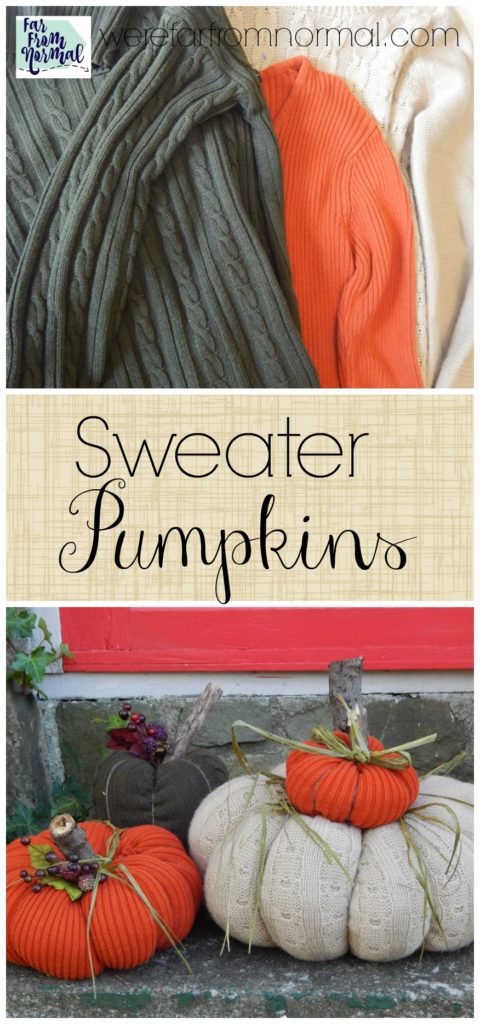
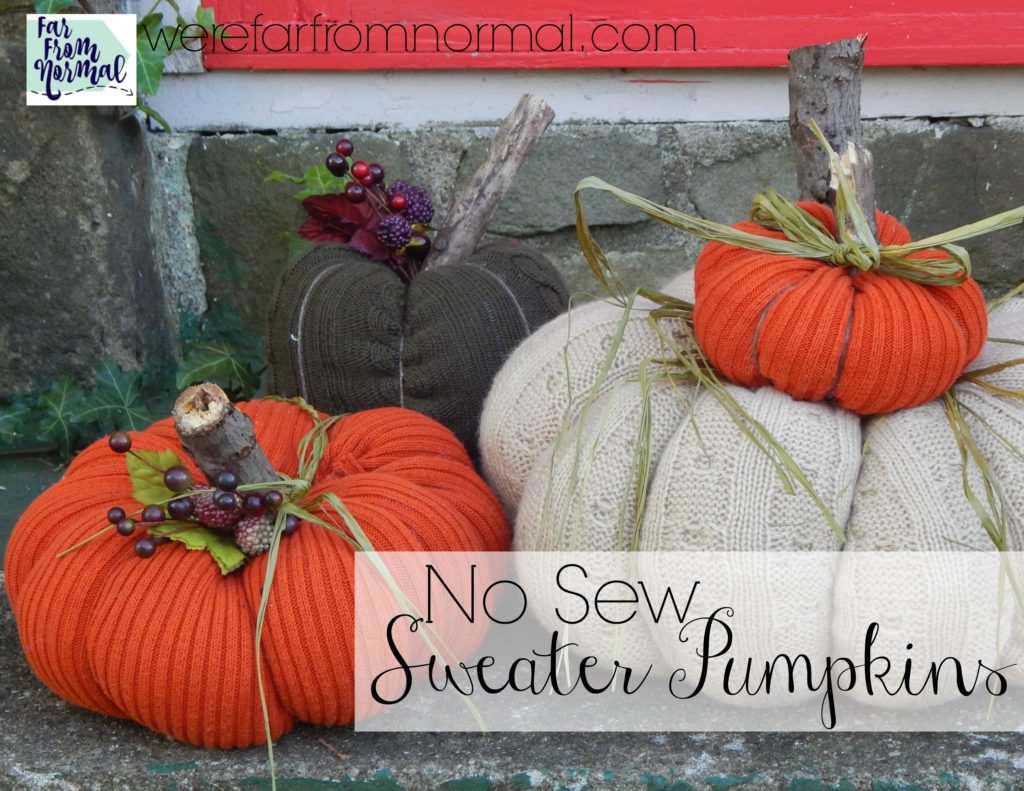
These little no sew sweater pumpkins are so easy and dress up your fall decor beautifully!! Make them quickly and easily with an old sweater and few other supplies!
I’m sitting here writing this post with my windows open, smelling scents of fall, and with a sweatshirt on because there is a little chill in the air! All I need to make this picture complete is some pumpkin spice coffee… alas my regular will have to do.
I love everything about fall, the colors, the flavors, the smells… it is great. Here in Ohio we get a really nice distinct fall too, great weather change, leaf colors… it’s pretty perfect.
It’s this time of year you start thinking about getting out your warm clothes, and maybe there are a few sweaters that have been stored for the summer that you don’t think you’ll be wearing again… what to do?
Turn them into pumpkins!! If you don’t have any sweaters you want to use for these head to your local Goodwill or thrift store.. then get to making some adorable sweater pumpkins!
These are super simple, don’t require any sewing, and can be made in pretty much any size or shape! You can use different parts of the sweater or different sweater sizes to get a big variety of pumpkins!
Here’s what you’ll need for these no sew sweater pumpkins-
Sweaters, any size, shape or knit
Yarn
Stuffing- Poly Fil from any craft store
A needle with an eye big enough for yarn.
Raffia, leaves, or other decorations
Sticks trimmed for stems
Fabric scissors
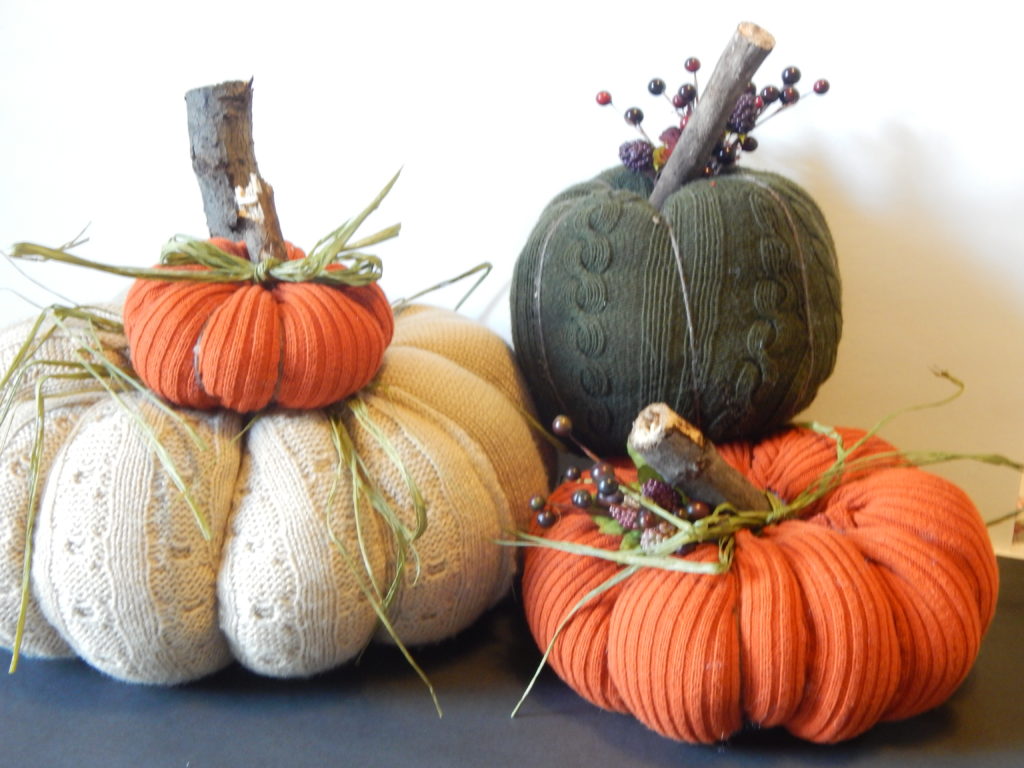
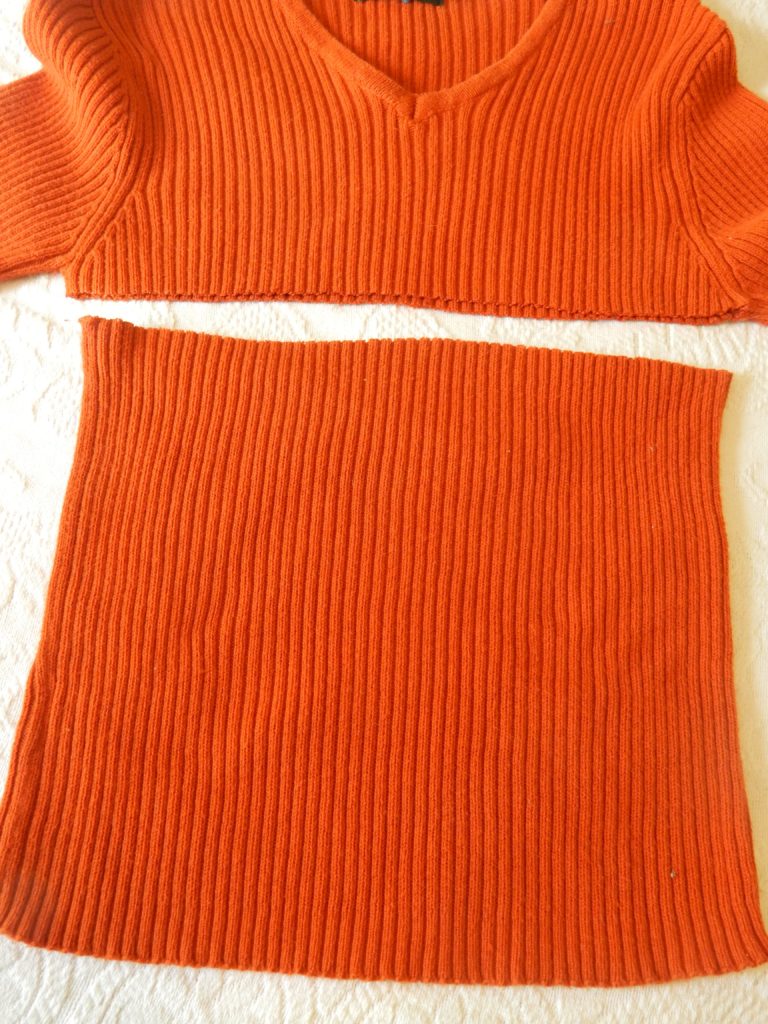
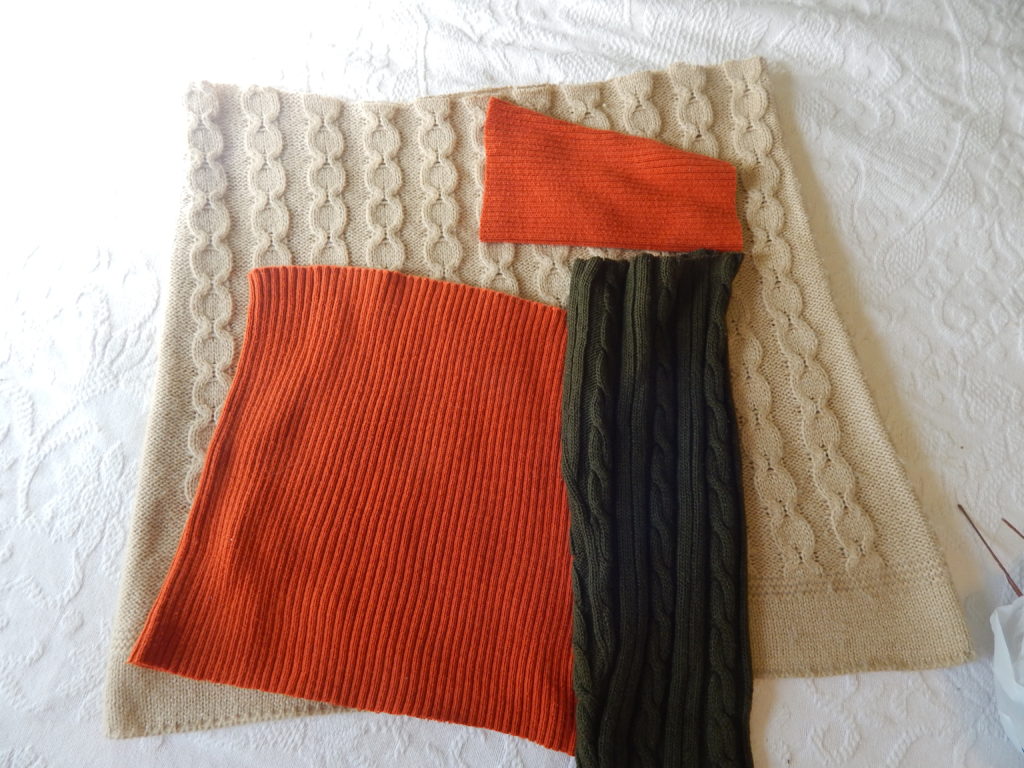
First thing is to cut apart your sweaters. My big orange and tan ones are a sweater body cut right below the armpits.
For the smaller orange one and the green one I used the sweater arms. Each part makes a different shape and size pumpkin.
Once you have all your disembodied sweater parts you’re ready to get started!
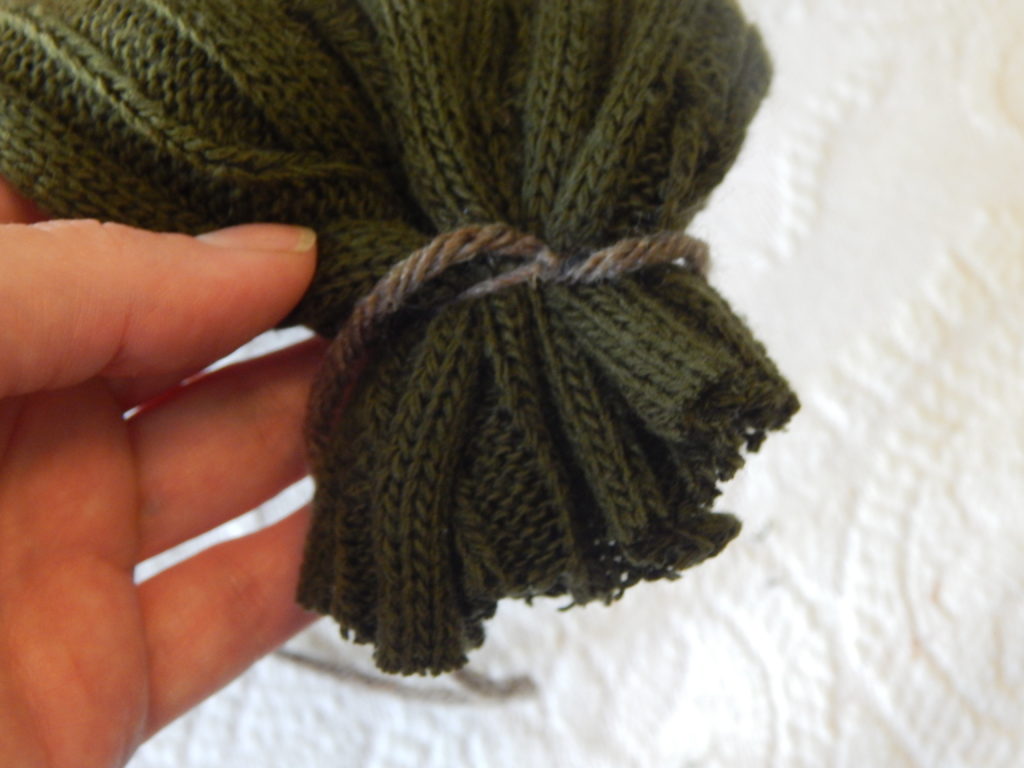
Turn your sweater part inside out and gather one end and tie yarn around it. It’s a little harder with the bigger pieces but it can be done. It doesn’t have to be super tight you want about a finger size hole left.
Now turn it right side out. You’ll have kind of a little bag.
Now stuff it full of fluff.. don’t be skimpy, stuff it really nice and full.
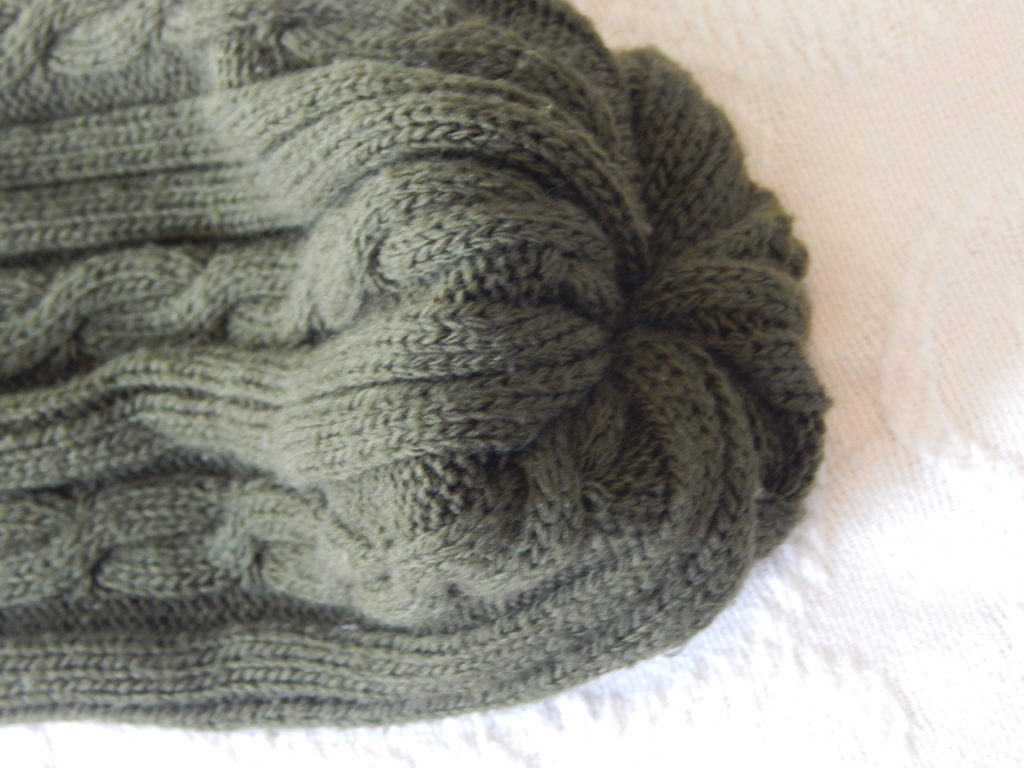
Now if you have a smaller piece like an arm you can roll the top edge in like a donut.
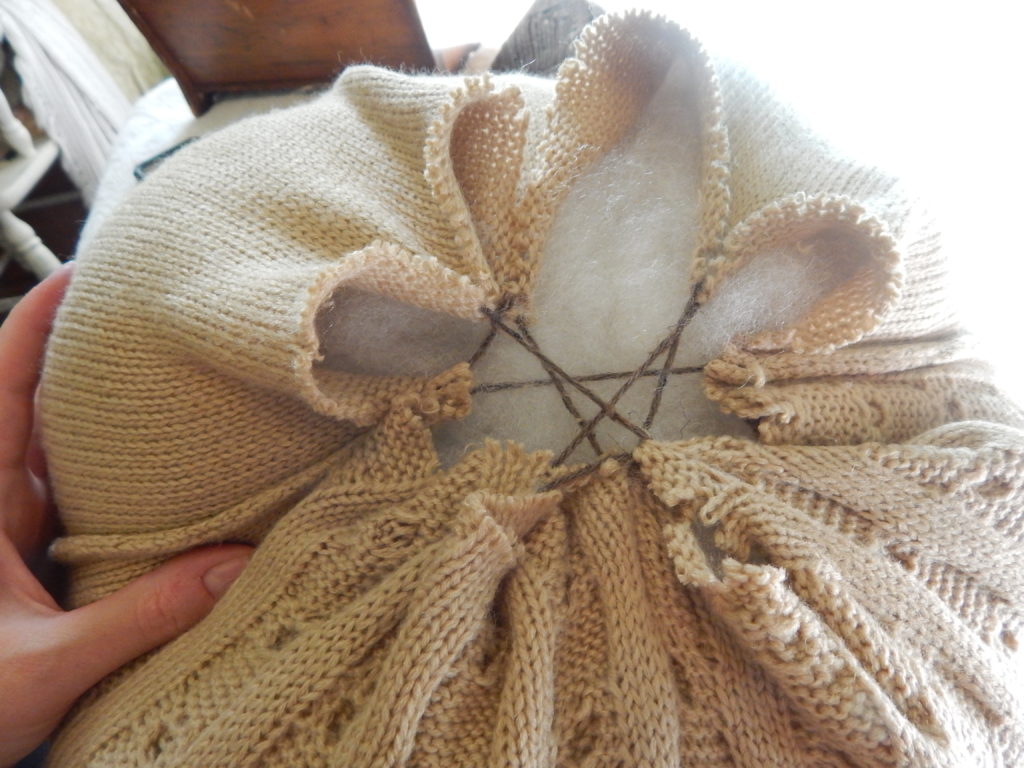
If you have a bigger piece, like a sweater body you’ll need to tack the top together using your yarn and needle. It doesn’t have to be pretty just nicely gathered at the top.
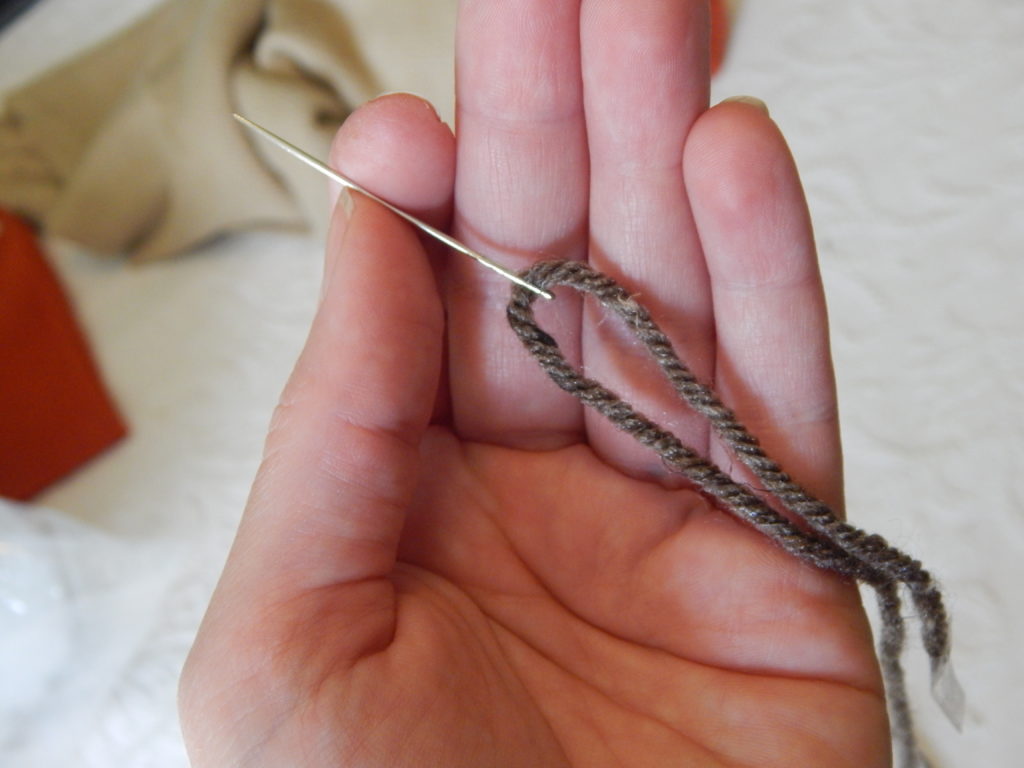
Here’s a little hint for getting yarn through a needle, it can be a pain, but a little piece of scotch tape can be really helpful! Just wrap the end.
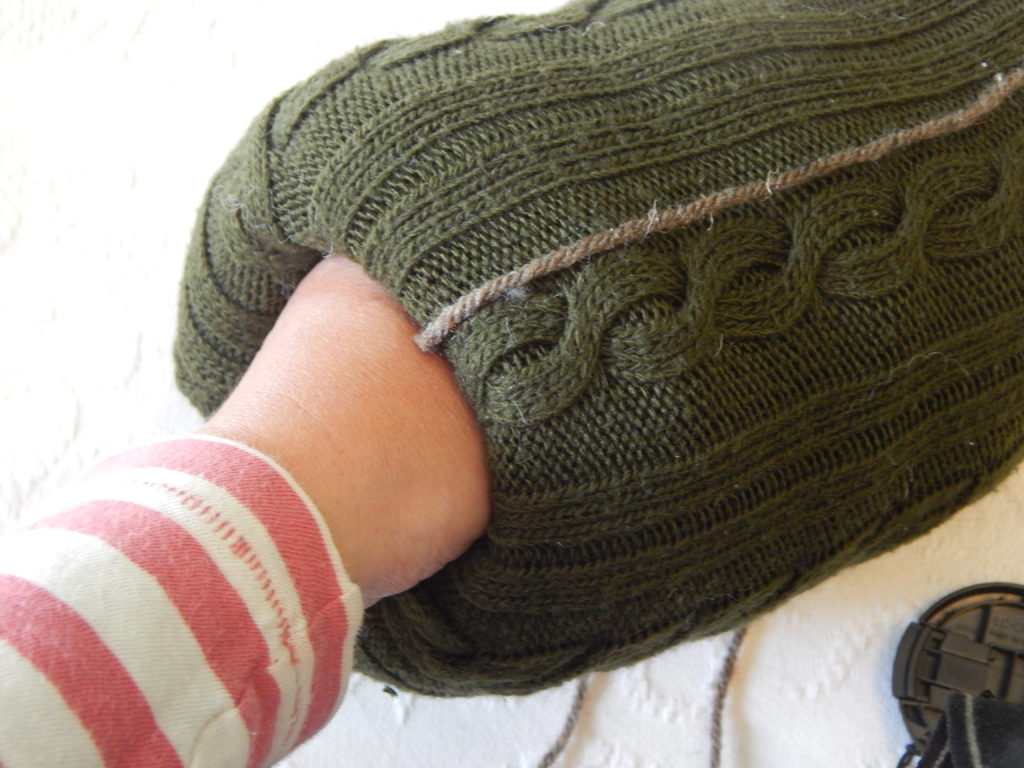
Now find stick the needle up through the little hole in the bottom where you gathered the sweater, and stick your other hand in the top to pull the needle through.. be careful!! You could probably do this without the needle, I just think it makes life a lot easier!
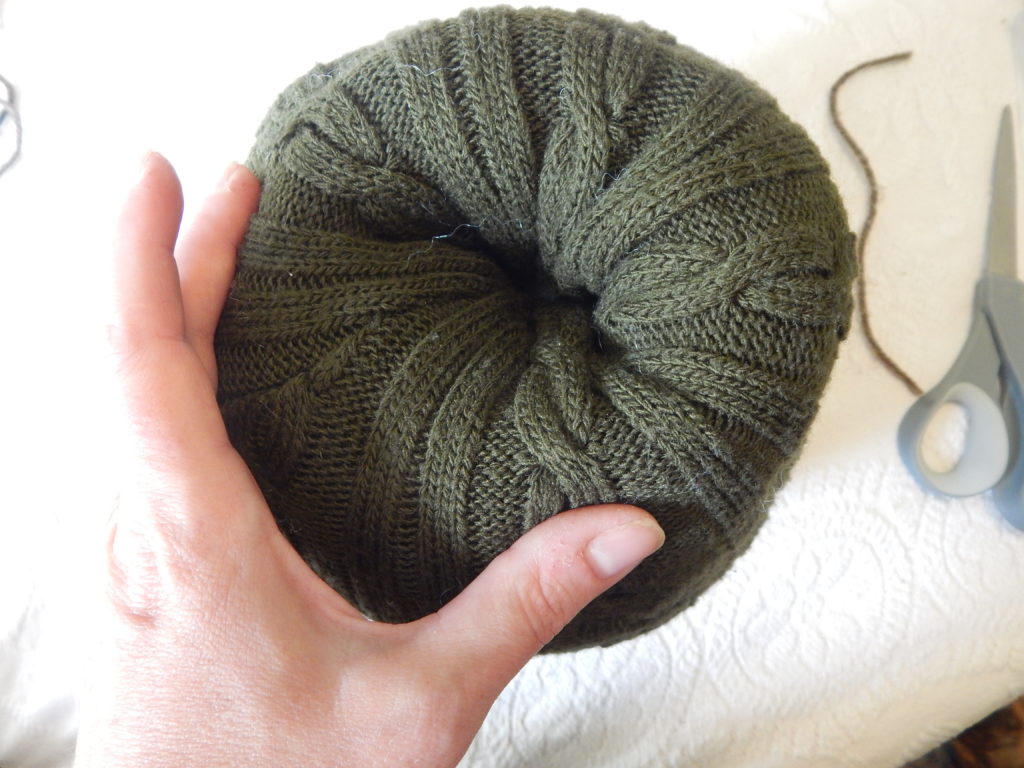
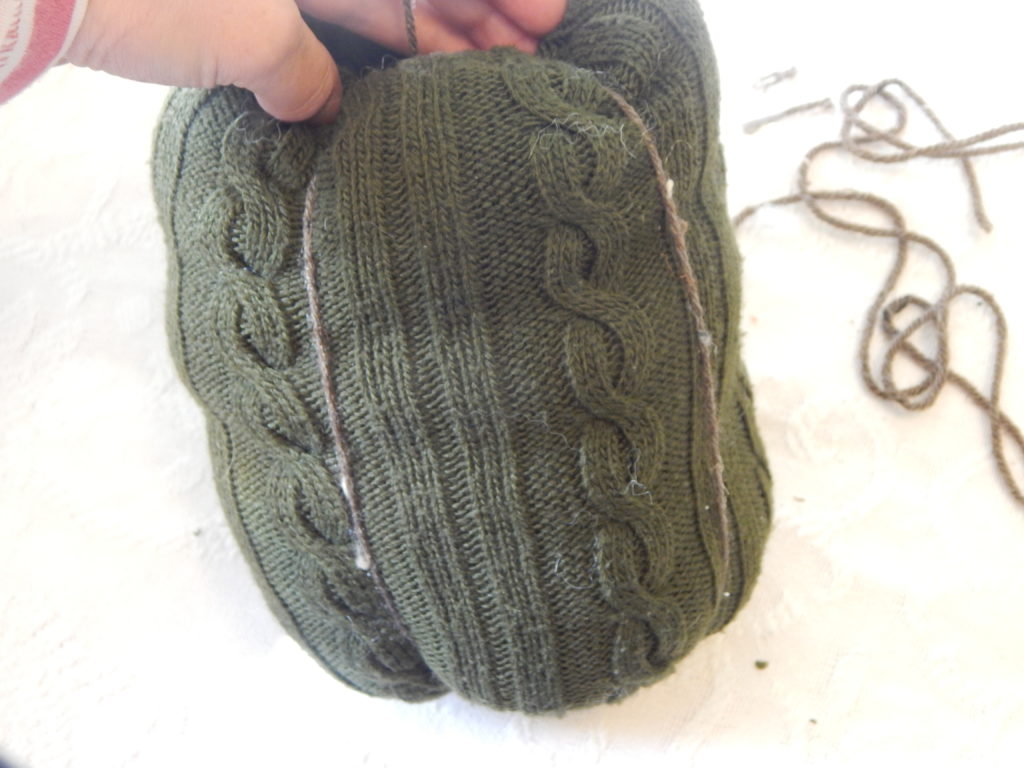
Now that you’ve pulled your yarn through from top to bottom, pull it back to the bottom and tie a knot. This creates your first ridge in the pumpkin. Now put it back through and around again. Pull them tight to create nice ridges.
If you’re making a big pumpkin that you’ve tacked the top like I did above make sure your tuck the fabric in and work with it to make the top nice and smooth.
I like making a ridge on one side, then the opposite so that they stay nice and even, you can work your way around, and make as many or few as you’d like
Once you’ve reached your desired pumpkin-y-ness, just tie your yarn off at the bottom of your pumpkin.
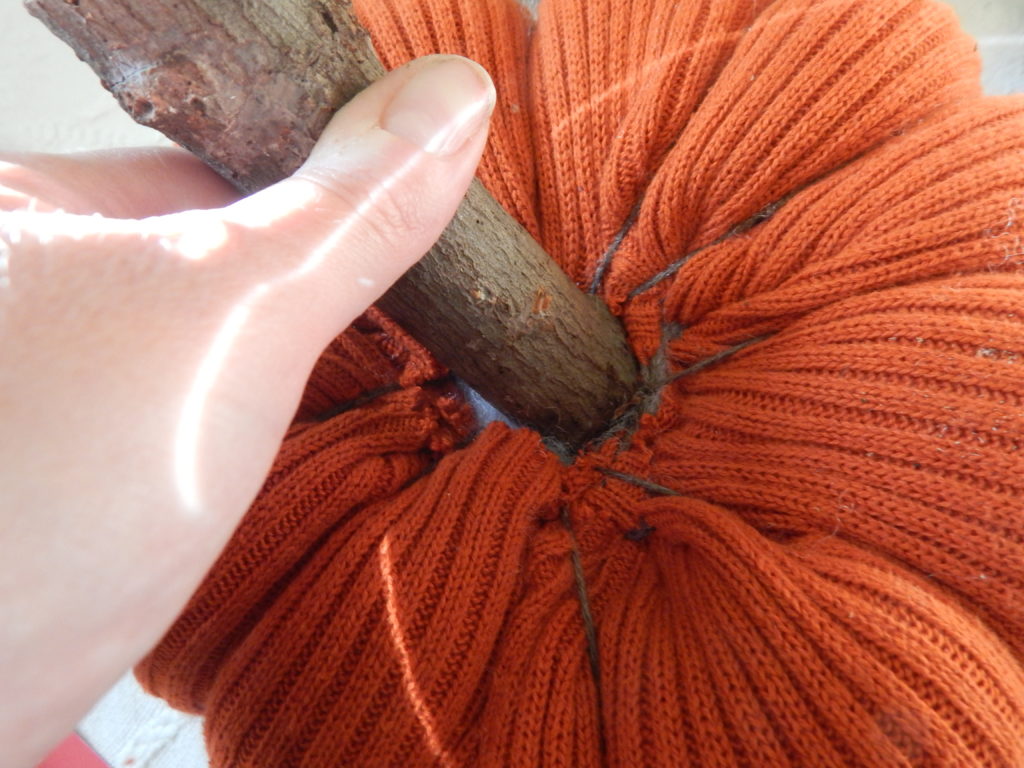
Now you’re going to stick your stem into place. If you want to add a touch of glue to secure it you can. I just jammed mine in there between the yarn. I wanted to keep the stem removable for storage purposes.
You can see here that the top isn’t perfect, but once everything is in place you can’t see that!
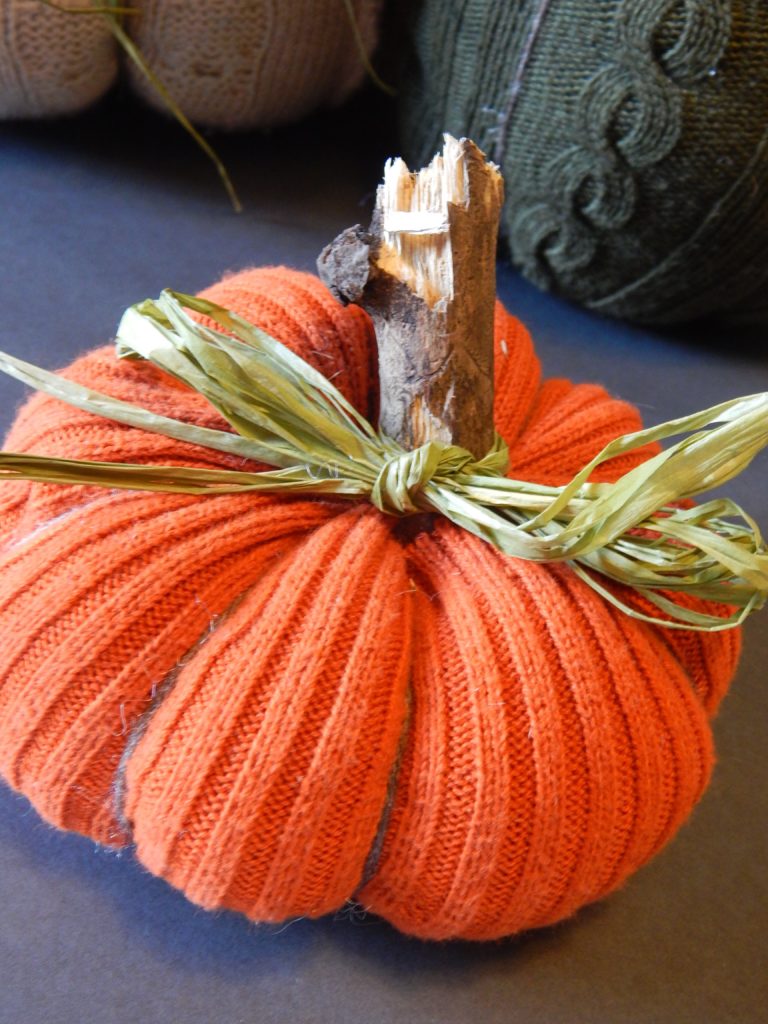
Now tie on some raffia, add some berries and leaves, or any other fall decorations you want!
Now you’re all set! Use these little no sew sweater pumpkins to decorate your mantle, table, or anywhere else you want to add some fall flair!!
DIY Handwarmers (made from sweaters!)


[…] No Sew Sweater Pumpkins from Far From Normal […]