How to Make a Paper Plate Mini- Diorama (and a lesson on animal sanctuaries)
Make sure you can find this later  now!!
now!!
Our homeschool co-op is off and running for another year and we’re doing things a little differently this year. In past years a few moms have picked a subject and taught the whole year. But this year we’re taking turns. Each mom gets one month and we’re each planning a lesson and a coordinating field trip. That way we get a variety of fun stuff and each mom gets a chance to teach.
And who volunteered to g first?
Me.
I knew immediately what field trip I wanted to take and knew it needed to be done while the weather was still nice. I wanted to take the kids to a local animal sanctuary.
So I built my lesson around that.
The first thing I did was to tell the kiddos about the sanctuary and talk to them about what exactly went on there.
Then I read them this book which is great at highlighting why sanctuaries exist. How animals can’t be returned to the wild once they’ve been pets, and how hard animal sanctuaries work to help their critters.
The challenge this year is that we have pre-K through 7th grade so I wanted to make sure any book I found would be entertaining enough for the little ones but interesting enough for the older ones… and they all loved this one.
Next we talked about animal habitats. Why specific animals need certain things and why they are happier in the wild.
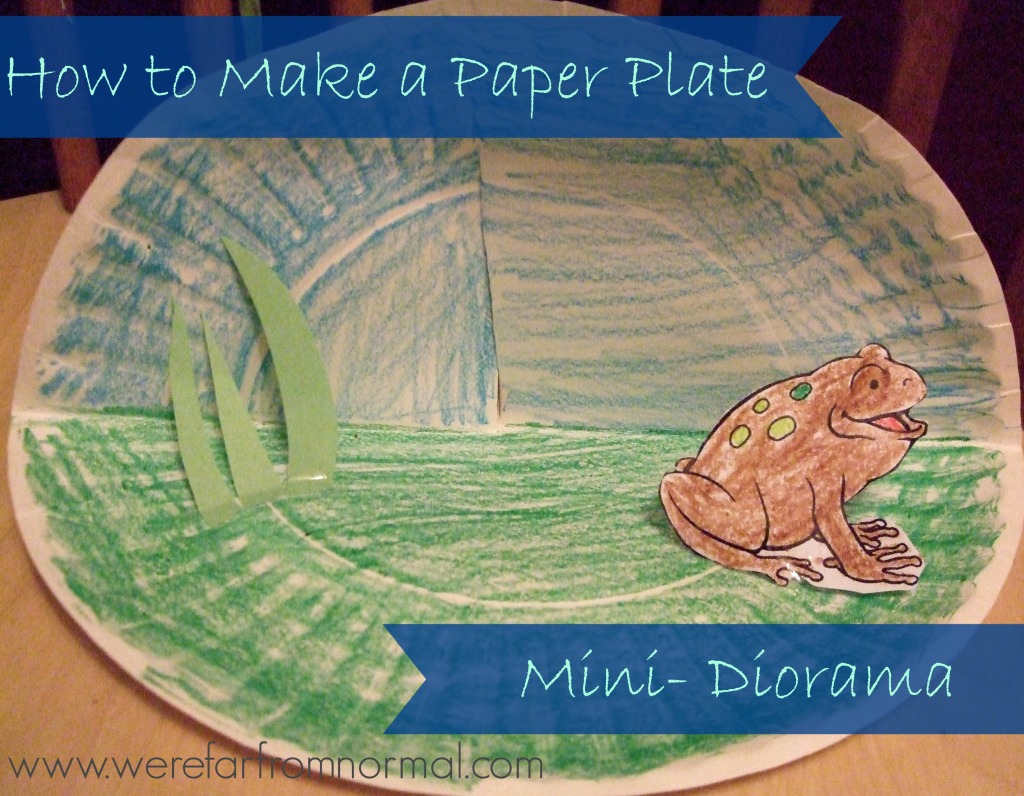
Then we made these super cute little dioramas.
Dioramas are fun, but sometimes very involved, and getting 20+ kids to remember to bring shoeboxes in would have been a challenge.
Enter in these mini versions made with cheapo paper plates!
They’re really easy to make and lots of fun for the kids.
Here’s what you’ll need
Paper plates (the flimsy cheap kind)
Markers, pencils, crayons etc.
Scissors
tape
cutouts, stickers, construction paper, etc for filling in the diorama.
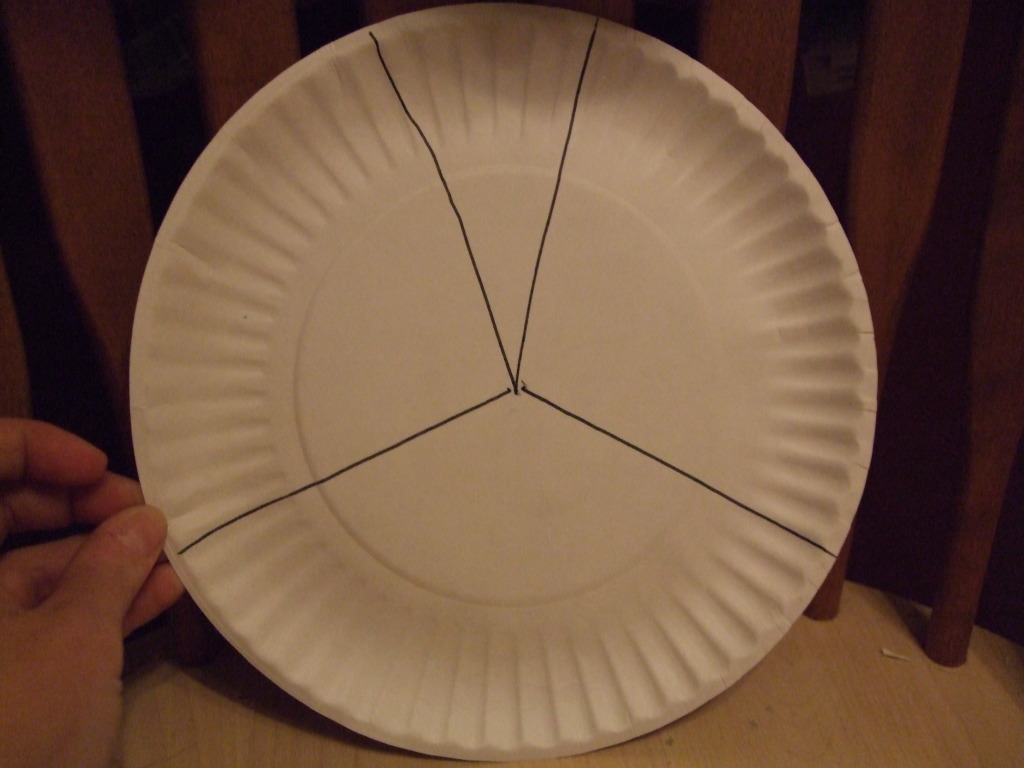
First you’ll want to divide your paper plate into thirds.
Then make a V from one of the thirds. You want it to be about 1 1/2 inch across at the top.
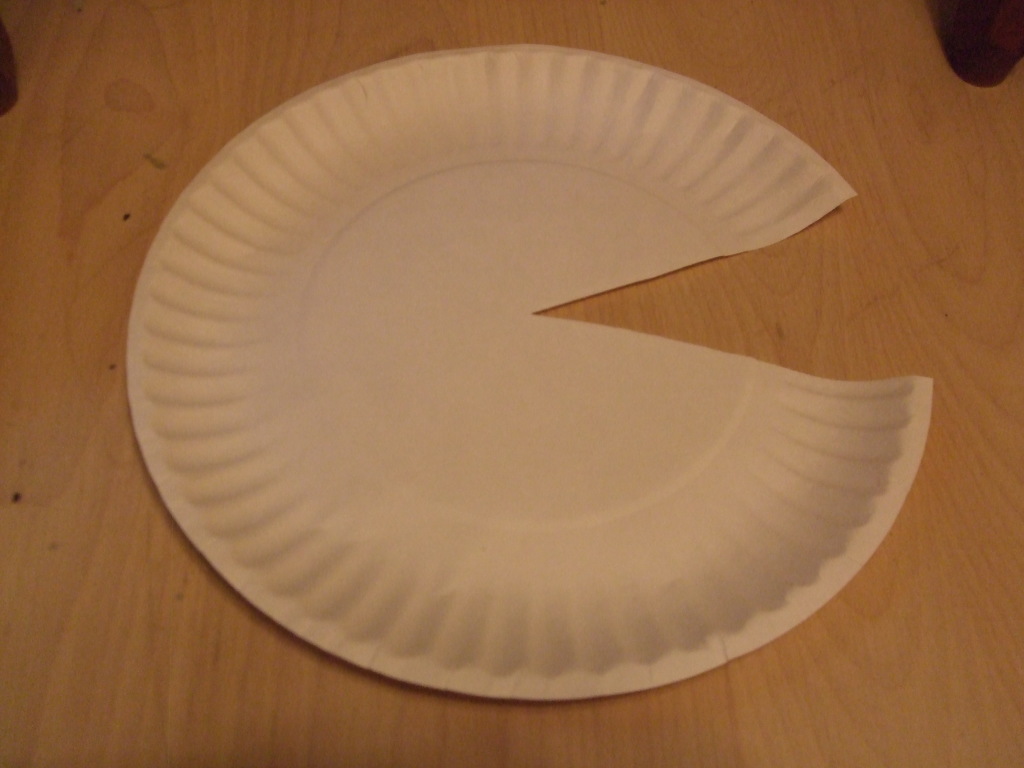
Now cut that V out… you’ll end up with kind of a Pac Man paper plate. If you’re doing this with a group of kids I highly recommend doing this cutting before hand.
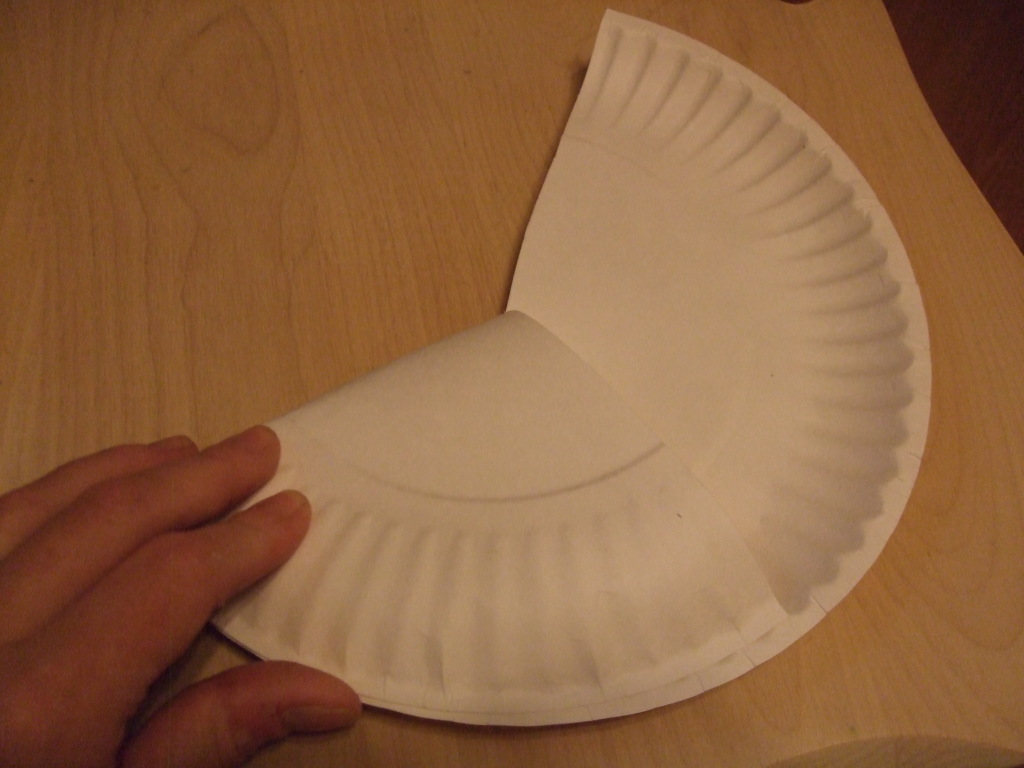
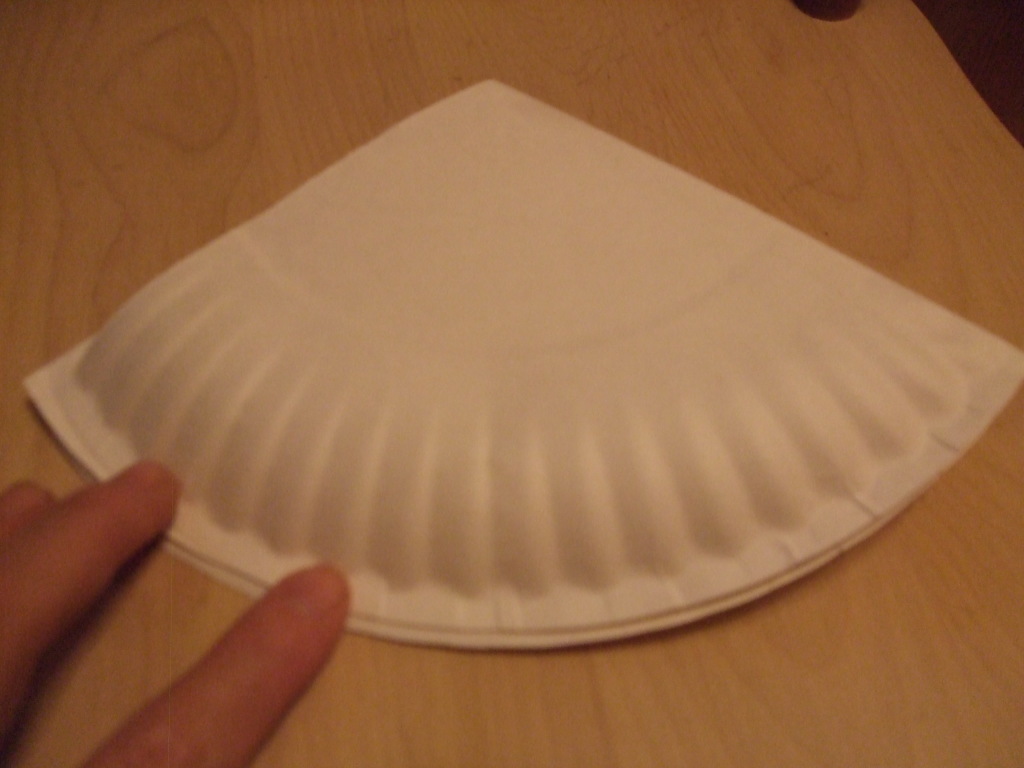
Now fold one side of the plate down and over, repeat on the second side.
You should end up with a nice little triangle shape.
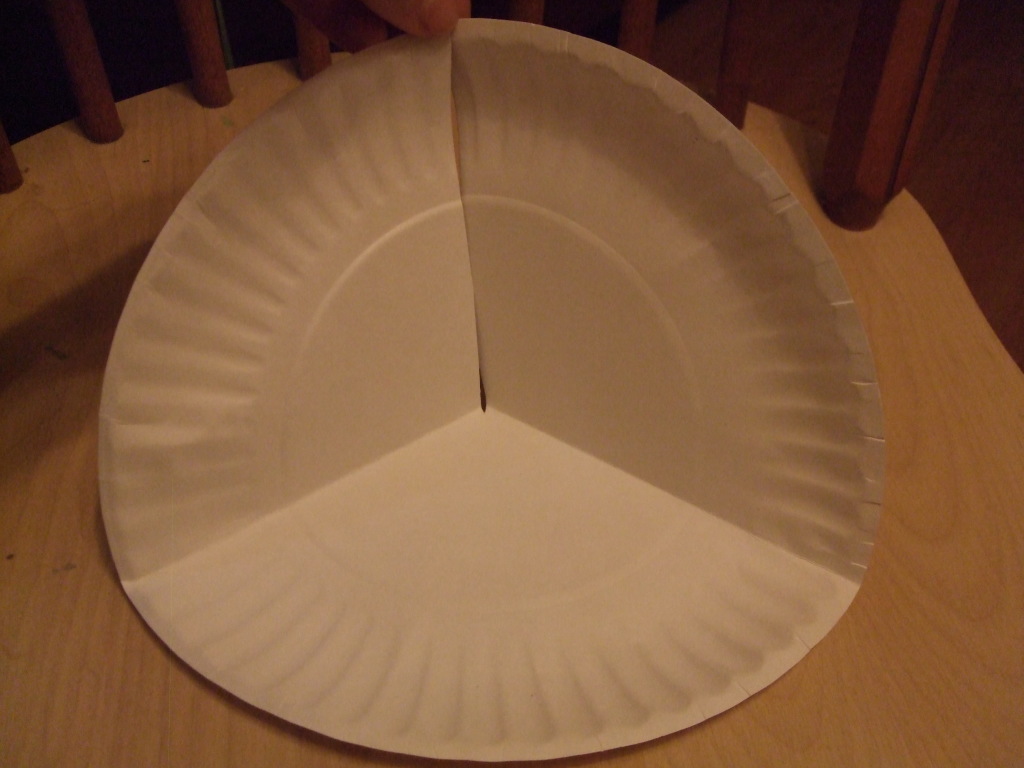
Now unfold it.
Here’s where the fun starts.
The pieces you folded down will be the background and the third section will be the “ground”. Let the kids have fun decorating! You are only limited by your supplies, imagination and time.
Our class time is only 45 minutes so I opted to give the kids printed animals they could color and cut out. But if you have more time you can go all out and make these really involved.
Once they’re decorated. You can tape the two background pieces together so that it will stand up.
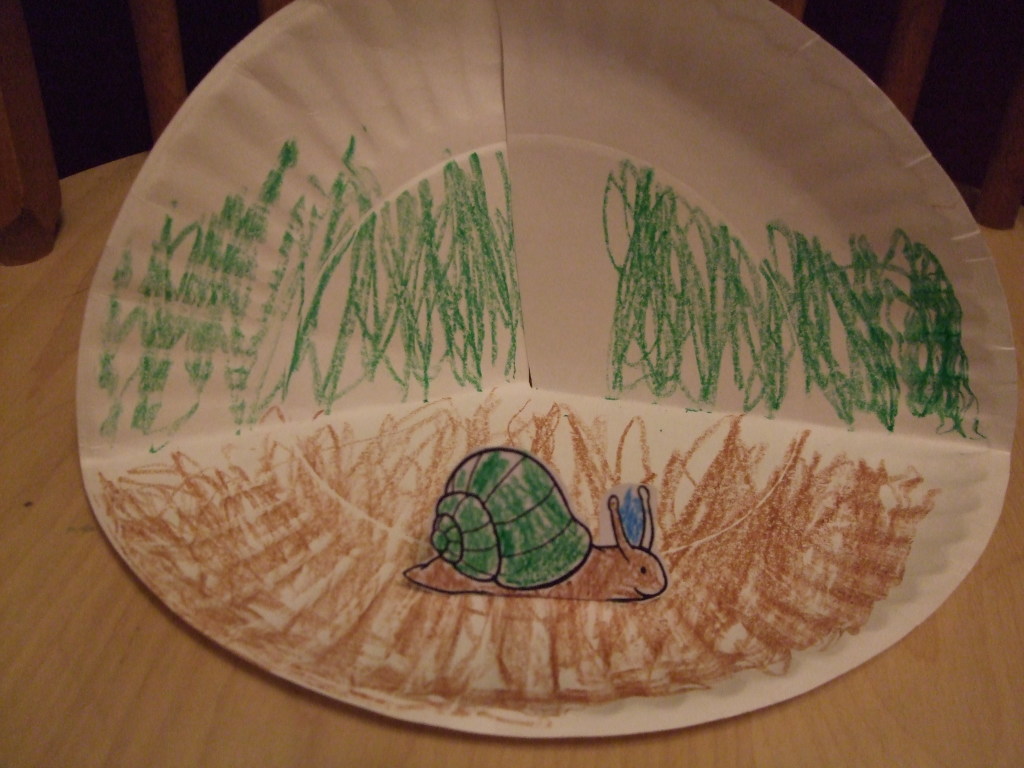
We’ll definitely be doing these again throughout the year this year. They’re great for all kinds of history, science and many other projects. They’re fun, easy and quick for a great reinforcement of what ever the kids are learning!
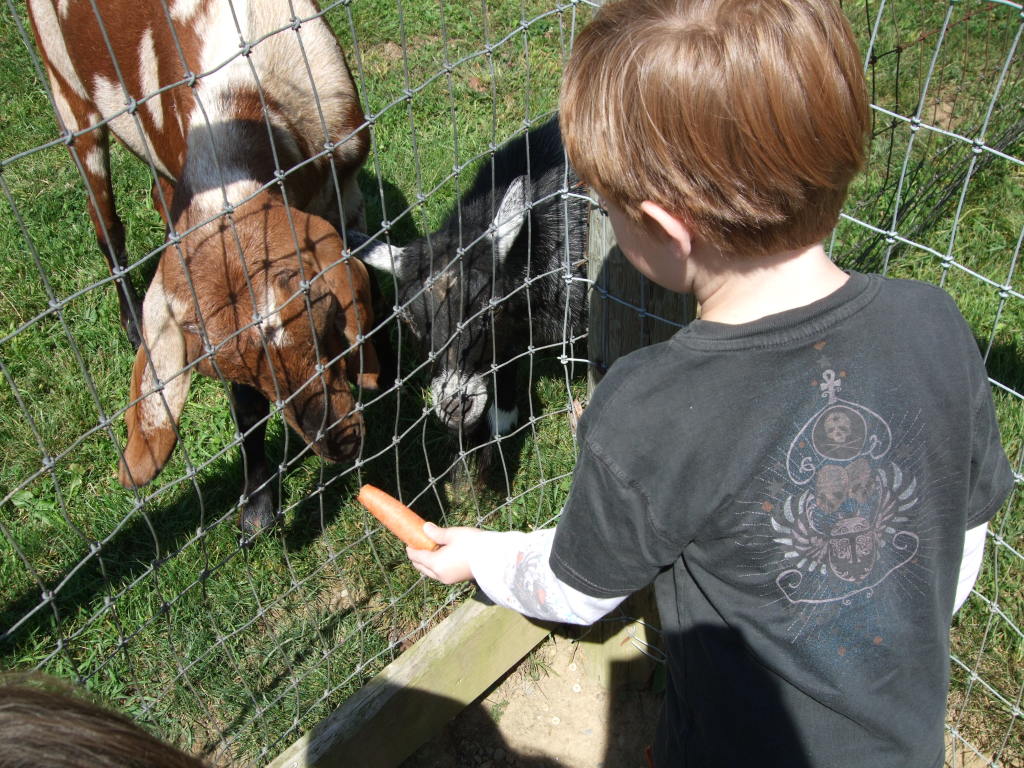
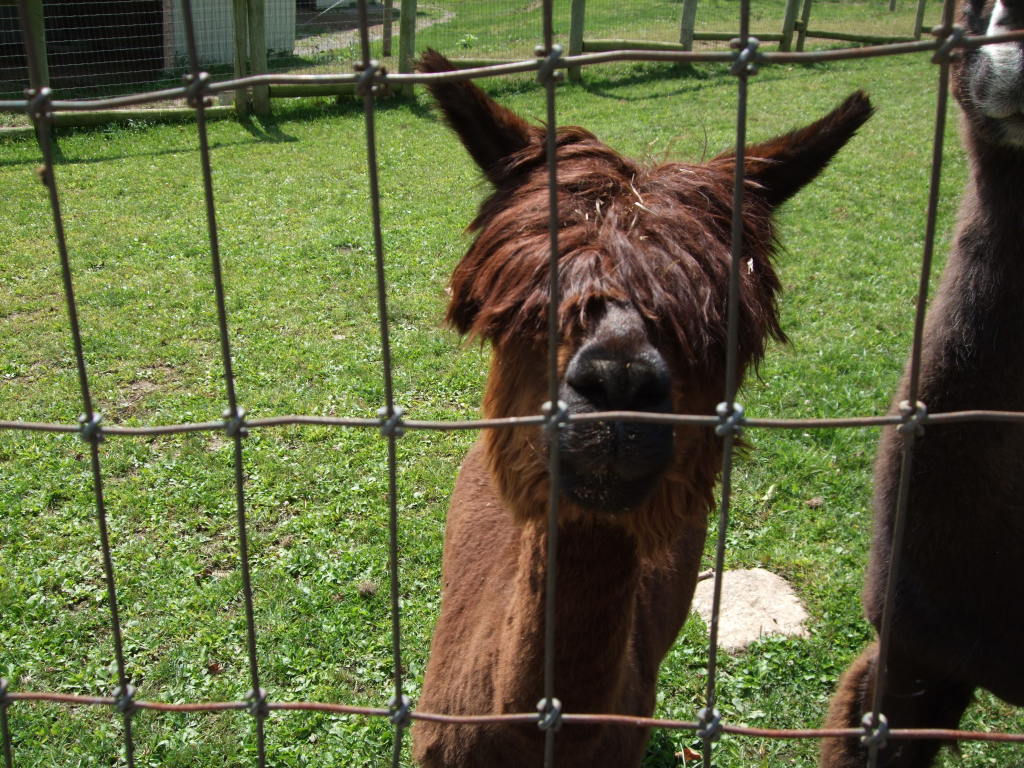
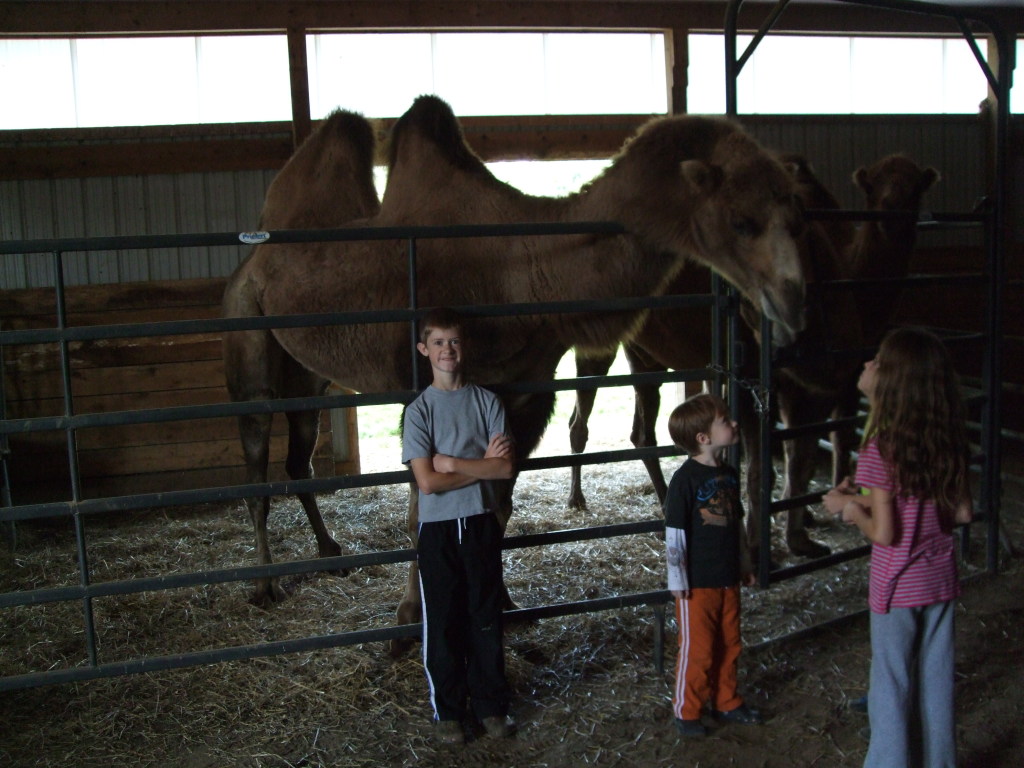
And now for your viewing enjoyment are some pictures from our field trip… if you live in Ohio I highly recommend checking out the Forever Safe Farm... what a wonderful place they have!



What an awesome diorama! My mom is an art teacher who has specialized in dioramas since her 20’s. I’ll have to show her this.
That is really cool! I’d love to see them… I read a book awhile back about a girl who made them, I’m going to have to find the name of it, your mom would probably enjoy it!
Did you come up with this yourself?!!