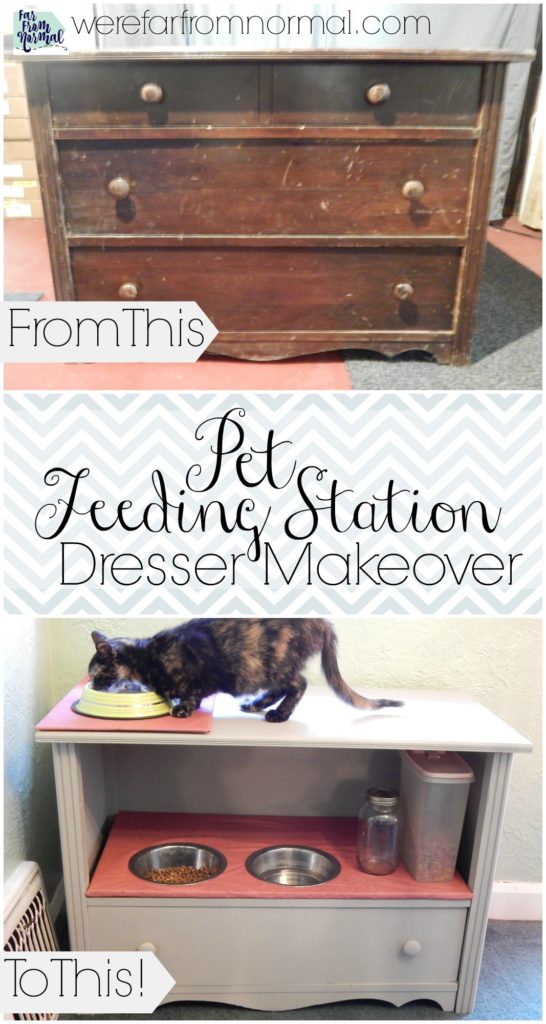
This DIY pet feeding station is made from an old dresser! It’s easy and keeps your pet’s feeding area nice and neat with a place for everything! Make one for your favorite furry friends!
We’ve always fed our pets in the kitchen. We’ve found a little corner where their food wouldn’t get kicked or spilled and tried to find a place where the dog couldn’t eat up the cat food.
However, when we updated and redecorated our kitchen last year we lost that little corner where the dog food was safe. We made a little spot for the kitty food but it was still accessible by the dog… and boy does she love cat food!
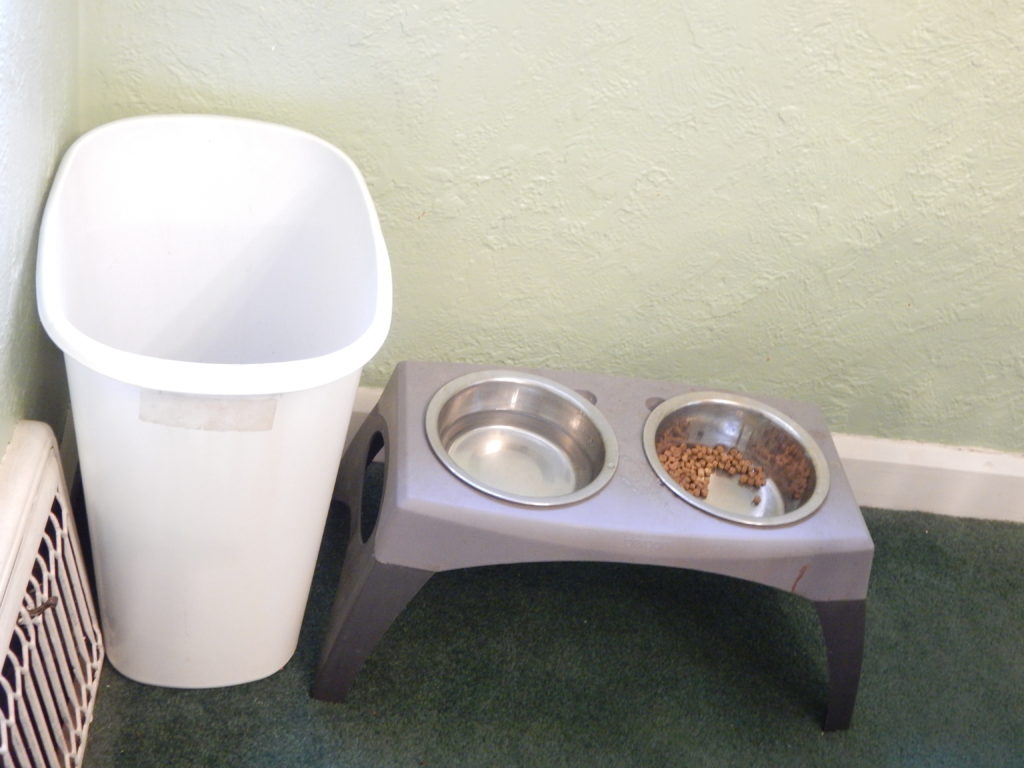
The dog eating the cat food wasn’t a huge problem but this being in my dining room kind of bothered me…
Lovely isn’t it? A dog food bowl holder and a plastic trash can full of dog food… not something you’ll find in Better Homes & Gardens.
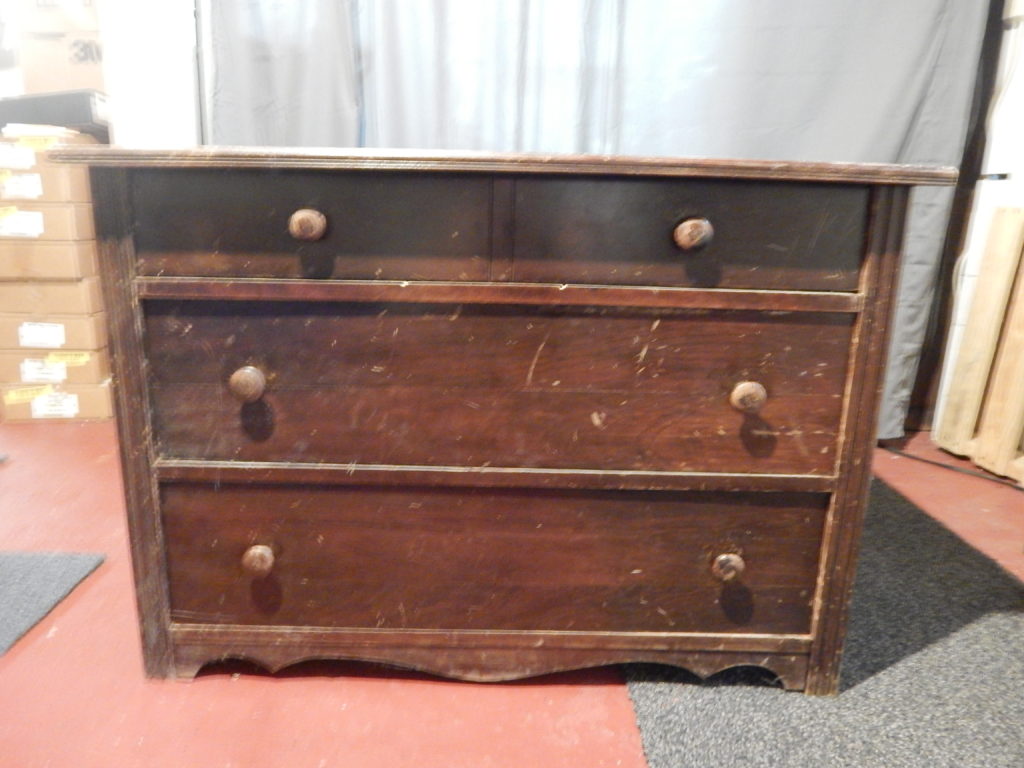
Well, when we opened our lake cabin this summer I was cleaning it out and rearranging things and decided that this dresser had to go! Also not the most attractive thing I own, we inherited it with the cabin and just never replaced it… it was time!
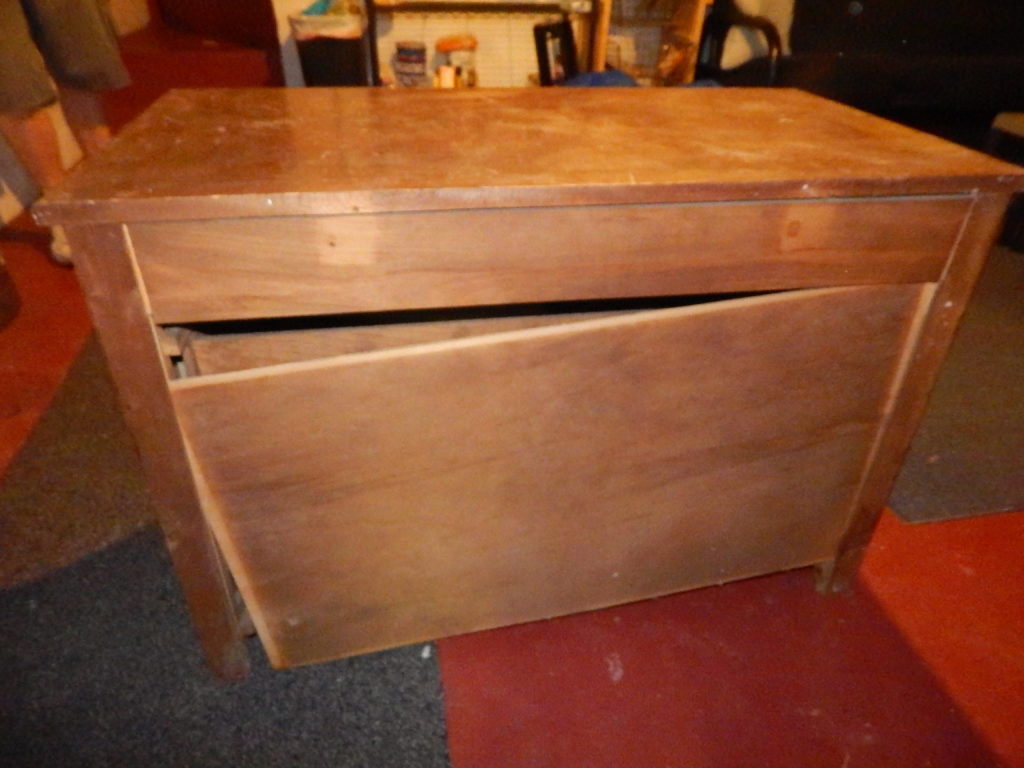
The back of it didn’t look much better…
So when I asked super hubby to haul it out of the cabin his initial reaction was… “OK I’ll haul it up to the dumpster.”
“Um…. no… can you put it in the back of my car instead” I knew I was going to get a look.
But he did, after 18 years of marriage he knows to just roll his eyes and go along with whatever I’m planning. He also knows that said plans sometimes take a little while to come to fruition… like months.
So this ugly little dresser has been sitting in my basement for a few months with lots of stuff piled on it awaiting its metamorphosis into something useful and lovely… an ugly caterpillar dresser if you will. I decided that it needed a new life as a DIY pet feeding station!
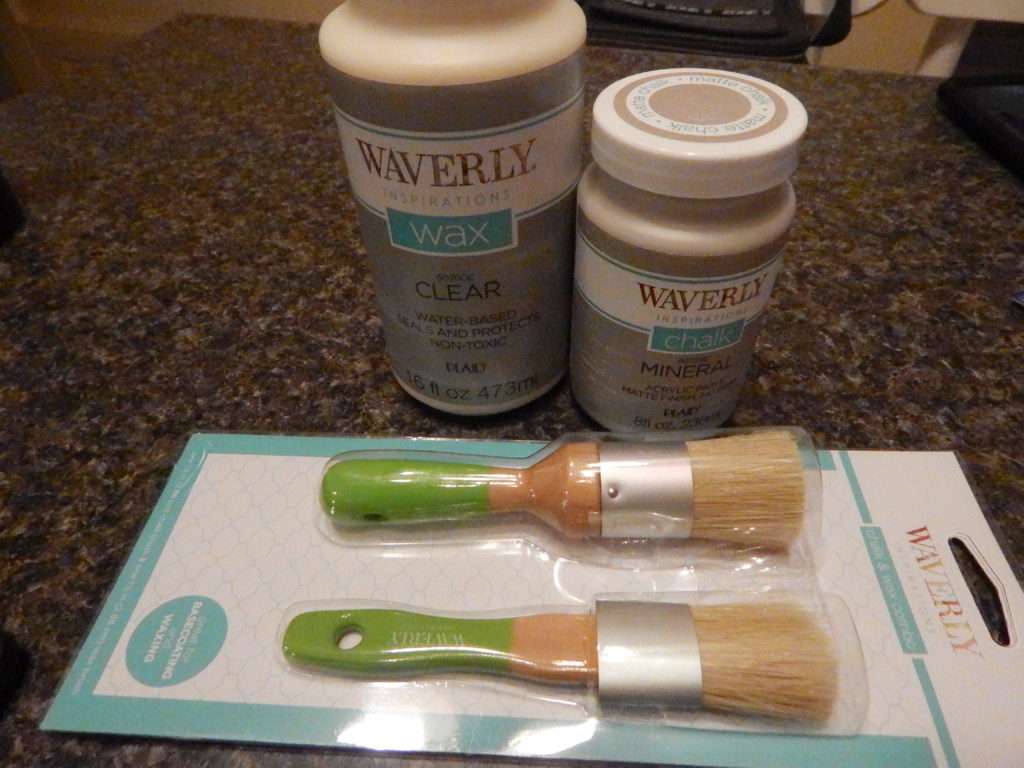
I knew I wanted to try chalk paint, I’ve seen many beautiful projects remade with those lovely colors and I think it has a great finish. So I had a chat with a coworker of my mom’s and she recommended Waverly chalk paint… yep the brand you can buy at Walmart! Now veteran chalk paint users may cringe at the use of a Walmart paint, but I really love the results it gave me, so much I’ve since used it on another project!
Here’s how to tackle your DIY pet feeding station-
First step- make repairs, clean up, and plan. I used a little wood glue to put that back where it was supposed to be. Then I wiped the whole dresser down with a damp cloth and decided how to proceed. I initially wanted to keep the top drawer but then I realized that my poor dog wouldn’t have any room for her head when she was eating… SO I nixed that idea and took out the top two drawers.
Step two- Deconstruction. After figuring out which drawers were going and which were staying I got some tools and got to work. I took out the supports for the drawers that weren’t going to be used and using a saw I took out the front pieces that weren’t going to be needed. Basically I removed any and all wood except what I wanted to have left in the end. I did set them all to the side though in case I needed something as the process moved on.
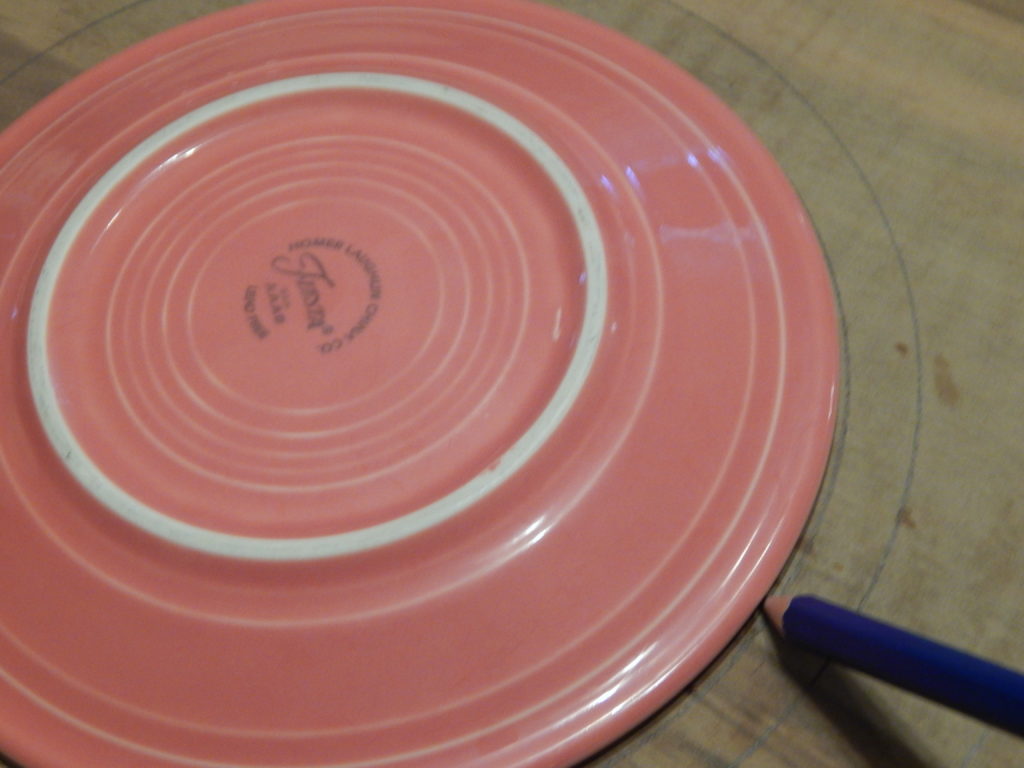
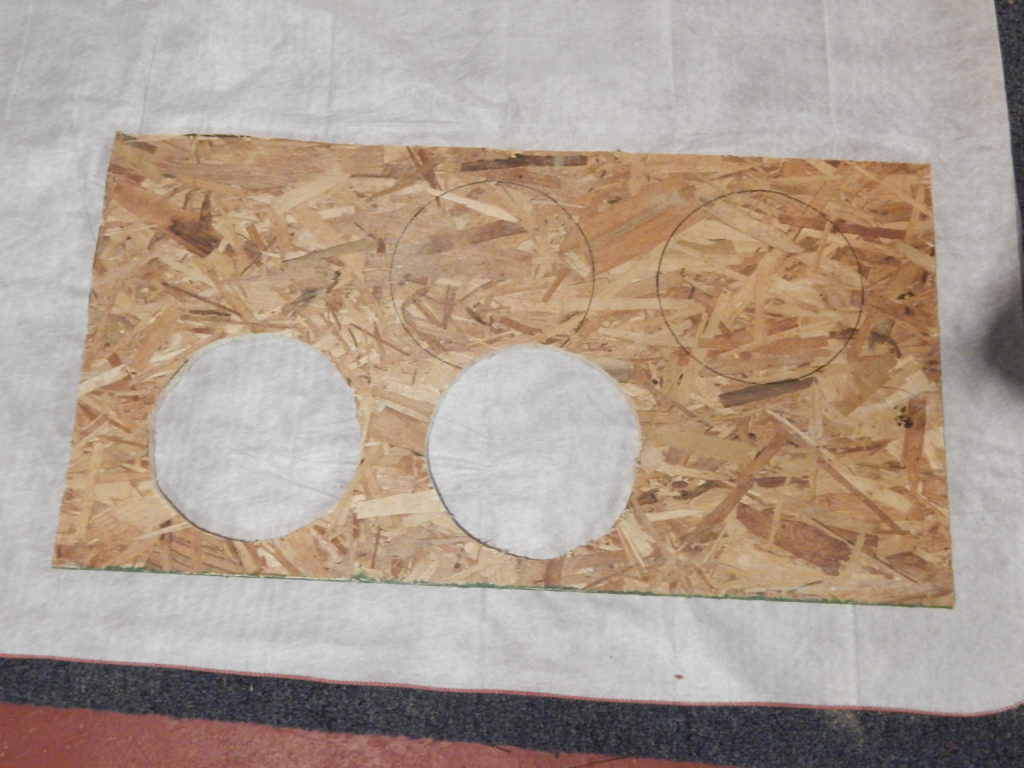
Step number three- Cut and reconstruct. I started with a fresh piece of wood for the shelf that holds the bowls. Originally I thought I would use the wood out of the bottom of one of the unused drawers, but since it’s an old dresser it was kind of brittle and didn’t respond well to being cut up. conveniently I have a plate that is exactly the size of the inside of the dog bowls so I traced it. Positioning of the bowls is key. The bottom of the bowls stick into the bottom drawer so I positioned them near the front, for easy access for the dog, and to allow the drawer to open as far as it can.
After tracing and positioning where you want the holes a jig saw works just perfectly for cutting them out! I totally conquered my fear of saws with this project (patting myself on the back here). To get started you have to drill a whole at the edge, then you’re ready to saw… believe me if I can do this and keep all my fingers so can you!
Step four– Paint and cover. I chose to cover the shelf holding the bowls with a vinyl table-cloth so that I could easily wipe the area around them/ Alternately you could paint it, the choice is yours. After wiping it down again to make sure there’s no sawdust it’s time for coat number one… it’s the exciting part. I am a huge believer in the power of a coat of paint, unfortunately, I forgot to take a picture of my first… but that’s ok, you get to see the finished product. I ended up using two coats of paint, and then two coats of wax.
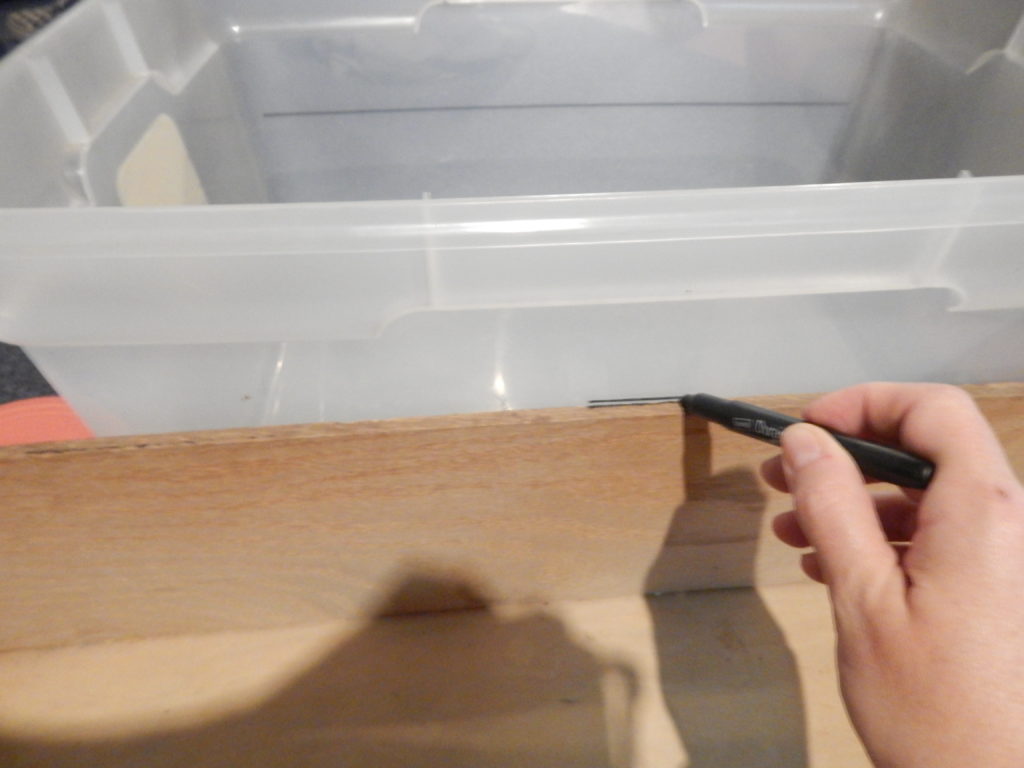
Step number 5– Storage. Now it would have been terribly convenient if I could have found a nice plastic tote that would have fit perfectly in the drawer… but I didn’t. But if you’re doing this project be sure to try to find one that fits… it would be super easy! If you can’t you can improvise like me. Stick it in the drawer and use a sharpie to trace the edge to mark where you’ll need to cut it.
Cutting through a plastic tote isn’t quite as easy as you’d think… I thought a razor blade do the trick but I ended up invading super hubby’s garage and getting his handy-dandy hacksaw blade and it’s special little handle. So hack, hack, hack and I had the perfectly sized tote for my doggy’s food.
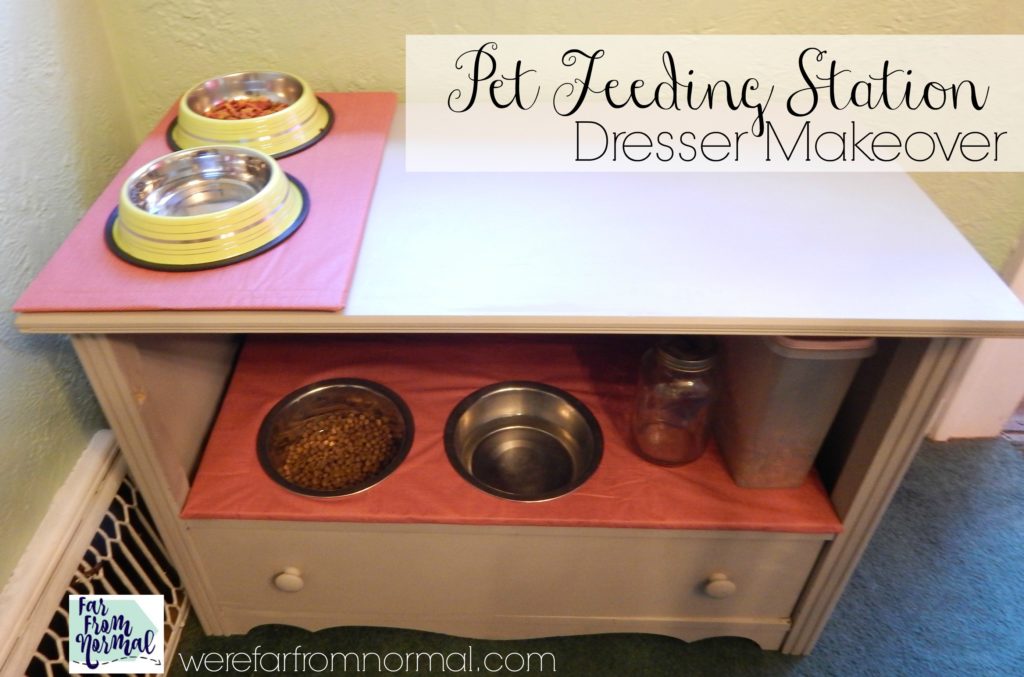
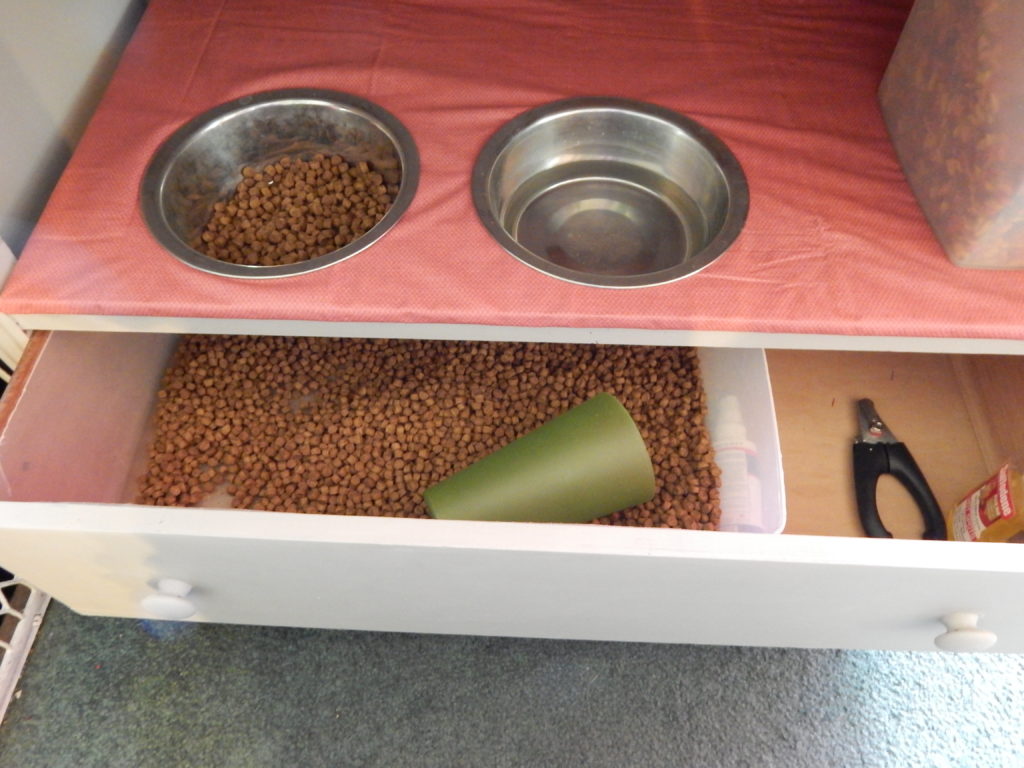
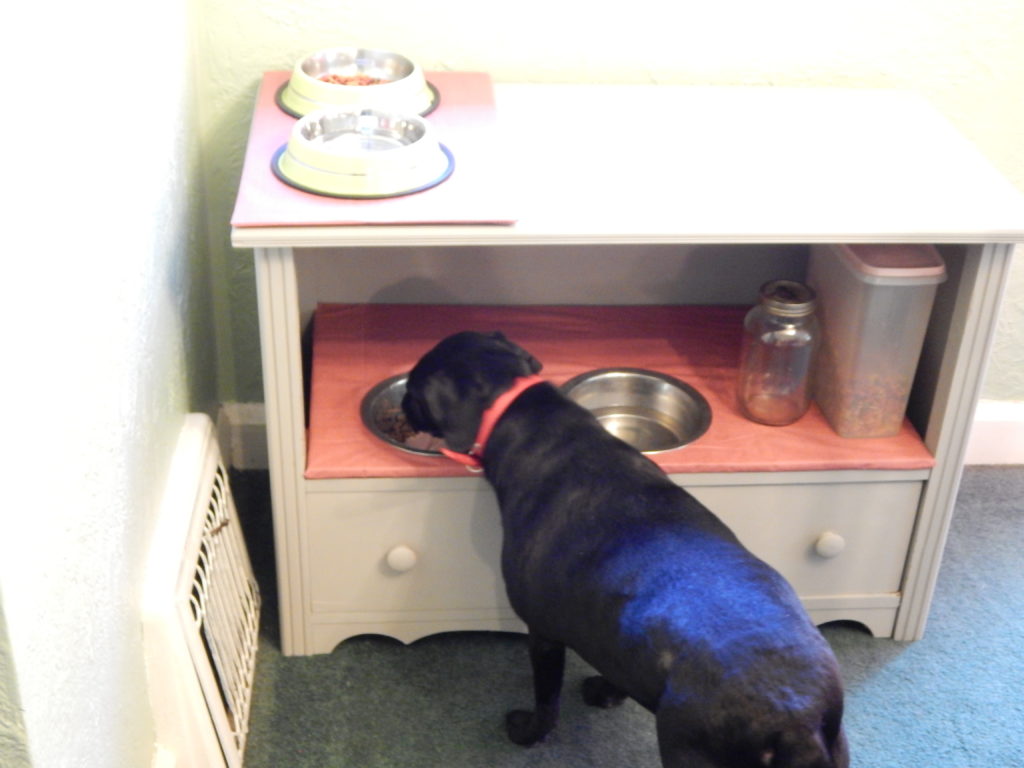
Final step– Put your DIY pet feeding station all together! Put your tote in the drawer and slide your drawer in where it goes. Set the bowl shelf in its position. I found no need to screw it down or secure it, the weight of the wood holds it down perfectly. If you want a lovely little placemat for the top just head on over here and get the instructions. I left room on the shelf to hold cat food and a jar of treats, and in the drawer to keep other dog supplies.
Now we’ve got a pretty food holder, no more ugly trash can. The cat bowls on top keep the dog from getting to them, and we have storage for all our pet food and supplies all in one place!
Have you ever made over a piece of furniture to give it a new life? I’d love more ideas to dress up old dressers!!


Tamara says
I so get this. I can’t stand messy feeding areas. Both of my pets have their special areas, although yours is worlds better!
virginia says
i love your pet feeding idea. i can’t use it as we have 3 dogs and 7 cats. i got a baby changing table to put the 6 feeding dishes on for cats. i need something for dogs. one likes to dump his food all over kitchen floor and the two big dogs can’t be feed together. any ideas would help.
Sara @ BestPetReviews says
What a great idea! It makes the place look more organized. Thanks for the idea and steps!
Pauline S. Huguley says
Hey this DIY Feeding station is a great idea. It not only saves the hassle of buying a new feeding station but, it also looks great. Thanks for putting it step by step with pictures; it sure becomes easier to put the idea into action. Take care.
Pethub says
Hi there! If you’re like me, your four-legged friend is part of the family. And just like any other member of the family, they deserve their own special space. Today, I’m going to show you how to create a DIY pet feeding station that will make mealtime more fun for both you and your furry friend. Let’s get started!